background image

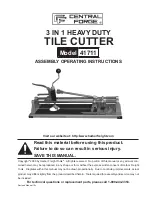
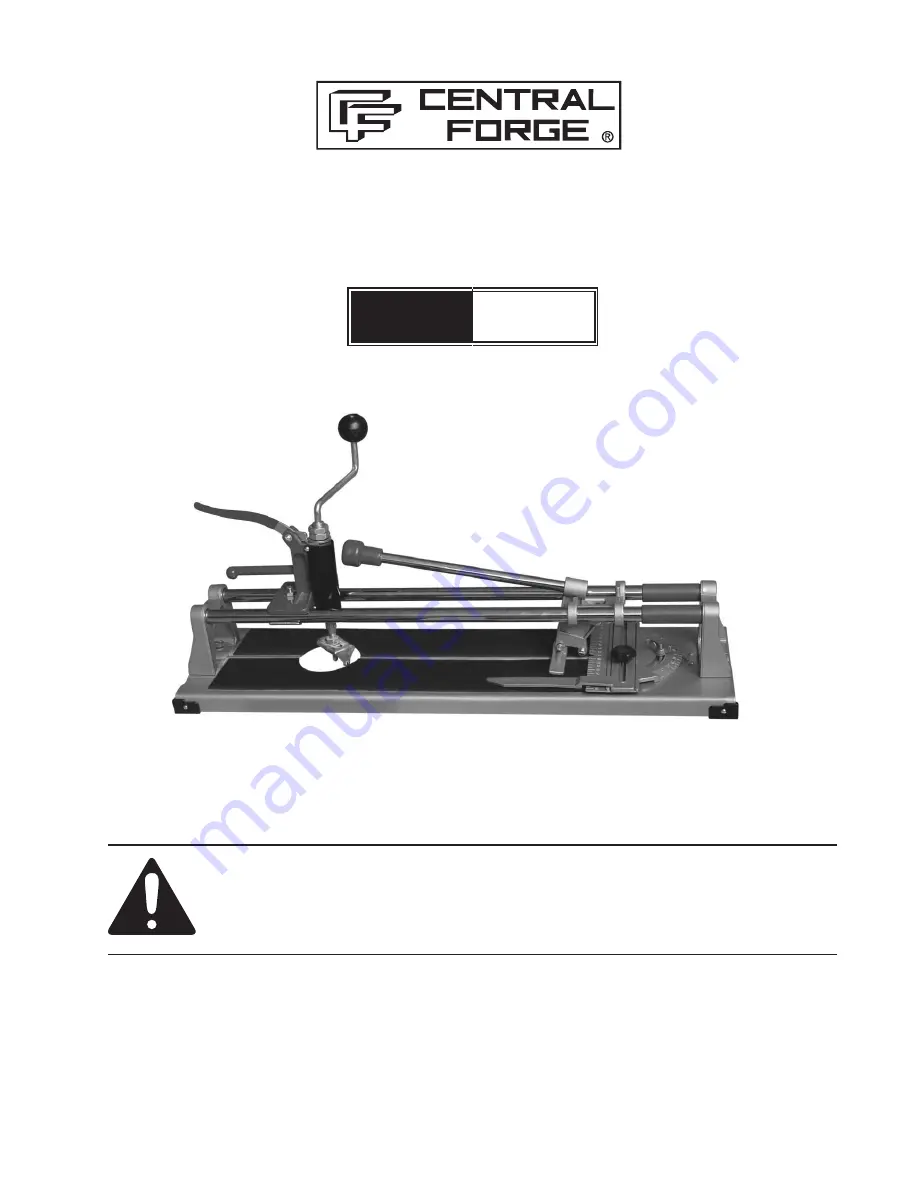
3 IN 1 HEAVY DUTY

TILE CUTTER

Model

41711

ASSEMBLY OpERATINg INSTRUCTIONS

Visit our website at: http://www.harborfreight.com

 Read this material before using this product. 

Failure to do so can result in serious injury. 
SAVE THIS MANUAL.

Copyright

©

 2000 by Harbor Freight Tools

®

.  All rights reserved.  No portion of this manual or any artwork con-

tained herein may be reproduced in any shape or form without the express written consent of Harbor Freight 
Tools.  Diagrams within this manual may not be drawn proportionally.  Due to continuing improvements, actual 
product may differ slightly from the product described herein.  Tools required for assembly and service may not 
be included.

For technical questions or replacement parts, please call 1-800-444-3353.

Revised Manual 10c

Summary of Contents for 41711

Page 1: ...reserved No portion of this manual or any artwork con tained herein may be reproduced in any shape or form without the express written consent of Harbor Freight Tools Diagrams within this manual may...

Page 2: ...front cover Keep both this manual and your invoice in a safe dry place for future reference Page 2 SKU 41711 Notice The Warnings Cautions and Instructions discussed in this instruction manual cannot...

Page 3: ...pose for which it was not intended Dress Properly 7 Do not wear loose clothing or jewelry as they can be caught in moving parts Non skid footwear is recommended Wear restrictive hair covering to conta...

Page 4: ...gs when using this Tile Cutter Using this Tool may create special hazards Take particular care to safeguard yourself and those around you Do not exceed the material thickness limitation You can make s...

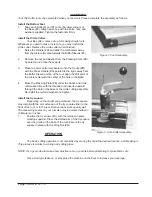
Page 5: ...e Place the Pressing Plate E under the tracks and circle 4 cutter assembly with the threaded rod inserted upward through the hole in the base of the circle cutting assembly Re install the nut and wash...

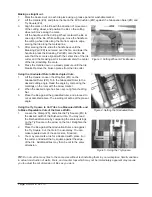
Page 6: ...to the desired cutting angle Read the angle by comparing the markings on the ruler with the arrow marker When the desired angle has been set re tighten the Wing 2 Nut Place the tile against the gradua...

Page 7: ...into the tile and cut the circle Continue rotating the crank until the circle has been completely cut through the tile Page 7 SKU 41711 PLEASE READ THE FOLLOWING CAREFULLY THE MANUFACTURER AND OR DIST...

Page 8: ...C Housing 1 D Hole Cutter 1 E Pressing Plate 1 F Knife Body 1 G Triangle Drill 1 H Handle Rod 1 I Sliding Frame 1 J Cutting Wheel 1 K Breaking Part 1 L Buffer Sleeve 2 Part No Description QTY M Tracks...

Reviews: