background image

T

T

T

T

TABLE SA

ABLE SA

ABLE SA

ABLE SA

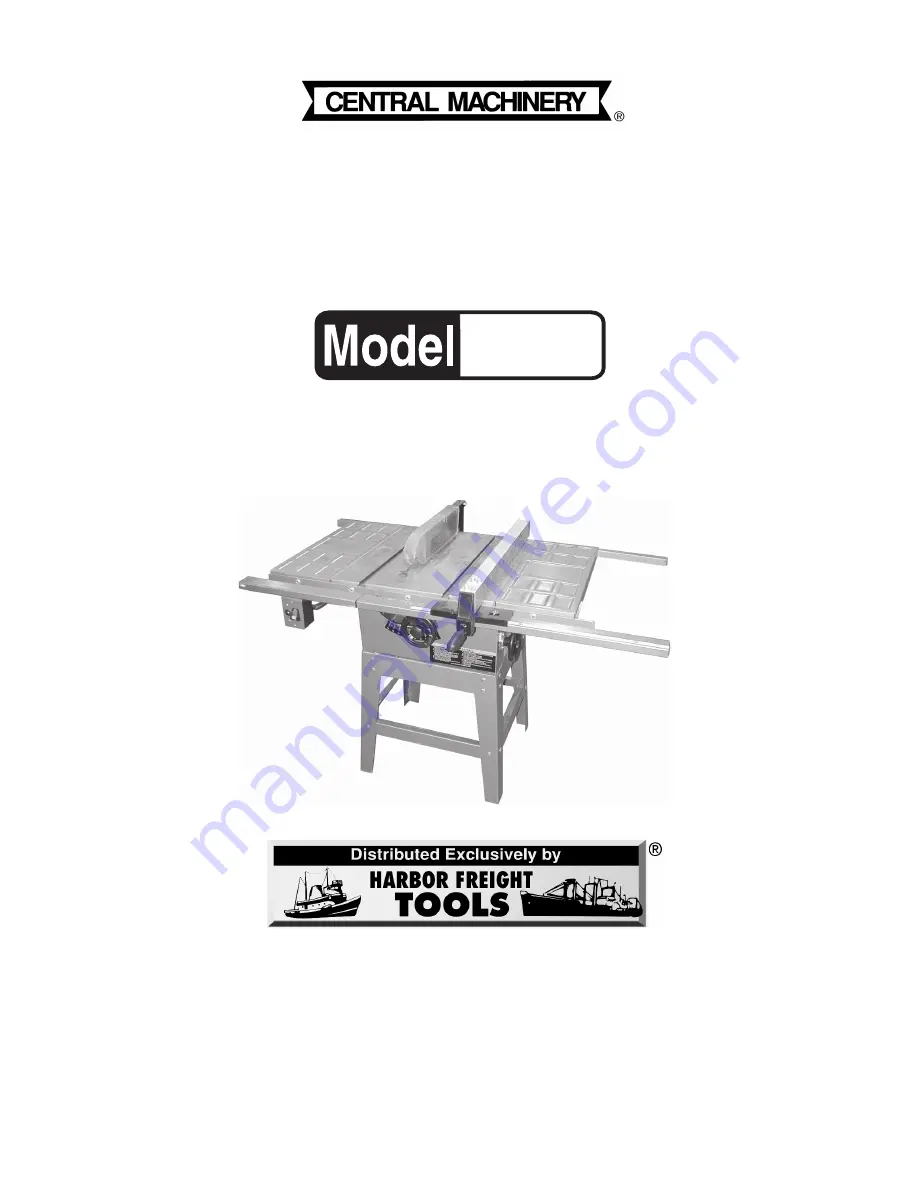
ABLE SAW - 10 INCH

W - 10 INCH

W - 10 INCH

W - 10 INCH

W - 10 INCH

DIRECT DRIVE

DIRECT DRIVE

DIRECT DRIVE

DIRECT DRIVE

DIRECT DRIVE

ASSEMBLY AND OPERATING INSTRUCTIONS

3491 MISSION OAKS BLVD., CAMARILLO, CA 93011

VISIT OUR WEB SITE AT HTTP://WWW.HARBORFREIGHT.COM

Copyright © 2004 by Harbor Freight Tools

®

.  All rights reserved. No portion of

this manual or any artwork contained herein may be reproduced in any shape
or form without the express written consent of Harbor Freight Tools.

For technical questions and replacement parts, please call 1-800-444-3353

91815

Summary of Contents for 91815

Page 1: ...UCTIONS 3491 MISSION OAKS BLVD CAMARILLO CA 93011 VISIT OUR WEB SITE AT HTTP WWW HARBORFREIGHT COM Copyright 2004 by Harbor Freight Tools All rights reserved No portion of this manual or any artwork contained herein may be reproduced in any shape or form without the express written consent of Harbor Freight Tools For technical questions and replacement parts please call 1 800 444 3353 91815 ...

Page 2: ...e manual for the safety warnings and precautions assembly instructions operating and maintenance procedures parts list and diagram Keep your invoice with this manual Write the invoice number on the inside of the front cover Keep the manual and invoice in a safe and dry place for future reference GENERAL SAFETY RULES WARNING READ AND UNDERSTAND ALL INSTRUCTIONS Failure to follow all instructions li...

Page 3: ...wire grounded power cord and grounded power supply system 8 Do not abuse the Power Cord Never use the Power Cord to carry the tools or pull the Plug from an outlet Keep the Power Cord away from heat oil sharp edges or moving parts Replace damaged Power Cords immediately Damaged Power Cords increase the risk of electric shock 9 When operating a power tool outside use an outdoor extension cord marke...

Page 4: ...risk of starting the tool accidentally 20 Store idle tools out of reach of children and other untrained persons Tools are dangerous in the hands of untrained users 21 Maintain tools with care Keep cutting tools sharp and clean Properly maintained tools with a sharp cutting edge are less likely to bind and are easier to control Do not use a damaged tool Tag damaged tools Do not use until repaired 2...

Page 5: ...rming and inspection maintenance or cleaning procedures 7 After cutting wait until the saw blade comes to a complete stop before removing stock from the table reaching around the saw blade or leaving the area 8 Never walk away and leave the saw running 9 When making rip cuts feed the stock into the blade against the direction of the blade rotation 10 Always use a push stick not included when rippi...

Page 6: ...ckback of stock For rip cuts the saw blade must be exactly parallel to the fence to prevent pinching or heeling Use the stock Separator 27 on the output side of the stock cut Only feed the stock against the rotation of the saw blade Keep the stock firmly on the table while cutting 26 When making rip cuts Push only on the main section of stock between the saw blade and the fence Always use a push s...

Page 7: ...wer switch locked on If powered via a power cord be certain that the tool is properly grounded A ground fault interrupt GFCI system is also a good precaution This inexpensive device is a good safety measure because it prevents a sustained electrical shock Properly maintain and inspect all tools before use to avoid electrical shock GROUNDING Note This tool comes with a 3 prong grounded plug WARNING...

Page 8: ...rd Association and the National Electrical Code See Figure B above 5 Double insulated tools may be used in either of the 120 volt outlets shown in the following illustration See Figure B above EXTENSION CORDS 1 Grounded tools require a three wire extension cord Double Insulated tools can use either a two or three wire extension cord 2 As the distance from the supply outlet increases you must use a...

Page 9: ...lectrician before using it 8 Protect your extension cords from sharp objects excessive heat and damp or wet areas Table A RECOMMENDED MINIMUM WIRE GAUGE FOR EXTENSION CORDS 120 VOLT NAMEPLATE AMPERES At Full Load EXTENSION CORD LENGTH 25 Feet 50 Feet 75 Feet 100 Feet 150 Feet 0 2 0 18 18 18 18 16 2 1 3 4 18 18 18 16 14 3 5 5 0 18 18 16 14 12 5 1 7 0 18 16 14 12 12 7 1 12 0 16 14 12 10 12 1 16 0 14...

Page 10: ...uts and bolts during assembly 1 Attach the Stand Legs 62 to the Stand Top 60 front and rear pieces using sixteen 5 16 x 5 8 Carriage Bolts 61 5 16 Flat Washers 59 5 16 Lock Washers 39 and 5 16 Hex Nuts 58 Refer to Figure C below 2 Attach the Cross Braces 63 to the left and right sides of the Stand Legs 62 and Cross Braces 64 to the front and rear sides of the Stand Legs 62 Use eight 5 16 x 5 8 Car...

Page 11: ...side down on the saw body bottom Note that the label on the Stand must face forward or toward the front of the saw body 5 Align the mounting holes in the Stand with those on the saw body bottom and secure using four 5 16 x 3 4 Cap Bolts 38 eight 5 16 x 23mm Flat Washers 45 four 5 16 Lock Washers 39 and four 5 16 Hex Nuts 58 Refer to Figure D below 6 Securely tighten the hardware attaching the saw ...

Page 12: ...djustment 2 Place a carpenter s level not included on the Table so that it hangs over the edge of the wing approximately one inch 3 Bring the edge of the wing flush to the edge of the Table top then tighten the Hex Cap Bolts when the corner lead edge of the wing is also flush with the Table from front to back 4 Repeat steps one through four with the left Extension Wing 76 Figure E Wing Assembly Fi...

Page 13: ...o Hex Screws 29 holding it to the Table 4 Push the long Rear Rail 21 as far up as it will go then tighten the two Hex Screws 29 holding it to the Table 5 Insert a 1 4 x 3 4 Hex Screw 29 with a 1 4 Flat Washer 2 through the long Front Rail 69 and through the Right Extension Wing 76 and fasten with a 1 4 Flat Washer 2 and a 1 4 Hex Nut 12 Hand tighten only at this time 6 Repeat Step 5 for the Rear R...

Page 14: ...eel Handle 144 14 Place the Fence Assembly 37 on the Guide Rail assembly 73 and 44 so that the pointer on the Fence body points to zero on the Guide Rail 15 Lock the Fence in place by pushing the Lock Handle 55 down 16 Move the Guide Rail 44 Assembly and the Fence if necessary so that the Fence is flush to the Saw Blade 103 Do not unlock the Fence Lock Handle 55 to perform this Move the Fence and ...

Page 15: ...her 31 and One 1 4 Hex Nut 12 Hand tighten only at this time 5 If not already attached attach the Blade Guard s Support Arm 26 to the Splitter 27 using the Bolt 23 two Spacers 24 and the Nut 25 as shown in Figure H Level the Blade Guard assembly with the Table 22 and keep 1 16 to 1 8 clearance between the Splitter 27 and the Table 6 Tighten the Hex Screw and Nut installed in step 4 Figure H Blade ...

Page 16: ...e Fence It should be adjusted so that it overlaps the Rear Rail 21 by about 1 8 9 Remove the Fence 37 from the Table 22 and set aside Figure J Fence Assembly ADJUSTMENTS Aligning the Blade Guard and Splitter to the Saw Blade 1 Raise the Blade Guide 10 assembly up and away from the Table 22 See Figure H on the previous page 2 Raise the Anti Kickback Pawls 17 up and away from the Table 3 Raise the S...

Page 17: ...safety key from the Switch Wear gloves when handling the Saw Blade The teeth are very sharp 1 Remove two Screws 7 and the Table Insert 8 Refer to Figure L on the next page 2 Raise the Saw Blade 103 to the highest setting using the Hand Wheel Handle 144 3 Place a length of wood not paneling at least 2 thick in front of the Saw Blade so that at least one of the teeth engage the wood firmly This is t...

Page 18: ...nd against the Saw Blade without touching the teeth If the Saw Blade is not at 90 degrees continue with step 4 4 Remove two Screws 7 and the Table Insert 8 Refer to Figure L above 5 Loosen Set Screw 150 located in the Set Spacer 149 on Leadscrew 161 Refer to the Motor and Trunnion Assembly Drawing on page 24 6 Turn the Set Spacer in the desired direction Retighten the Set Screw 150 when the Set Sp...

Page 19: ...then turn the Tilt Hand Wheel 144 on the side of the Table Saw to the desired angle The angle can be read on the Tilt Scale on the front of the Table Saw Retighten Lock Knob Making a Rip Cut 1 Loosen the Fence Lock Knob 56 and slide the Fence to the desired distance from the Saw Blade Use the scale on the Rail Guide to measure Retighten Fence Lock Knob 56 When cutting a thin width off a plank the ...

Page 20: ...rth in the slot If movement is sluggish remove the Miter Gauge and rub some hard wax into the entire slot Replace the Miter Gauge and slide it back and forth in the slot until movement is easy 3 If an angle is to be cut adjust the Miter Gauge by loosening the Lock Knob 1 and setting the desired angle as read on the scale Retighten the Lock Knob 4 With the Miter Gauge in front of the Saw Blade plac...

Page 21: ...eck all moving parts i e knobs levers column shaft Elevating Handle shafts to make sure that they move smoothly If lubrication is required use a small amount of light oil 8 Motor Preventative Maintenance In addition to worn motor Brushes the following are major causes of motor failure Using a dull or sticking Saw Blade Feeding the stock through the Saw Blade too fast Starting the cut before the Sa...

Page 22: ...Leg 4 21 Rear Rail long 1 63 Cross Brace left and right 2 22 Table 1 64 Cross Brace front and rear 2 23 Hex Cap Bolt M6X40 1 65 Stand Top left and right 2 24 Spacer 2 66 Power Cord 1 25 Hex Nut M6 1 67 Power Cord switch to motor 1 26 Support Arm 1 68 Cord Clamp Plate 1 27 Splitter 1 69 Front Rail long 1 28 Bracket 1 70 Connector Guide Rail 1 29 Hex Screw M6X20 11 71 Hex Screw M6X16 8 30 Flat Washe...

Page 23: ...Page 23 SKU 91815 SAW BODY AND STAND ASSEMBLY DRAWING ...

Page 24: ...nap Ring 1 119 Hex Nut M10 1 158 Hex Bolt M8X20 2 120 Roll Pin 5X28 2 159 Hex Nut M8 2 121 Front Trunnion 1 160 Roll Pin 3X18 2 122 Lock Washer 8 10 161 Leadscrew 1 123 Hex Socket Cap Screw M8X20 4 162 Set Spacer 2 124 Trunnion Bracket 2 163 Connector 1 125 Flat Washer 8 4 164 Pointer Bracket 1 126 Hex Cap Bolt M8X25 4 165 Pointer 1 127 Rear Trunnion 1 166 Round Head Screw M6X10 1 128 Spacer 1 167...

Page 25: ...Page 25 SKU 91815 MOTOR AND TRUNNION ASSEMBLY DRAWING ...

Reviews: