background image

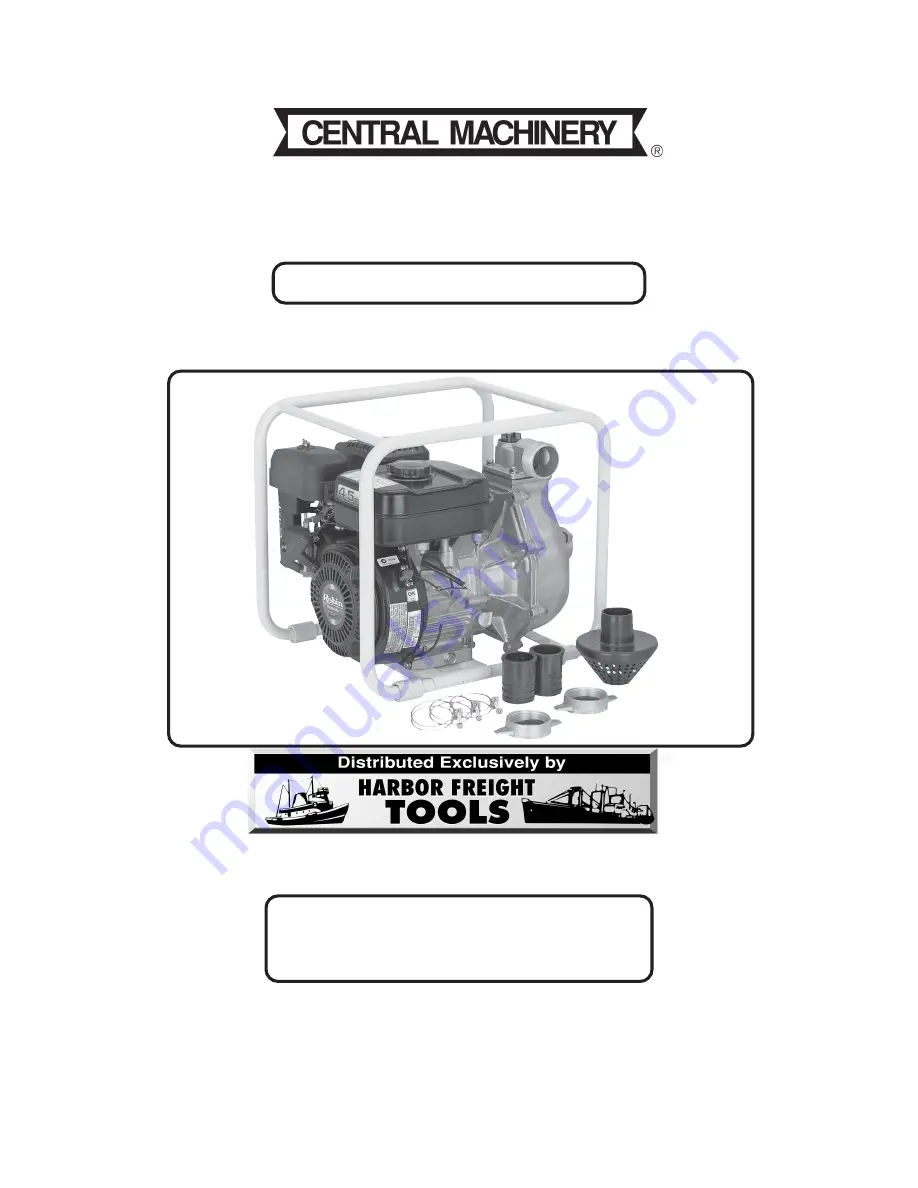
WATER PUMP

ASSEMBLY AND OPERATING INSTRUCTIONS

3491 Mission Oaks Blvd., Camarillo, CA 93011

Visit our Web site at: http://www.harborfreight.com

TO PREVENT SERIOUS INJURY,

READ AND UNDERSTAND ALL WARNINGS

AND INSTRUCTIONS BEFORE USE.

Copyright

©

 2005 by Harbor Freight Tools

®

.  All rights reserved.  No portion of this

manual or any artwork contained herein may be reproduced in any shape or form

without the express written consent of Harbor Freight Tools.

For technical questions, please call 1-800-444-3353.

®

Model 93121 / 94074 / 94075

Summary of Contents for 93121

Page 1: ...NJURY READ AND UNDERSTAND ALL WARNINGS AND INSTRUCTIONS BEFORE USE Copyright 2005 by Harbor Freight Tools All rights reserved No portion of this manual or any artwork contained herein may be reproduce...

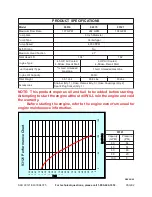
Page 2: ...o i t c u S d a e H m u m i x a M 7 2 t f i L d a e H l a t o T 4 0 1 4 6 1 e p y T e n i g n E d e l o o C r i A P H 5 4 t r a t S l i o c e R e k o r t S 4 d e l o o C r i A P H 6 t r a t S l i o c...

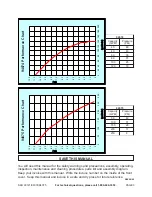
Page 3: ...nside of the front cover Keep this manual and invoice in a safe and dry place for future reference 0 10 20 30 40 50 60 70 80 90 100 110 120 0 50 100 150 200 250 300 gal min ft 94075 Performance Chart...

Page 4: ...h what you are doing and use common sense when operating a water pump Do not use a water pump while tired or under the influence of drugs alcohol or medication A moment of inattention while operating...

Page 5: ...binding of moving parts broken parts and any other condition that may affect the Water Pump s operation If damaged have the Water Pump serviced before using Many accidents are caused by poorly mainta...

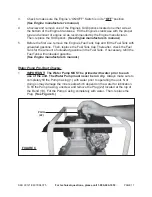
Page 6: ...should be placed under the full length of the Water Pump Frame at its low side 8 Make sure the intake and discharge hoses not included are secured to a solid surface to ensure the stability of the Wa...

Page 7: ...Water Pump is not in use protect the interior of the Pump from freezing by draining the liquid and pumping a permanent type automobile antifreeze containing a rust inhibitor through the system A 50 mi...

Page 8: ...e of supporting the weight of the unit The slab must extend on all sides beyond the Frame 33 by at least one foot Contact a cement con tractor for slab specifications if necessary Attach the Frame to...

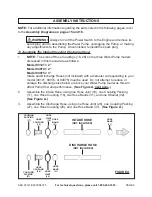
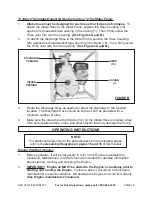
Page 9: ...Model 93121 2 Model 94074 2 Model 94075 3 Intake and Discharge Hoses not included with a diameter corresponding to your model 93121 94074 or 94075 must be used Do not attempt to reduce or enlarge the...

Page 10: ...ct the discharge to the desired location The Discharge Hose should be kept as short as possible with a minimum number of turns 4 Make sure the area where the Strainer 32 on the Intake Hose is located...

Page 11: ...he Fuel Tank with unleaded gasoline Then replace the Fuel Tank Cap Thereafter check the Fuel Tank for the amount of unleaded gasoline in the Fuel Tank If necessary refill the Fuel Tank with unleaded g...

Page 12: ...tart the Engine by pulling the recoil starter rope out quickly and forcefully Repeat pulling until the Engine starts 7 Idle the Engine for 3 5 minutes to allow it to warm up Then open the throttle lev...

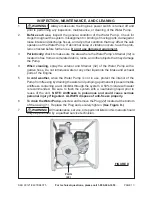
Page 13: ...nd other objects that may damage the Pump 4 When cleaning spray the exterior and Strainer 32 of the Water Pump with a garden hose Do not introduce water or any other liquid into the intake and exhaust...

Page 14: ...ller of the Water Pump is jammed Clean the Impeller If necessary have a qualified service technician inspect the Impeller 3 Pump Motor runs but delivers small amount of water A Vertical lift is approa...

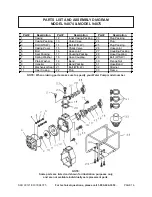
Page 15: ...Coupling Packing 4 Casing Cover 16 Hose Joint 28 Hose Coupling 5 Bolt 17 Coupling Packing 29 Bolt W S W 6 Seal Packing 18 Hose Coupling 30 Flange Nut 7 Spring Washer 19 Bend 31 Hose Band 8 Plain Washe...

Page 16: ...r Casing Packing 23 Plug Packing 2 Casing Packing 13 Valve Case 24 Plug 3 Bolt W S W 14 Bolt W S W 25 Plug Packing 4 Casing Cover 15 Check Valve 26 Hose Joint 5 Bolt 16 Hose Joint 27 Coupling Packing...

Reviews: