Page 8
SKU 92918
For technical questions, please call 1-800-444-3353.
Operating the Nailer
1.
Attach the Nailer to the air supply at the Air Inlet (61). Start your compressor and
check the pressure making sure it is set at the recommended 70-125 PSI and not to
go over the maximum 125 PSI.
2.
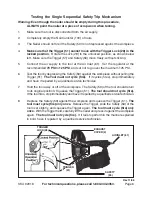
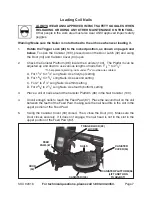
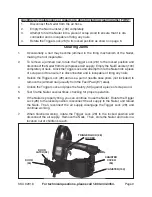
To fire, first rotate the Trigger Lock (28) to the unlocked position, as shown on page
6. Then, place the Safety (59) of the Nailer on the workpiece. The Nailer should not
fire if the Safety (59) is not depressed. Once depressed, gently and briefly squeeze
the Trigger (51) once.
Do not fire repeatedly.
Nails could bounce off one another,
damaging the workpiece or causing PERSONAL INJURY.
3.
If the nails are not being driven deeply enough or are being driven too deeply, then
adjust the Depth Adjuster (56). It make take some practice and experience to get
the desired results. If more depth adjustment is needed, the air supply pressure can
be adjusted, but
ONLY within the recommended 70-125 PSI
.
4.
The direction of the air exhaust can be changed by loosening the Exhaust Screw
(1) in the center of the Exhaust Cover (2), rotating the Exhaust Cover to the desired
direction and retightening the Exhaust Screw (1)
5.
Do not press the Safety (59) of the Nailer against the work surface with extra force.
Allow the tool to do the work. Always allow the tool to recoil off the workpiece.
6.
When finished using the Nailer, always rotate the Trigger Lock (28) to the locked
position and disconnect the tool from its compressed air supply. Empty the Nail
Canister (100) completely of nails. Attempt to fire the Nailer into a piece of scrap
wood to ensure it is disconnected and is incapable of firing any nails.
7.
Make sure to store the Nailer in its Carrying Case and in a clean, dry, safe location
out of reach of children.
Rev 11/06


