
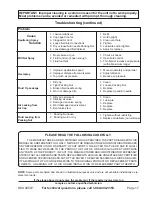

For technical questions, please call 1-800-444-3353;
Troubleshooting section at end of manual.
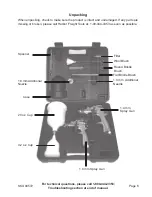
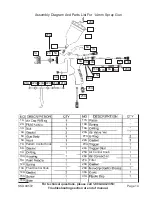
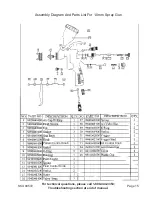
SKU 94572
Page 7
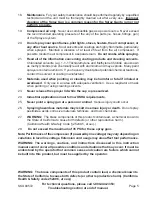
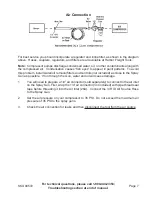
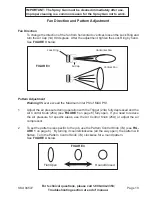
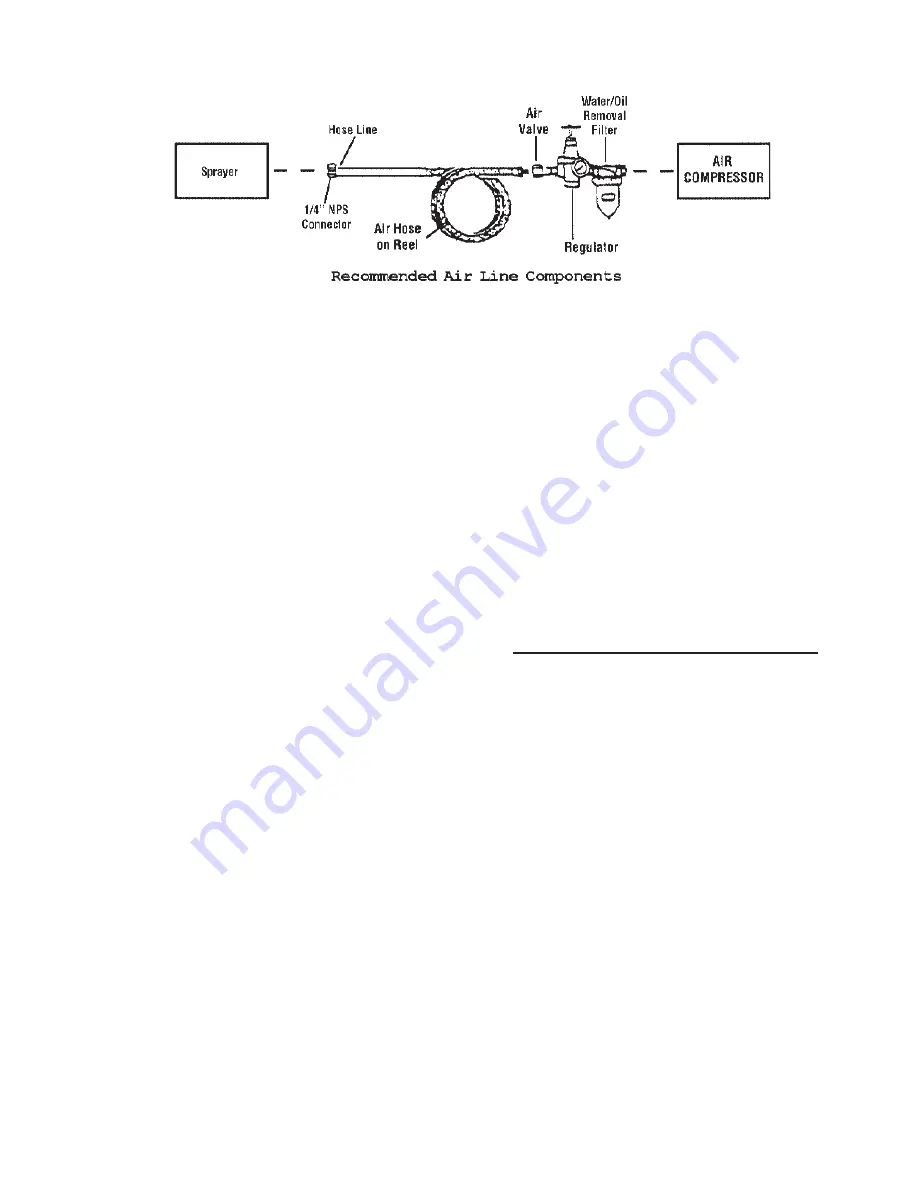
Air Connection
For best service you should incorporate a regulator and inline filter, as shown in the diagram
above. Hoses, couplers, regulators, and filters are all available at Harbor Freight Tools.
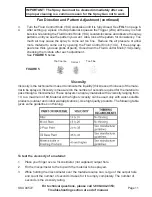
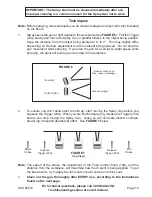
Note:
Compressor pumps discharge condensed water, oil, or other contaminants along with
the compressed air. Condensation causes “fish eyes” to appear in paint patterns. To avoid
this problem, install water/oil removal filters and controls (not included) as close to the Spray
Gun as possible. If run through the Gun, water and oil will cause damage.
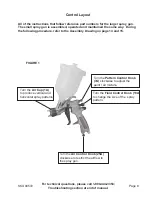
1.
You will need to prepare a 1/4” air connector (sold separately) to connect to the air inlet
on the Spray Gun. First, wrap the 1/4” air connector (not included) with pipe thread seal
tape before threading it into the Air Inlet (26A). Connect the 3/8” ID Air Source Hose
to the Spray Gun.
2.
Set the air pressure on your compressor to 35 PSI. Do not exceed the maximum air
pressure of 35 PSI to the spray guns.
3.
Check the air connection for leaks and then disconnect the tool from the air source.


