background image

Page 3

SKU 41209

For technical questions, please call 1-800-444-3353.

ment to do the work of a larger industrial tool.  There are certain applications for
which this tool was designed.  It will do the job better and more safely at the rate
for which it was intended.  Do not modify this tool and do not use this tool for a
purpose for which it was not intended.

6.

Dress properly.  

Do not wear loose clothing or jewelry as they can be caught in

moving parts.  Protective, electrically non-conductive clothes and non-skid foot
wear are recommended when working.  Wear restrictive hair covering to contain
long hair.

7.

Do not overreach.  

Keep proper footing and balance at all times.  Do not reach

over or across running machines or air hoses.

8.


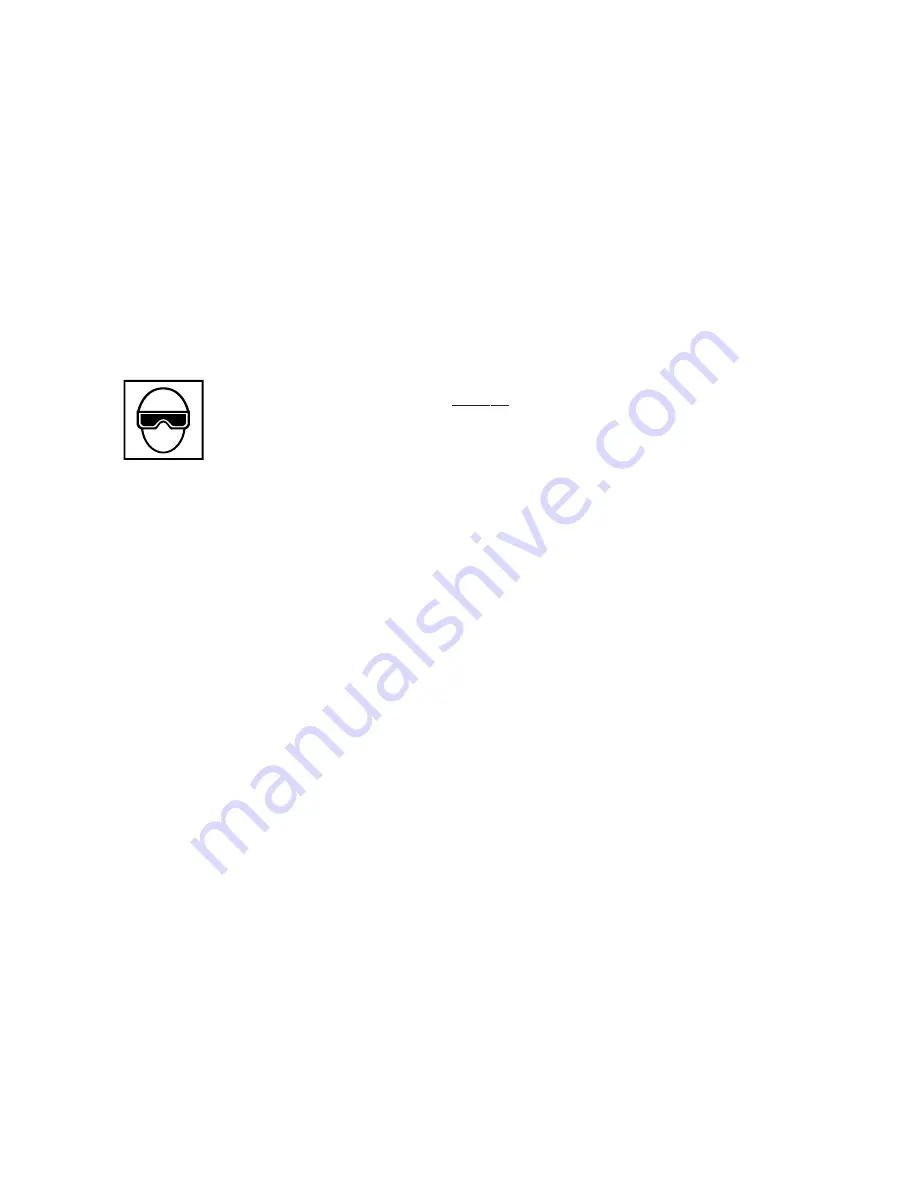
Use eye and ear protection.  

Always wear ANSI approved impact safety

         goggles and appropriate hearing protection.  Wear a full face shield if you
         are producing metal filings or wood chips.  Wear an ANSI approved dust
         mask or respirator when working around metal, wood, and chemical dusts
         and mists.  Other people in the work area must also wear ANSI approved
         impact safety goggles.

9.

Maintain tools with care.  

Keep tools clean for better and safer performance.

Follow instructions for lubricating and changing accessories.  Inspect tool cords
and air hoses periodically and, if damaged, have them repaired by an authorized
technician.  The handle must be kept clean, dry, and free from oil and grease at
all times.  Do not operate a tool if any portion of the tool’s operating controls are
inoperable, disconnected, altered or not working properly.

10.

Disconnect Air Hose and release any built-up air pressure.  

Never perform

service on the Nailer, clear jams, or disassemble with the air hose attached.
Always release any built-up air even after disconnecting hose.  Disconnect the
Nailer when not in use.

11.

Remove adjusting keys and wrenches.  

Check that keys and adjusting

wrenches are removed from the tool or machine work surface before attaching to
an air source.

12.

Avoid unintentional starting.  

Be sure the trigger is in the Off position when not

in use and before plugging in.  Do not carry any tool with your finger on the
trigger, whether it is attached to an air source or not.  Do not point the tool to-
wards yourself or anyone whether it contains fasteners or not.

13.

Stay alert.  

Watch what you are doing, use common sense.  Do not operate any

tool when you are tired.

14.

Check for damaged parts.  

Before using any tool, any part that appears

Summary of Contents for 41209

Page 1: ...t com TO PREVENT SERIOUS INJURY READ AND UNDERSTAND ALL WARNINGS AND INSTRUCTIONS BEFORE USE Copyright 2005 by Harbor Freight Tools All rights reserved No portion of this manual or any artwork contain...

Page 2: ...a conditions Do not use machines or power tools in damp or wet locations Do not expose to rain Keep work area well lit Do not use electrically powered tools in the presence of flammable gases or liqui...

Page 3: ...care Keep tools clean for better and safer performance Follow instructions for lubricating and changing accessories Inspect tool cords and air hoses periodically and if damaged have them repaired by a...

Page 4: ...oper size and type extension cord If an extension cord is required it must be of the proper size and type to supply the correct current to the compres sor without heating up Otherwise the extension co...

Page 5: ...edge of a workpiece They may split the workpiece and fly free causing personal injury 25 Take caution as some woods contain preservatives such as copper chro mium arsenate CCA which can be toxic When...

Page 6: ...ation For best service you should incorporate an oiler regulator and inline filter as shown in the diagram below Hoses couplers oilers regulators and filters are all available at Harbor Freight Tools...

Page 7: ...the tool fires stop immediately and have it repaired by a qualified service technician 8 Depress the Nose 72 against the workpiece and squeeze the Trigger 42 The tool must cycle fire Release the Trig...

Page 8: ...7 8 to 1 3 4 A 7 8 Long Nails Use top setting B 1 1 1 4 and 1 1 2 Long Nails Use middle setting C 1 3 4 Long Nails Use bottom setting MAGAZINE COVER 101 MAGAZINE COVER 101 TURN TO ADJUST MAGAZINE 92...

Page 9: ...s roof shingle spacing To adjust the Gauge to work with a particular width of shingles use the accessory Hex Wrench 103 to loosen the Screw 84 on the Gauge Slide the Gauge forward or backward to the d...

Page 10: ...VER use gasoline or other flammable solvents Do not immerse the Roofing Nailer in an approved solvent beyond the height of the nail heads to avoid getting the solvent into the drive cylinder of the to...

Page 11: ...nd Door 80 securely Then recon nect the air supply hose to the tool Anytime any maintenance or repairs are done including clearing jams FIRST 1 Disconnect the Nailer from the air hose 2 Empty the Maga...

Page 12: ...CEMENTS SHOULD BE UNDERTAKEN BY CERTIFIED AND LICENSED TECHNI CIANS AND NOT BY THE BUYER THE BUYER ASSUMES ALL RISK AND LIABILITY ARISING OUT OF HIS OR HER REPAIRS TO THE ORIGINAL PRODUCT OR RE PLACEM...

Page 13: ...mx12mm 14 O Ring 51 Driver Guide Front 85 Lock Washer 15 Frame 52 Driver Guide Back 86 Piston Washer 16 Filter Optional 53 Drive Bumper 87 Gage 17 Air Plug 1 4 NPT 54 Trip Cover 88 Gage Nut Plate 21 O...

Page 14: ...individually as replacement parts 1 2 3 4 5 6 7 8 7 9 10 11 12 13 14 15 16 21 22 17 39 42 43 39 39 44 40 24 25 26 28 29 30 31 32 33 34 35 36 37 38 27 103 101 93 90 95 1 97 96 95 94 93 92 63 99 45 46 4...

Reviews: