background image

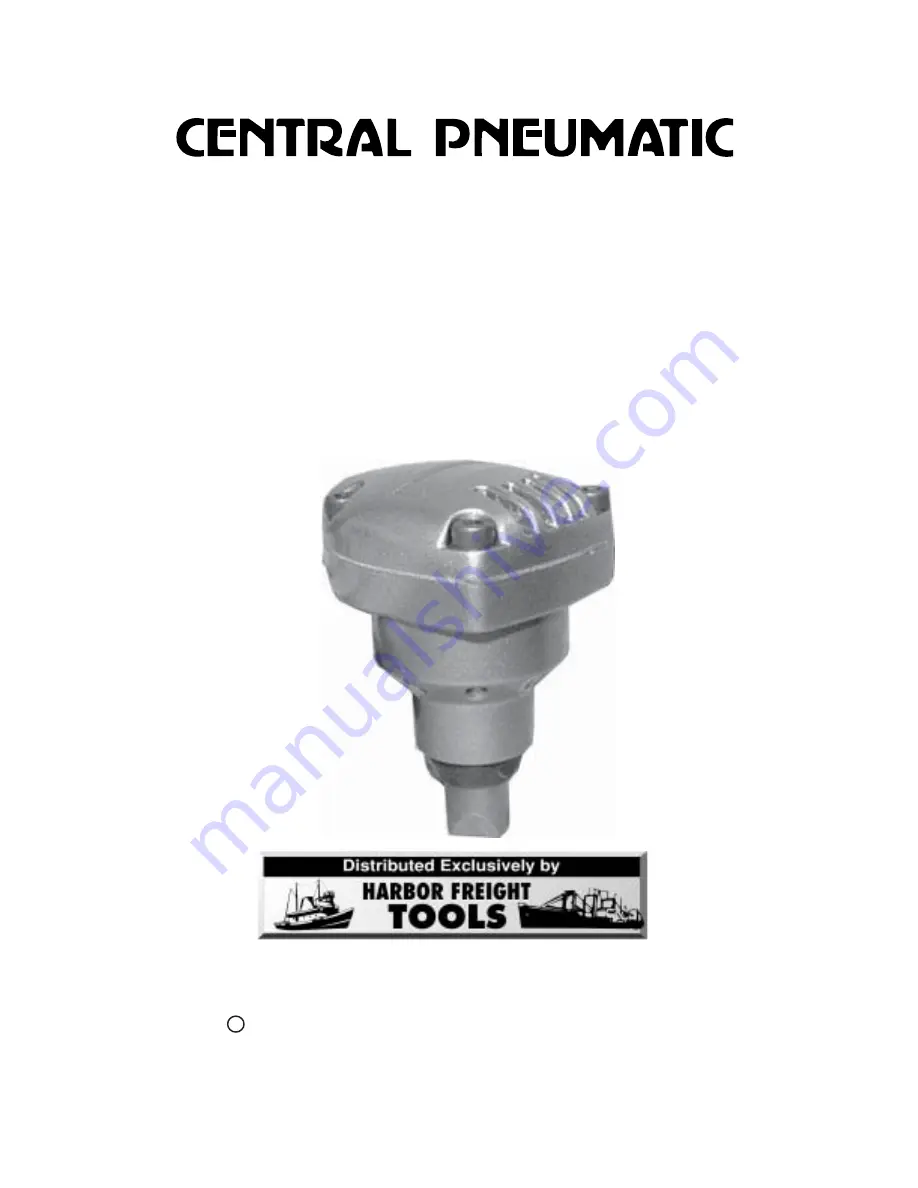
AIR MINI HAND NAILER

ASSEMBLY and OPERATING

INSTRUCTIONS

3491 Mission Oaks Blvd., Camarillo, CA 93011

Visit our Web site at http://www.harborfreight.com

For technical questions and replacement parts, please call 1-800-444-3353

Model  90193

®

®

Copyright  c   2003 by Harbor Freight Tools

®

 .  All rights reserved.  No portion of this

manual or any artwork contained herein may be reproduced in any shape or form
without the express written consent of Harbor Freight Tools.

Summary of Contents for 90193

Page 1: ...p www harborfreight com For technical questions and replacement parts please call 1 800 444 3353 Model 90193 Copyright c 2003 by Harbor Freight Tools All rights reserved No portion of this manual or any artwork contained herein may be reproduced in any shape or form without the express written consent of Harbor Freight Tools ...

Page 2: ...Store idle equipment When not in use tools must be stored in a dry location to inhibit rust Always lock up tools and keep out of reach of children 5 Use the right tool for the job Do not attempt to force a small tool or attachment to do the work of a larger industrial tool There are certain applications for which this tool was designed It will do the job better and more safely at the rate for whic...

Page 3: ...igerator enclosures 15 Replacement parts and accessories When servicing use only identical replacement parts Use of any other parts will void the warranty Only use accessories intended for use with this tool Approved accessories are available from Harbor Freight Tools 16 Do not operate tool is under the influence of alcohol or drugs Read warning labels if taking prescription medicine to determine ...

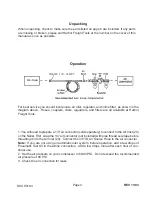
Page 4: ...t 20 Connect the 3 8 ID Air Source Hose to the air connector Note If you are not using an automatic oiler system before operation add a few drops of Pneumatic Tool Oil to the airline connection Add a few drops more after each hour of con tinual use 2 Set the air pressure on your compressor to 60 90 PSI Do not exceed the recommended air pressure of 90 PSI 3 Check the air connection for leaks Unpack...

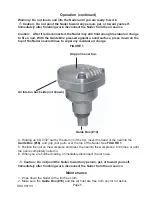
Page 5: ... 8D 9 32 nail by the stem not the tip insert the head of the nail into the Guide Box 18 and grip your palm over the top of the Nailer See FIGURE 1 5 Position the nail on the workpiece and press the nail into the workpiece 2 to 6 times or until the nail is completely nailed in 6 When you are finished nailing immediately disconnect the air hose Maintenance 1 Wipe down the Nailer with a lint free clo...

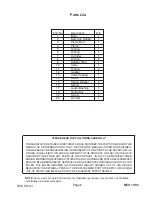
Page 6: ...THE PRODUCT IN FACT THE MANUFACTURER AND OR DISTRIBUTOR EXPRESSLY STATESTHAT ALL REPAIRS AND PARTS REPLACEMENTS SHOULD BE UNDERTAKEN BY CERTIFIED AND LICENSED TECHNICIANS AND NOT BY THE BUYER THE BUYER ASSUMES ALL RISK AND LIABILITY ARISING OUT OF HIS OR HER REPAIRS TO THE ORIGINAL PRODUCT OR REPLACEMENT PARTS THERETO OR ARISING OUT OF HIS OR HER INSTALLATION OF REPLACEMENT PARTS THERETO Parts Lis...

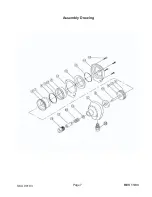
Page 7: ...Page 7 SKU 90193 Assembly Drawing REV 11 03 ...

Reviews: