Page 6
SKU 92622
For technical questions, please call 1-800-444-3353
Operation
WARNING: Only use one inch sockets with the torque capability of at least 1400 FT./
LBS.. Otherwise, the socket could fly off the Anvil or break apart, causing injury.
1.
Put on the impact safety glasses and ear plugs.
2.
Select the desired one inch socket and verify it fits properly on the nut or bolt being
secured or removed. Then, secure the socket on the Anvil (41) of the Impact Wrench.
3.
Hand screw on the nut or bolt as far as possible.
4.
Turn the air compressor on and set the air compressor pressure regulator to 100 PSI.
When the air compressor motor stops, and the air tank is full, operation may begin.
5.
Check for air leaks at the air hose connections. If a leak is detected, disconnect the air
hose and repair the leak.
6.
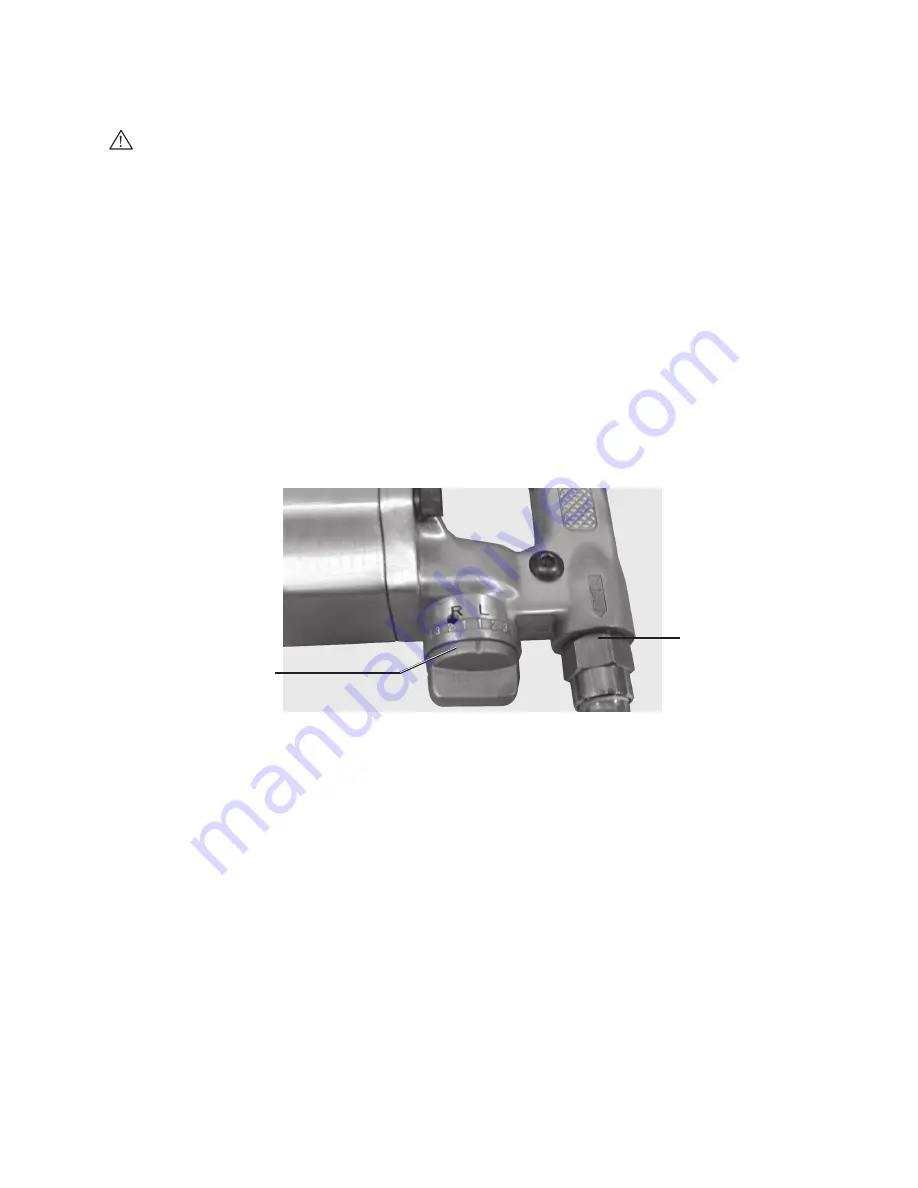
Set the Impact Wrench Regulator (19) to the desired direction (L = left or
counterclockwise, R = right or clockwise), and the torque setting (1 = Low,
2 = Medium, 3 = High).
7.
While holding the Impact Wrench with both hands, place the Anvil (41) with socket
squarely over the nut or bolt.
8.
Squeeze the Trigger (2) to begin loosening or tightening.
Be prepared for great torque on the Handles. Let the Impact Wrench do the work. Do
not lay into it with great force. If necessary, turn the Regulator (19) to adjust the air
flow within the Impact Wrench to increase or decrease torque.
Note: Do not overtighten the nut or bolt. If it will not tighten enough at the maximum setting, do
not continue. Use a manual torque wrench (not included) to tighten. If available, check the
specific torque settings for the nut or bolt.
Caution: Never increase pressure at the air compressor regulator to achieve more torque.
8.
When finished, release the Trigger (2), and lift the Impact Wrench off the nut.
9.
Remove the air supply hose, then squeeze the Trigger (2) again to release any
remaining air pressure in the Impact Wrench air chamber.
10.
Turn off the air compressor.
Regulator (19)
Air Inlet (10)


