


Revision 1. 2 November 2017
© 2017 Centrica plc.
Registered office: Millstream, Maidenhead Road, Windsor, Berkshire. SL4 5GD. Registered in England & Wales No 3033654
Page 16 of 22
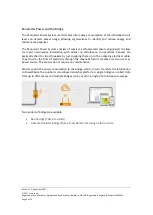
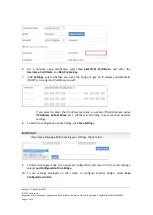
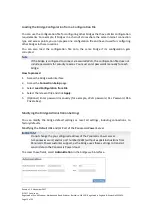
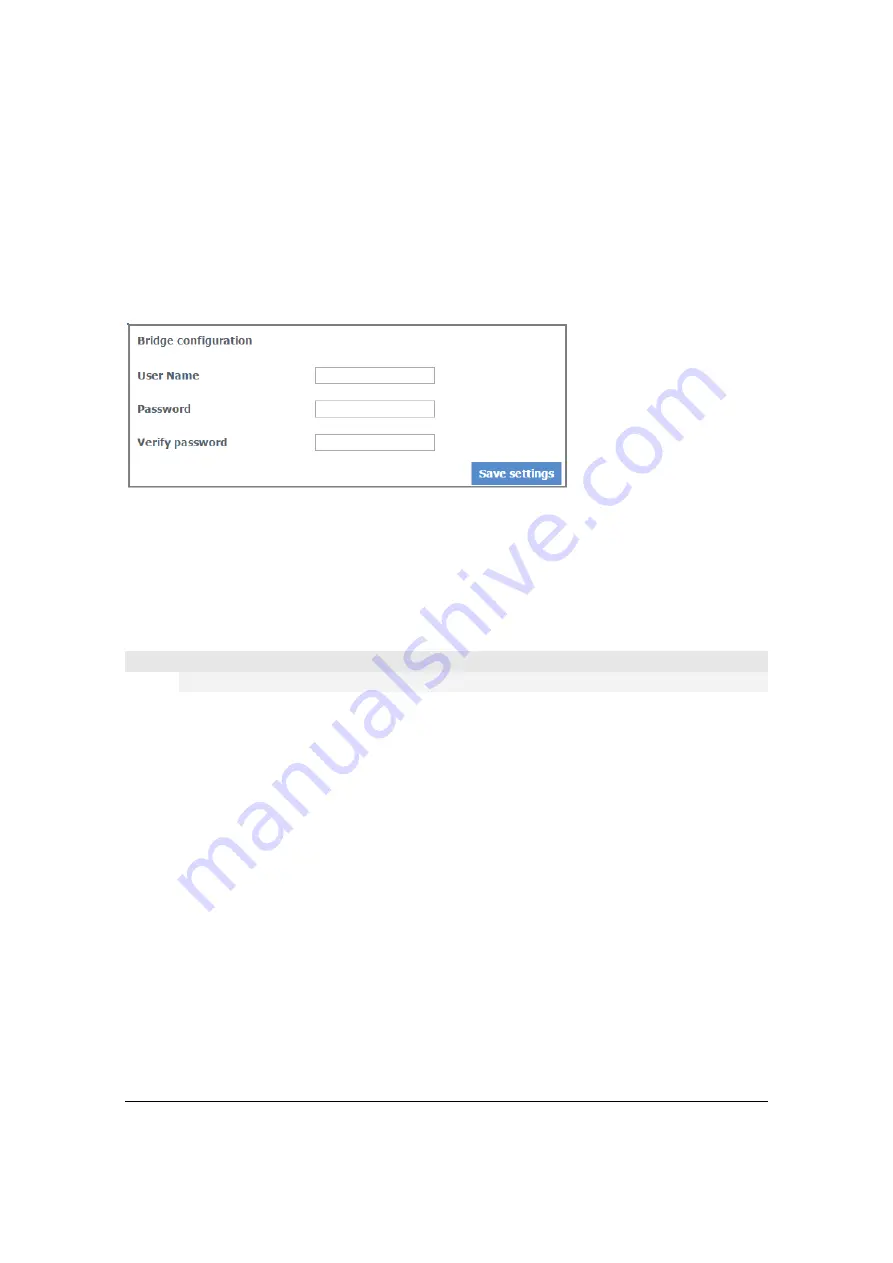
Modifying the Default Credentials for the Bridge Web Interface
You can change the default user name and password required to access the bridge
configuration and
Diagnostics
pages.
How to proceed
1.
Access the bridge web interface.
2.
Select
Administration
.
3.
Enter the new
Username
and
Password
.
4.
In
Verify Password
enter the new password again.
5.
Select
Save settings
.
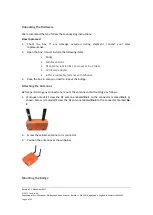
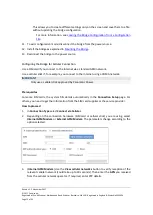
Resetting the Bridge Configuration to Factory Defaults
IMPORTANT
Restoring to factory defaults erases all your connection settings!
How to proceed
1.
Access the bridge web interface.
2.
Select
Administration
.
3.
Click
Reset to factory default
at the bottom of the page.
4.
At the prompt, click
OK
.
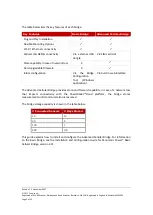
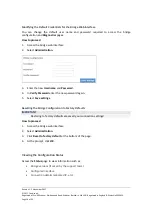
Viewing the Configuration Status
Access the
Status
page to view information such as:
•
Bridge versions (if asked by the support team)
•
Configured interface
•
Connection details (allocated IP, etc.)


