Revision 1. 2 November 2017
© 2017 Centrica plc.
Registered office: Millstream, Maidenhead Road, Windsor, Berkshire. SL4 5GD. Registered in England & Wales No 3033654
Page 7 of 22
You can install the bridge on a flat horizontal surface or mount it on a wall using screws or the
reclosable fastener.
How to proceed
1.
Configure the bridge as explained in this guide.
2.
Position the bridge at a distance of:
•
Up to 2 meters from the electrical panel, if the panel is covered with a metallic cover.
•
Up to 5 meters, if the panel is not covered.
3.
Choose a clean and even surface, located near a power source.
4.
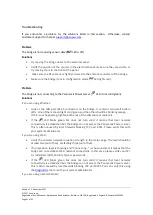
Make sure the bridge side vents are not blocked.
5.
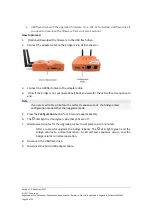
(Attaching with screws). Use the template on the back of the bridge to measure the
distance between the two screws.
6.
(Taping to the wall) Peel the adhesive backing off two pieces of the reclosable fastener
and attach them to the back of the bridge.
•
In the same way, attach the two remaining pieces of the reclosable fastener to the
wall, making sure they are aligned with the pieces on the bridge.
Connecting the Bridge
Depending on the required network configuration, you can connect the bridge to the Internet
using Wi-Fi, cellular network, or wired LAN.
Prerequisites
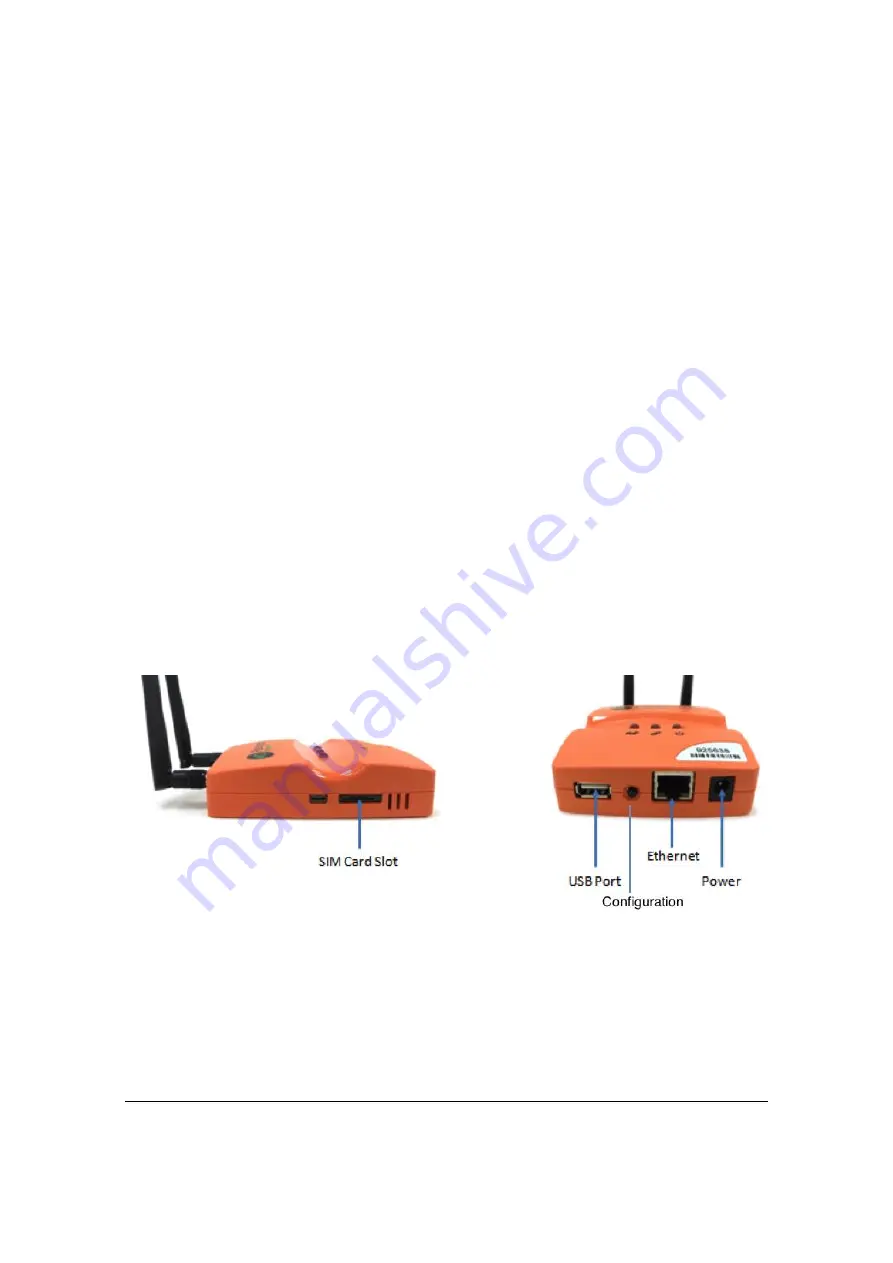
•
An Ethernet cable for configuring the bridge.
•
An Ethernet cable if you connect to the Internet via wired LAN


