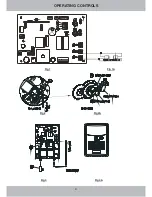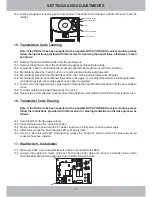
Fig 14
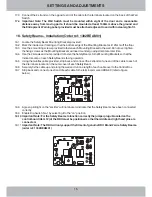
Fig 15
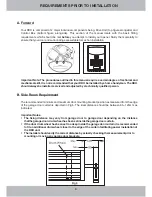
Fig 13
11
6.2
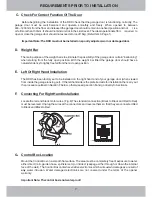
With the garage door in the fully closed position, mark the curtain at points “A” and “B” as depicted in
Fig.13
6.3
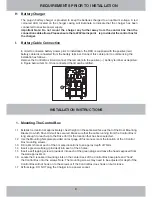
Once marked, open the door slightly so as to have access to the marked positions. Secure the curtain to
the drum wheel ensuring that the fixing points are at least 90 degrees apart.
7.1
With the Drive Unit in disengaged mode move the door up by hand to the fully open position.
7.2
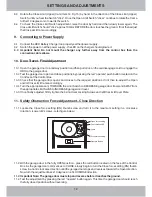
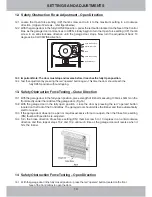
Remove the limit cover to expose the Limit Adjust Cams. (Fig.14)
7.3
Slightly loosen the 3 cam locking screws (to the extent that you can rotate the cam by hand with a firm
push).
7.4
Rotate the Open Limit (Lower) Cam (Item 13 Fig.15) by hand, in the direction of the Open Limit (Lower)
Switch, until you hear the Switch “click”. Once the Open Limit Switch “clicks” continue to rotate the cam a
further 10 degrees or so towards the switch.
7.5
To check the Open Limit Switch adjustment - move the door down by hand and then slowly back up
again. The limit switch should “click” approx 100mm BEFORE the door stops make contact with the rail
stops.
7.6
If not, then adjust the Open Limit Cam accordingly.
8.1
With the Drive Unit in disengaged mode move the door down by hand to the fully closed position.
8.2
Move the door down by hand to the desired fully closed position.
7.
8.
Door Travel Adjustment – Open Direction
Door Travel Adjustment – Close Direction
INSTALLATION INSTRUCTIONS
SETTINGS AND ADJUSTMENTS

