background image

4

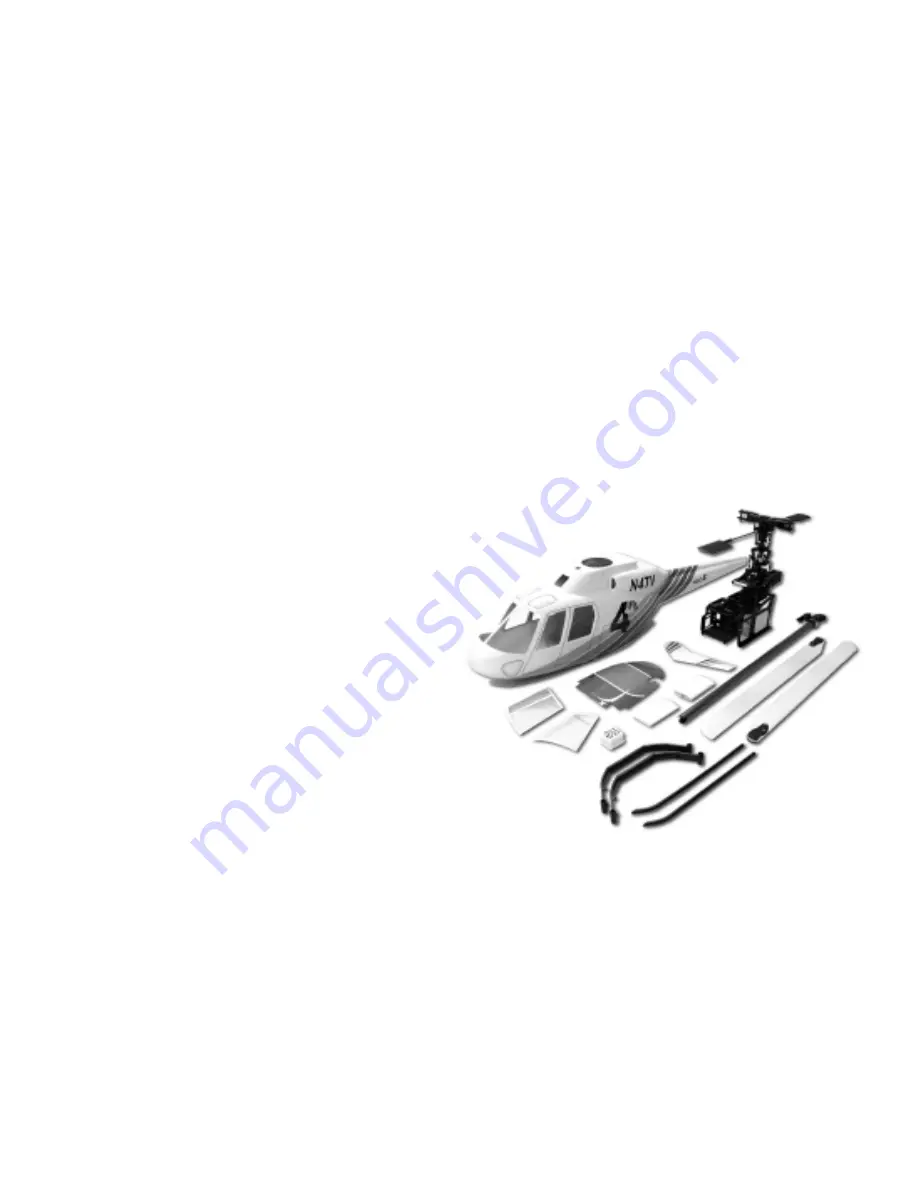
The mechanics (completely built helicopter without body) should be flight ready.  At this point the helicopter
should essentially be together without the fuselage, this can be accomplished with the scale mechanics instruction
manual that comes with the kit and ARF versions. For the kit version, complete all the fitting before painting.

The final items that need to be finished are:
1. The battery pack and the receiver (wrapped in foam) are installed in front or below the battery tray. If mounting

infront for balance, suitable anchoring need to be fabricated to securely hold the items.

2. The antenna needs to be routed to the tail gearbox with out contacting any metal or wiring. Optional short whip

antennas are great but either method needs to be routed correctly.

3. Remote glow plug adapter and fueling system needs to be installed (purchased separately).
4. The engine Run-in will require 2-4 tanks of fuel to get the engine running smoothly (with main blades).
5. Rudder pushrod length needs to be shortened and adjusted based on the rudder setup instructions.
6. During the Run-in, cycle the throttle to lift-off and trim the rudder while setting up the gyro.

Do not fly the helicopter at this stage, the mechanics are designed for the scale fuselage and is not balanced for
extended hovering or forward flight.  Also note that the is no tail support strut or tail fins (apart of the fuselage)
for stability.

Section Two:  Fuselage Preparation

Section Two:  Fuselage Preparation

Section Two:  Fuselage Preparation

Section Two:  Fuselage Preparation

Section Two:  Fuselage Preparation

STEP 1  Muffler Cutout & Clearance

STEP 1  Muffler Cutout & Clearance

STEP 1  Muffler Cutout & Clearance

STEP 1  Muffler Cutout & Clearance

STEP 1  Muffler Cutout & Clearance

If you are installing the optional CN3058 Scale 30 size
muffler the cutout in the fuselage is already completed.
The fuselage is designed to use the scale muffler from
Century, either the CN3058 (30 size) or the CN3059
(46-50 size) that can be purchase separately.  These
mufflers are box like and fit very close to the scale
mechanics making them an ideal choice. Standard
torpedo style mufflers simply will not work because they
require cutting out the side of the fuselage. It is common and
recommended to use an optional exhaust diverter that extends
the muffler exhaust out past the edge of the fiberglass, however it
maybe necessary to enlarge the hole in the fuselage depending on the
type used, Century offers CN3014, CN3015 & CN3016 that can be
trimmed to fit.

Section One:  Completing the helicopter mechanics.

Section One:  Completing the helicopter mechanics.

Section One:  Completing the helicopter mechanics.

Section One:  Completing the helicopter mechanics.

Section One:  Completing the helicopter mechanics.

ARF

ARF

ARF

ARF

ARF V

V

V

V

Ver

er

er

er

ersion

sion

sion

sion

sion

For the CN3059 Scale 46-50 size muffler, the cutout will need to be slotted as the position of the exhaust outlet is
slightly offset.  If another exhaust system is going to be installed, make the cutout for the exhaust at this time.

Kit

Kit

Kit

Kit

Kit V

V

V

V

Ver

er

er

er

ersion

sion

sion

sion

sion

No further work is necessary if mounting the optional CN3058 Scale muffler.  For all other mufflers, trace the
template in the back of the scale mechanics manual, install the preferred muffler and mark the hole for the exhaust.
Using a sharp pencil, pierce the holes for the side frame and the appropriate exhaust center mark that corresponds
to your muffler.  While holding the rear fuselage upside down, align the pierced “side frame” holes.  Using a
marker, mark the center and draw the circle for the exhaust hole.  Using a moto-tool and a grinding stone, make
the hole in the bottom of the fuselage and the bottom hatch.  Alternately, the hole can be drilled inside the final
diameter and filed or hand sanded to the final size.

 Twinstar Detail Manual

 Twinstar Detail Manual

 Twinstar Detail Manual

 Twinstar Detail Manual

 Twinstar Detail Manual

Summary of Contents for Twinstar CN1075

Page 1: ...licopter ARF Helicopter ARF Helicopter Detail Manual HIGHQUALITYFIBERGLASS MAINROTORDIAMETER 49 5 in TAILROTORDIAMETER 9 7 in HEIGHT 15 2 in BLADES 550mm ENGINE 32 38 Century Helicopter Products Designed and Developed in USA 2nd Edition March 2002 All rights reserved Specifications ...

Page 2: ...ning Warning Warning Warning Warning TheTwinstarscalehelicopterkitmustbeassembledandinstalledinaccordancewiththeseinstructions Failuretodosocouldcausefailuresinthefuselageorthehelicoptermechanics Suchfailurescouldresult inseriousinjuries Itisstronglyrecommendedthatifyouareindoubtofyourabilities youshouldseek theassistancefromexperiencedradiocontrolmodelersandassociations Asmanufacturer weassumeno ...

Page 3: ...n Instructional Information Instructional Information Everyattempthasbeenmadetoeasetheassemblyofyourhelicopter ateachstepwheretherearecomplex assemblies therearedetaileddrawings photosandwritteninstructionstowalkyouthrougheachstep Remember totakeafewminutesbeforeeachsteptocarefullyexaminetheinstructionsinordertobecomefamiliarwiththe partsandassemblysequencebeforebeginningthatstep TwinstarDetailCon...

Page 4: ...dtousethescalemufflerfrom Century either the CN3058 30 size or the CN3059 46 50size thatcanbepurchaseseparately These mufflers are box like and fit very close to the scale mechanicsmakingthemanidealchoice Standard torpedostylemufflerssimplywillnotworkbecausethey requirecuttingoutthesideofthefuselage Itiscommonand recommendedtouseanoptionalexhaustdiverterthatextends themufflerexhaustoutpasttheedgeo...

Page 5: ...chanicsareinthe finalposition someslightadjustmentis possiblebybendingthelastsegmenttofit STEP 2 Fuselage Side Supports STEP 2 Fuselage Side Supports STEP 2 Fuselage Side Supports STEP 2 Fuselage Side Supports STEP 2 Fuselage Side Supports Finalshapeofthefuselagesupportsbefore applyingtapeorweather stripping Remem bertothoroughlycleanthepartsbefore applyinganyadhesivetape Fuselage supports CN1075 ...

Page 6: ...equallyspacedalongthetailboom Insertthelongrudderpushrodfromthe endofthetailboombutdonotattachtheplasticpushrodcoupler CompletetheremainderofStep4 9inthe mechanicsmanual includingattachingtherudderballlinktothetailpitchleverbutdonotgreasethegearsinthe gearbox Slidethepushrodbackandforthtogetthebestpositioningforthetailguides Oncesmoothoperationis attained tapeeachguidetothetailboom Followingtherud...

Page 7: ...crewandinsertfromthebottom ofthefrontlandingstrut throughthefiberglassfloorandthealigntothefrontholeofthemechanics Attachone M3Locknutontheinsideusingplierstoholdthenutwhiletheboltistightenedfrombelow Repeatfortheother side Toattachtherearstrut repeatthesameprocedurebuttipthemechanicsoverthesideofatable Usinga 5 5mmnutdriver placeadropofgreaseonthetopofthelocknutandinsertintothenutdriver thiswillh...

Page 8: ...lightlysandthepaintsurfacetoremovetheglossfinishandbonddirectly Followthetapingprocedureat theendofthekitversionuntildry Thehorizontalstabilizersareattachedtothetailboombybondingtheedgeofthefintothematchingmolded protrusiononthetailboom Thethreadedrodsareonlyforalignmentanddonotsignificantlyaddtothestrength ofthejoint Matchthehorizontalstabilizertothematingmoldedsectioninthetailboomanddrawapencill...

Page 9: ...os Havingcompletedthemechanics liftthe helicopterbytheflybarheldperpendiculartothe lengthofthehelicopterandcontinueto movethebatterypackforwarduntil balanceisachieved Itmaybenecessary toconstructananchor likeafew simplemetalhooksbondedtothe insideofthenosetoholdrubber bandssecuringthebatterypack If moreweightisnecessary adding weightisacceptablebutbe cautioustotheamount ifleadis beingused bonditas...

Page 10: ...hin 1 16 1 5mm beadofadhesivecenteredintherecessed surface Pickupthewindshieldbytheedgesonly remember Goop or GoopFingerprints cannotberemovediftheytouchaclearpart Usingsingle use Hobbygreasesyringes aregreatandreally makethisasimpletaskastheadhesivewidthandamount canbeeasilycontrolled Letdryfor24hours An excellentalternativeistouse R C56Canopy Glue fromanyairplanehobbyshop Thisadhesive remainswhi...

Page 11: ...leoftheflybartothemainshaftinnot realisticandwheninflight theflybarwill notdeflecthalfthedistancepossible HappyflyingwithyourgorgeousTwinstarfuselage STEP 14 Final Balancing STEP 14 Final Balancing STEP 14 Final Balancing STEP 14 Final Balancing STEP 14 Final Balancing Twinstar Detail Manual Twinstar Detail Manual Twinstar Detail Manual Twinstar Detail Manual Twinstar Detail Manual STEP 15 Decals ...

Page 12: ...implyfixedandtherepairedsectionismuchstrongerthaninits originalstate Addtouchuppaintandnoonewouldeverknowithadbeendamaged Thereisalimittothistype ofthinkingwherepurchasingthereplacementfiberglasspartissimplycheaperandlessworkthanperforming majorreconstructivesurgery The Paint Job The Paint Job The Paint Job The Paint Job The Paint Job There is no magic to a good paint job the true secret is time p...

Page 13: ...ling fan shroud ForthesefuselagesthathavebeenexplicitlydesignedfortheCentury sscalemechanics almostallof theseconcernshavebeenconsideredandfinishedatthefactory Thisleavestheholefortheexhaust ifyouare using the recommended scale muffler CN3058 32 38 or CN3059 46 50 then these dimensions have been includedonatemplateintheScaleMechanicsManualforthe30sizeengine the46 50requiresaslightadjust ment 4a Wh...

Page 14: ...m10or20mm forall 1 OptionalParts CN0427 Hexonewaystartextension 1 CN2054 UniversalGlowPlugWrench 1 CN2222 RemoteGlowPlugConnector 1 CN3014 Exhaust Diverter 30 size 45 Degree 1 CN3015 Exhaust Diverter 40 60 size 90 Degree 1 CN3016 Exhaust Diverter 40 60 size 45 Degree 1 CN3058 32 38ScaleMuffler optional 1 CN3059 46 50ScaleMuffler optional 1 CNT4444 BranchValvew Filter FillingNozzleSet 1 CN1075 1 Fr...

Reviews: