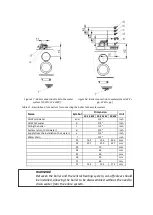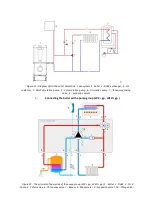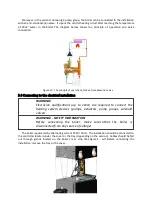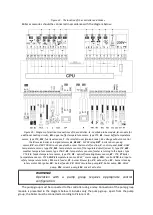
WARNING! - SAFETY INFORMATION
Assembly, installation and first start-up of the boiler must
be performed by a trained / authorized specialist in this
field
Be sure to use gloves during assembly
The boiler must be installed before its start-up. The stages of installing the boiler should be carried
out in the following sequence:
a) Place the boiler in a suitable place and at appropriate distances from the walls,
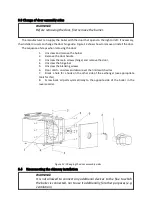
b) If necessary, change the side of door assembly,
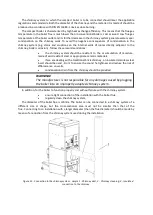
c) Connect the boiler to the chimney system
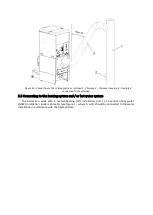
d) Connect the boiler to the heating system (water)
e) Connect the boiler to the electricity network
WARNING! - SAFETY INFORMATION
Boiler installation or uninstallation can only be performed, and only if:
The boiler is turned off and cooled down
The boiler is disconnected from the electrical system
Before starting the boiler installation, check:
whether the purchased boiler is free from mechanical defects and damage,
e.g. during transport ,
the plumbing system of central heating works correctly (with no debris, rust),
etc., which could cause incorrect operation of the boiler (eg. increase resistance of
flow of water in the boiler) .
the chimney is provided with an insert made of stainless steel, or the way and
whether or not a valid string ,
is there adequate ventilation in the boiler room in accordance with applicable
standards,
whether the electric network has the correct voltage (230 V) and whether the
phase cable (L) is properly connected and the electrical socket is secured with a
protective contact .
5.1 Positioning the boiler
The boiler must be installed in a separate room - the boiler room. The boiler room must meet the
requirements of local regulations and standards for the location of solid fuel boilers.
The floor under the boiler must be made of non-flammable material and have a strength
proportional to the weight of the boiler. The boiler itself must be perfectly aligned during
installation. The location of the boiler should provide access for maintenance and service. The
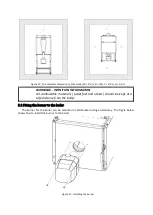
minimum distances from the walls are shown in Figure 12 .
Summary of Contents for QUAD 10
Page 11: ......


