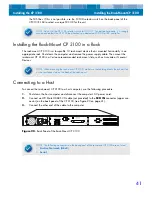
Installing the CP 3100
Installing a Desktop CP 3100
38
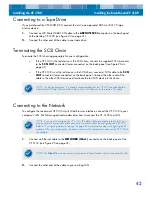
Terminating the SCSI Chain
Terminate the SCSI chain appropriately for your configuration:
•
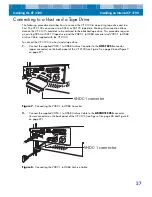
If the CP 3100 is the last device in the SCSI chain, connect the supplied SCSI terminator
to the
SCSI OUT
connector (lower connector) on the back panel (see Figure 19 on
•
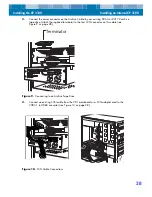
If the CP 3100 is not the last device in the SCSI chain, connect a SCSI cable to the
SCSI
OUT
connector (lower connector) on the back panel. Connect the other end of the
cable to the other SCSI device and terminate the last SCSI device in the chain.
Connecting to the Network
To configure the desktop CP 3100 via its Web Browser interface, connect the CP 3100 to your com-
pany’s LAN. The following procedure describes how to connect the CP 3100 to a LAN.
1.
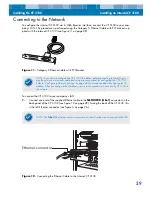
Connect an Ethernet cable to the
NETWORK (Gbe1)
connector on the back panel of the
CP 3100 (see Figure 19 on page 37).
2.
Connect the other end of the cable to your existing LAN.
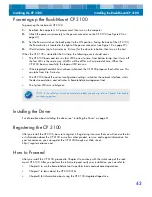
Powering-up the Desktop CP 3100
To power-up the desktop CP 3100:
1.
Re-attach the computer's AC power cord, then turn on the computer.
2.
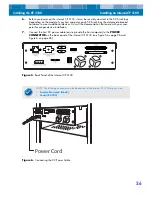
Attach the power cord securely to the power receptacle on the back panel of the CP 3100
(see Figure 19 on page 37).
3.
Set the Power switch on the CP 3100 back panel to the ON position. Facing the back of the
CP 3100, the Power button is located to the right of the power receptacle (see Figure 19 on
page 37).
4.
Wait 2 minutes (up to 5 minutes on first use) for the drive to initialize, then turn on the host.
When the CP 3100 is started for the first time, the following events should occur:
•
The CP 3100 boots and turns on four LEDS, one at a time, from bottom to top; then it turns off
the four LEDs in the same way. All LEDs will be off for a short period of time. When the
CP 3100 boots successfully, the topmost LED turns on.
NOTE. If you want to configure the CP 3100’s IP address before connecting to the LAN, you
may have to use a crossover cable and set up a private subnet for configuring the CP 3100.
Refer to “Configuring Network Settings” on page 48 for information about configuring the IP
address. After you configure the IP address, return to this procedure to connect the CP 3100 to
the network.
NOTE. The
Gbe2
Ethernet connector is reserved and should not be used to connect to the LAN.


