Installing the CP 3100
Installing an Internal CP 3100
26
6.
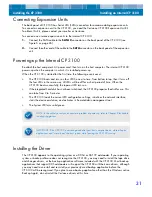
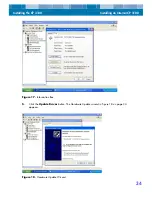
Before you power-up the internal CP 3100, it must be securely mounted in the 5.25-inch bay.
Depending on the model of your host computer, each 5.25-inch bay should provide bracket
hardware to mount additional devices. Consult the documentation that came with your com-
puter for proper device installation.
7.
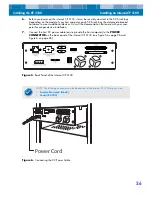
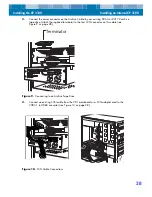
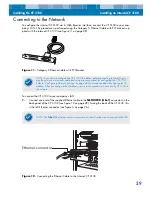
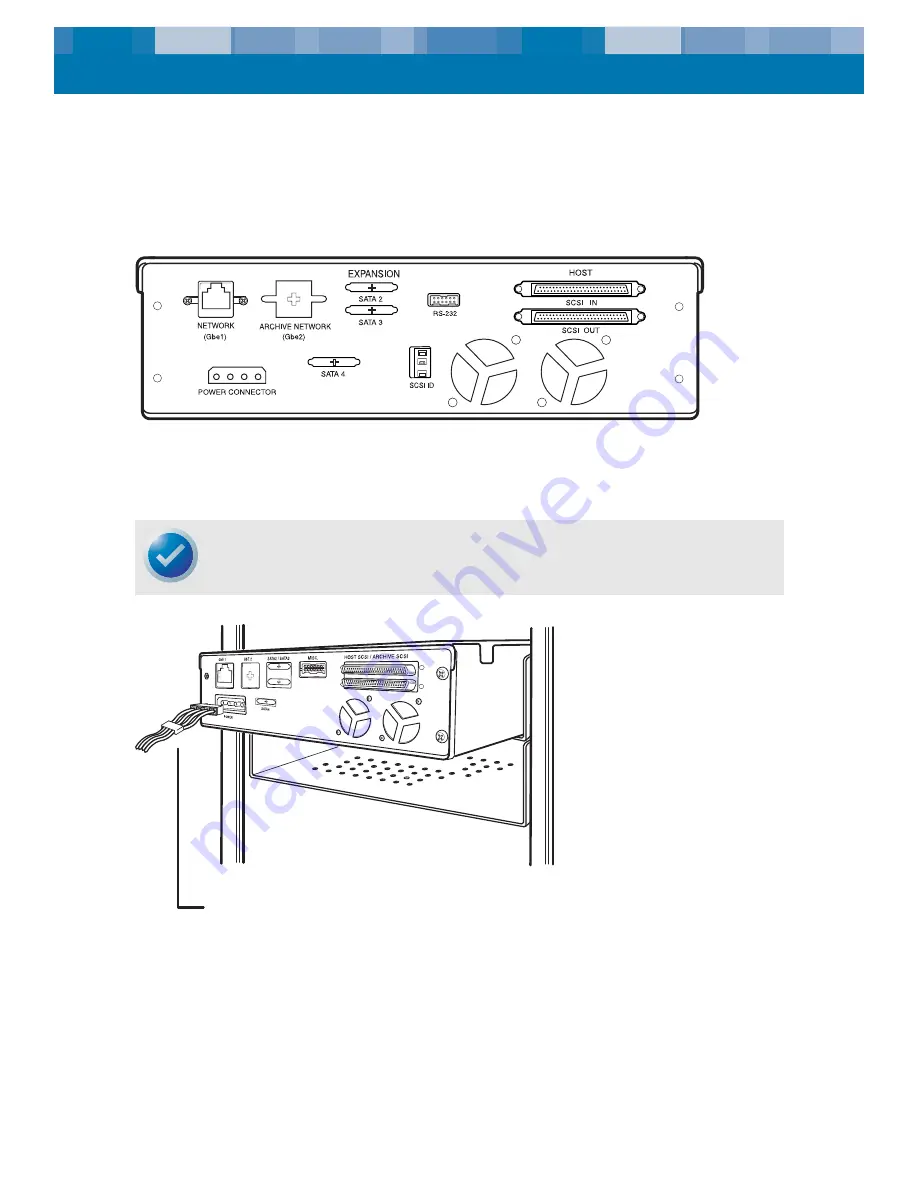
Connect the host DC power cable (existing inside the host computer) to the
POWER
CONNECTOR
on the back panel of the internal CP 3100 (see Figure 5 on page 26 and
Figure 5.
Back Panel of the Internal CP 3100
Figure 6.
Connecting the DC Power Cable
NOTE. The following connectors on the back panel of the internal CP 3100 are not used:
•
Archive Network (Gbe2)
•
Serial (RS-232)
Power Cord


