model no. 054-8289-8
14
TROUBLESHOOTING
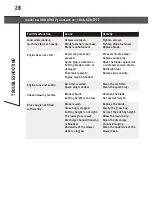
Problem
Possible Causes
Solution
The motor does not start.
The tool is not connetced to
a power source.
Connect the tool to a power
source.
Blade cannot be removed.
Saw dust in the blade
clamp.
Clean the clamp slot with
a brush.
Cutting is difficult.
Saw blade is worn.
Replace the saw blade.
TROUBLESHO
OTING
Attaching the grass bag to the mower
As shown in Fig. 8.
1. Lift the ejector flap with one hand
and hook in the grass bag.
2. Release the ejector flap to secure
the grass bag in position.
Assembling the mulching plug
As shown in Fig. 9.
1. Remove the grass bag.
2. Push the plastic mulching plug into the
discharge chute until it is locked in place.
3. Release the flap. It will close back to
cover the mulching plug.
Assembling the side discharge chute
As shown in Fig. 10.
NOTE:
When changing to the side
discharge, remove the grass bag and
plug the mulching plug.
1. Lift the side discharge cover with one
hand and hook in the side discharge chute
with the other hand.
2. Release the side discharge cover to
secure the chute in position.
Checking and filling engine oil
As shown in Figs. 11 to 13.
CAUTION!
The following procedures and
adjustments must be performed before the
engine is started.
Do not attempt to make any of these
adjustments while the engine is running.
CAUTION!
To prevent engine damage the
engine is shipped without oil or gas.
The engine must be filled with the correct
grade of oil and gas before starting the
engine.
NOTE!
Running the engine with a low oil level will cause engine damage. It is recommend
that high detergent, premium quality 4-stroke engine oil be used. Using non-detergent oil
can shorten the engine’s service life, and using 2-stroke oil will damage the engine.
CAUTION!
Always use high quality detergent oil classified SAE30 oil (or equivalent, such
as SAE 10W/30, often termed as 4-stroke lawnmower oil).
Never use additives with recommended oil.
To prolong the life of your engine it is important that the oil is changed after the first 5
hours of use.
NOTE:
To check the engine oil level, stop engine and place the mower on a level surface.
1. Remove the oil filler dipstick and wipe oil
from it with a clean cloth (see Fig. 11).
2. Insert the dipstick into the oil filler neck,
but do not twist it closed (see Fig. 11-1).
3. Remove the dipstick and check the oil
level: the oil level must be between the
Min and Max marks on the dipstick. If near
the lower level, fill to upper lever with
the recommended oil (SAE30 or equivalent).
Do not overfill. Wipe away any spilled oil
(see Fig. 12).
4. Align the ribs of the cap with the groove of
the filler neck, then rotate 1/4 turn to
secure it (see Fig. 13).
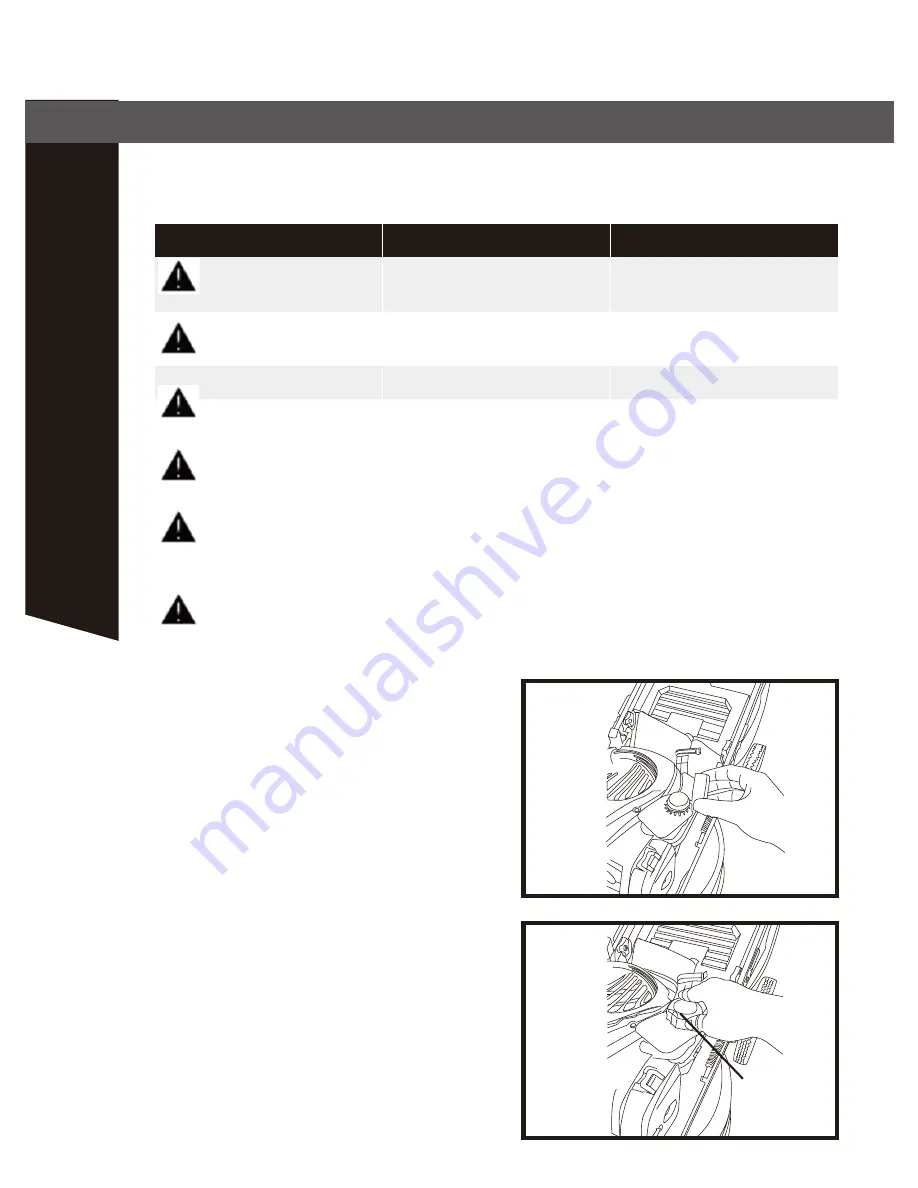
Filling with engine fuel
As shown in Fig. 14.
CAUTION!
Always use clean, fresh unleaded gas. Purchase fuel in quantities that can be
used within 30 days. Never mix oil with gas.
CAUTION!
Do not fill into the base of neck to allow for fuel expansion. Do not overfill the
fuel tank.
CAUTION! WARNING!
Gas is highly flammable and extreme caution must be taken when
handling or working with it. Keep out of reach of children.
CAUTION!
To prevent engine damage the engine is shipped without oil or gas. The engine
must be filled with the correct grade of oil and gas before starting the engine.
WARNING!
Refuel in a well-ventilated area with the engine stopped. Do not smoke or allow
flame or sparks in the area where the engine is refueled or where gas is stored. Avoid
repeated or prolonged contact with skin or inhalation of vapour.
WARNING!
Gasoline with up to 10% ethanol (gasohol) is acceptable.
Do not use unapproved gasoline, such as E15 and E85.
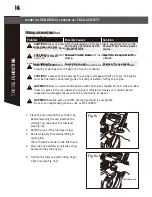
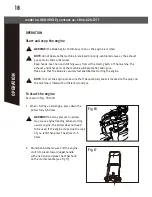
1. Clean the area around the gas filler cap
before removing the cap. Remove the
warning tag, and check the fuel level
(see Fig. 14).
2. Refill the tank if the fuel level is low.
3. Refuel carefully to avoid overfilling or
spilling fuel.
There should be no fuel in the filler neck.
4. Clean up any overflow or splashes of gas
before starting the engine.
5. Tighten the filler cap after filling: finger
tight only (see Fig. 14-1).
Fig. 14
Fig. 14-1
fuel filler neck
16
ASSEMBLY
model no. 060-0190-2
I
contact us: 1-844-428-7277
Summary of Contents for 060-0190-2
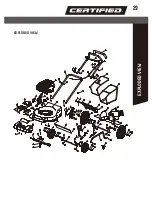
Page 30: ...EXPLODED VIEW 29 EXPLODED VIEW ...
Page 34: ......
Page 64: ...VUE ÉCLATÉE 63 VUE ÉCLATÉE ...

