12
COMMISSIONING
The installation and use instructions should be respected, and the factory settings remain unchanged.
•
Open the different valves on the unit,
•
Drain the pump(s)
•
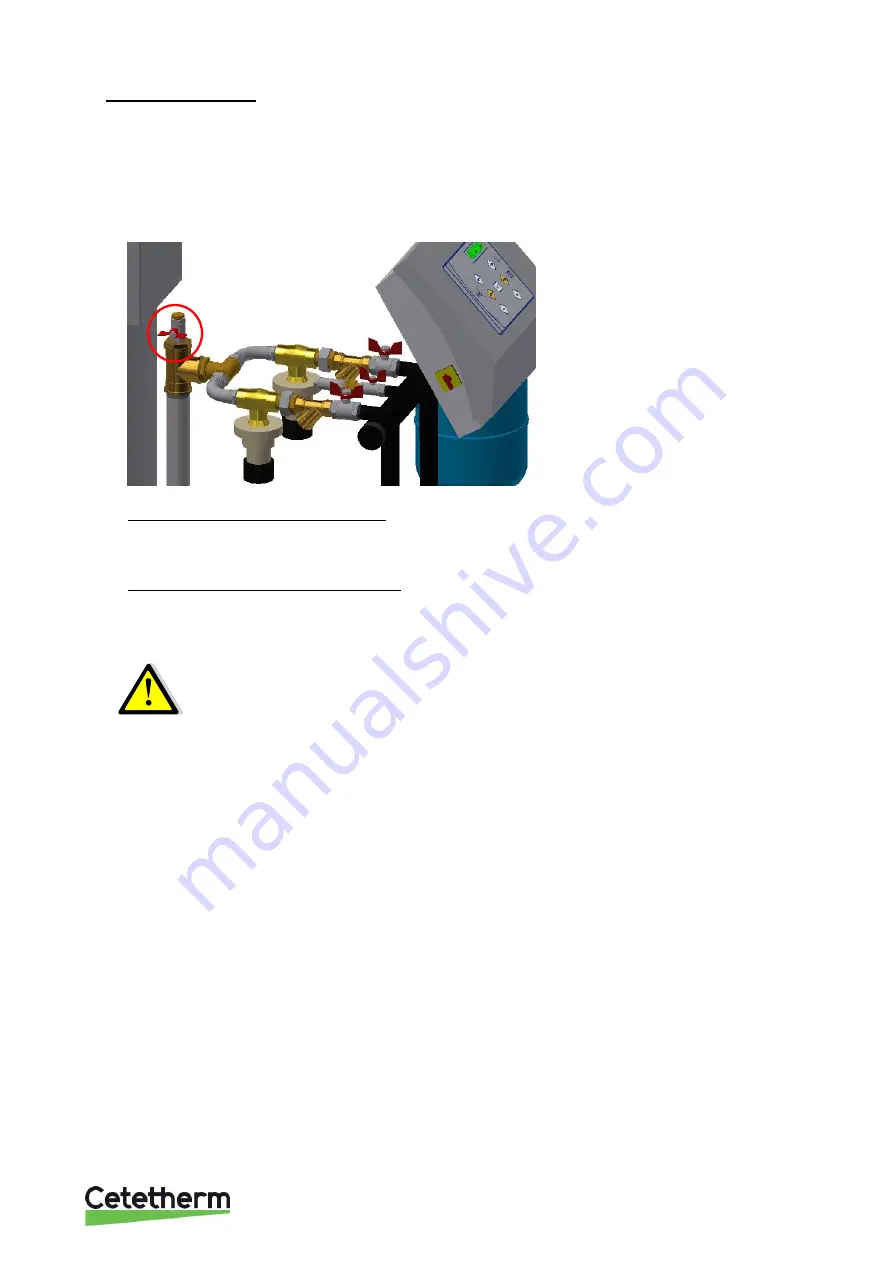
Closed tank collector : a gate valve plus a cap are located on the upper part, allowing to easily air venting
while commissioning the unit, to remove air from the collector. Once done, close the valve and screw the
cap.
•
OPEN EXPANSION VESSELS ONLY: Set the level sensors inside the tank. For that, pull on the electric
cables until it doesn’t move any more. Then, push both cables 12 centimeters inside the tank. Screw the
stuffing boxes of each cable.
•
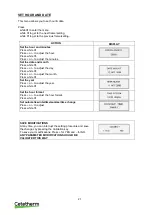
CLOSED EXPANSION VESSELS ONLY: Before water filling starting up the unit, RESET THE VOLUME
VALUE if different of zero. The controler display should indicate the water volume inside the tank, so should
be at zero before water filling by pressing the OK key.
The zero volume is done by accessing to the
Technician menu at line “Zero setting”. At this point, press + key, then + and – to confirm.
THE
ZERO
ADJUSTMENT
MUST
BE
DONE
WITH
AN
EMPTY
VESSEL !
If it is not the case, power off the control box and open the drain valve located on the
collector to remove water. Once done, close the drain valve and power on the control
box.
•
Check the expansion vessel pressure (about 0.1 bar less than the pressure set point). The setting must be
done without water into the vessel.
•
Power on the unit by the main control panel
. The first time, the controller indicates “lack of water” and opens
the electrovalve to start filling the vessel. Once the filling volume has been reached, the pump(s) start,
pressurizing the installation.
•
As per the unit type, both pumps should start together if required pressure is not reached at the unit start
up. A cyclic permutation will shift the starting pump in order to have the same worked hours for each pump
(MP5/MP7 only).
•
Check the starting pump pressures on the display compared to set pressure on the controller.


