background image


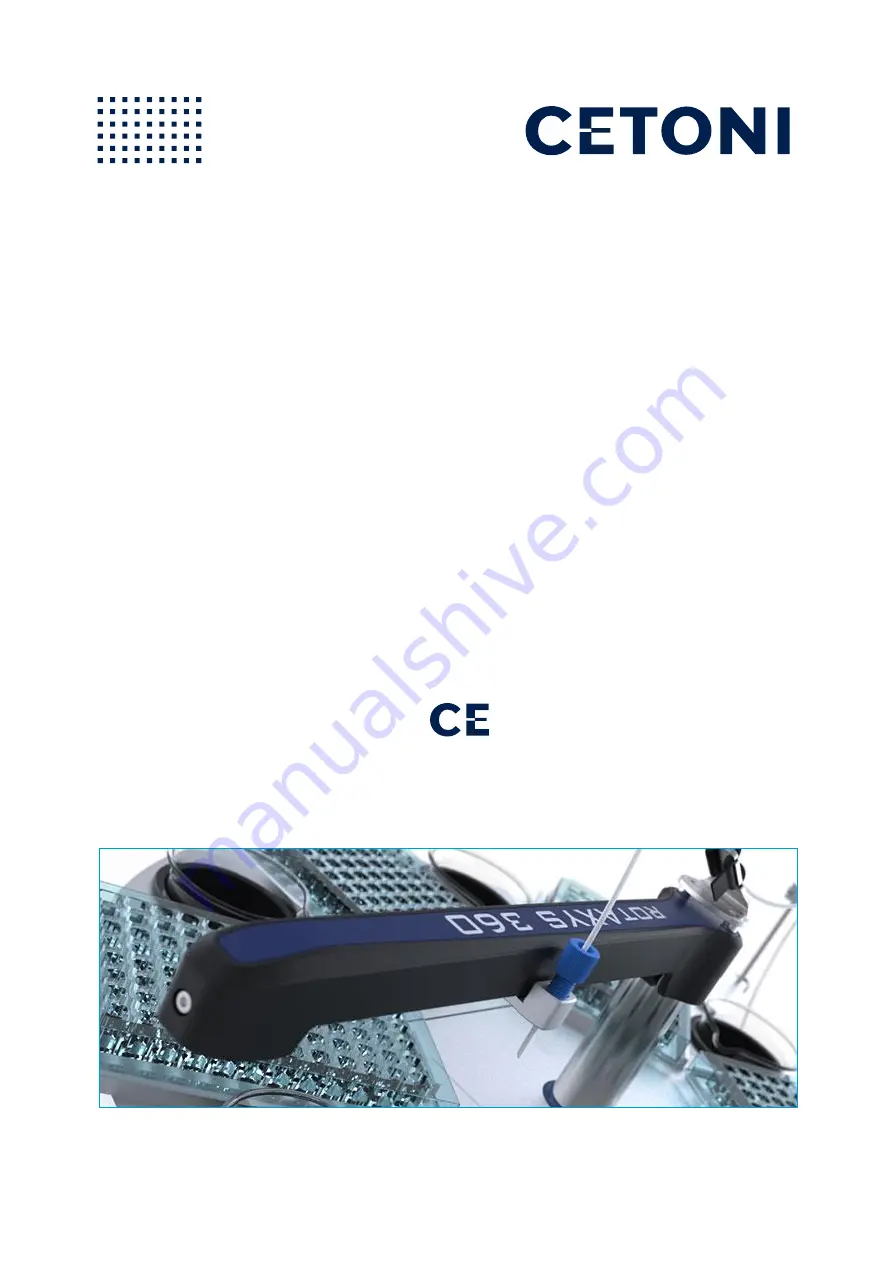
 ROTAXYS 360 

Hardware Manual 


ORIGINAL INSTRUCTION 1.01 

MARCH 2016 

Summary of Contents for ROTAXYS 360

Page 1: ...ROTAXYS 360 Hardware Manual ORIGINAL INSTRUCTION 1 01 MARCH 2016...

Page 2: ...2 rotAXYS 360 Hardware Manual CETONI GmbH Wiesenring 6 07554 Korbussen Germany T 49 0 36602 338 0 F 49 0 36602 338 11 E info cetoni de www cetoni de...

Page 3: ...with respect to new developments or improvements or to supply them to him CETONI does not legally warrant any particular software properties CETONI is not liable for any damage unless it is caused wi...

Page 4: ...4 rotAXYS 360 Hardware Manual...

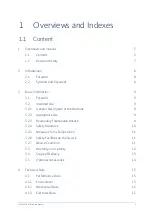
Page 5: ...se 9 3 2 1 General Description of the Machine 9 3 2 2 Appropriate Use 9 3 2 3 Reasonably Foreseeable Misuse 9 3 2 4 Safety Measures 10 3 2 5 Measures for Safe Operation 11 3 2 6 Safety Facilities on t...

Page 6: ...2 6 2 Connecting the Device 24 6 2 1 Operation as a Standalone Device 24 6 2 2 Operation with neMESYS or Qmix Devices 25 7 Hardware Operation 26 7 1 Introduction 26 7 2 Installation of the Optional Sa...

Page 7: ...rotAXYS 360 Hardware Manual 7 1 2 Revision History REV DATE CHANGE 1 00 24 06 2015 Creation of rotAXYS Manual 1 01 15 03 2016 New corporate design...

Page 8: ...you navigate the document HINT User tips and useful information to simplify the use of the software IMPORTANT Important information and additional particularly useful information This symbol does not...

Page 9: ...ht items such as cannulas or hoses in a circular area with a radius of approximately 200 mm It can also lift items up to approximately 96 mm 3 2 2 Appropriate Use The rotAXYS360 positioning system is...

Page 10: ...or medical purposes x Before each operation of the device the user has to ensure that the device is functioning safely and is in proper condition x The user must be familiar with the operation of the...

Page 11: ...or its cables Portable and mobile two way radios should be kept at the minimum safe distance from the device and its wiring 3 2 6 Safety Facilities on the Device In cases of emergency the device can b...

Page 12: ...y Any work done on the device within this period shall not extend or renew the warranty CETONI GmbH assumes responsibility for its devices with respect to safety reliability and function only if insta...

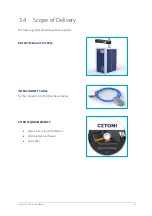
Page 13: ...cope of Delivery The following items should have been supplied ROTAXYS360 AXIS SYSTEM INTERCONNECT CABLE for the connection to the Qmix base module CD ROM QMIXELEMENTS x Device driver for USB interfac...

Page 14: ...14 rotAXYS 360 Hardware Manual 3 5 Optional Accessories SAMPLE TABLE with holders for 6 well plates and 6 beakers HOSE ARM HOLDER HOSE ARM 2 X HOSE CLAMPS...

Page 15: ...TEMPERATURE 10 C to 45 C OPERATING AIR HUMIDITY 20 to 80 non condensing STORAGE AIR HUMIDITY 20 to 80 non condensing ACOUSTIC POWER LEVEL under 70 dB A 4 1 2 Mechanical Data DIMENSIONS L X W X H 226...

Page 16: ...er motors POSITION CONTROL Open loop LIFTING AXIS TRAVEL RANGE 93 mm MAX SPEED 73 mm s REPEATABILITY 0 2 mm TURNING AXIS TRAVEL RANGE 360 MAX SPEED 292 s REPEATABILITY 0 13 0 5 mm at radius 204 RADIAL...

Page 17: ...rotAXYS 360 Hardware Manual 17 4 2 Dimensional Drawing...

Page 18: ...4 3 Working Area The following drawing shows the working area of the rotAXYS360 positioning system With the standard tool holder it is possible to reach any point between the minimum radius of 49 mm a...

Page 19: ...rotAXYS 360 Hardware Manual 19 4 4 Dimensional Drawing of Work Table Mounting Holes...

Page 20: ...20 rotAXYS 360 Hardware Manual 4 5 Pin Assignment Module Interfaces PLUG SOCKET PIN 1 Not connected 2 Not connected 3 CAN High 4 CAN Low 5 Signal GND A1 24 V A2 GND 1 2 3 4 5 A1 A2 A1 A2 2 1 5 4 3...

Page 21: ...ting and shipping the device ATTENTION There is a risk if injury and material damage due to falling objects Never carry the device by the pivoting arm Instead always hold the housing itself 5 2 Storag...

Page 22: ...ns are located at the back of the device They are shown in the image below Figure 1 Overview of device hardware ATTENTION There is a risk of injury due to damaged wires and plugs Check the device and...

Page 23: ...rotAXYS 360 Hardware Manual 23 IMPORTANT Install the software and the device drivers before connecting the device to a PC...

Page 24: ...t on your PC 2 Connect the second socket of the adapter to the associated interconnect cable and connect the cable s input plug to the back panel connector of the rotAXYS positioning system 3 Connect...

Page 25: ...In this case you have to turn the terminator switch to the OFF position 3 If you don t connect any additional devices and the rotAXYS360 positioning system is the last device in your system please tur...

Page 26: ...ut the necessity of using HPLC fittings The following sections will demonstrate how to use this table and the tool holder 7 2 Installation of the Optional Sample Table Place the sample table above the...

Page 27: ...tes or beakers on the sample table Figure 6 rotAXYS360 with sample table 7 3 Installation Exchange of the Tool Holder Remove the two bolts marked in the image on the underside of the pivoting boom usi...

Page 28: ...360 positioning system Figure 8 Attaching a hose to the tool holder Place the fitting and the ferrule over the hose and insert it into the hole of the tool holder Adjust the length of the protruding h...

Page 29: ...ness of all fluidic connections on a regular basis every time you connect a new hose 7 4 2 Attaching a Hose to the Pivoting Boom Attach the hose to the holder on the pivoting boom using the rubber cli...

Page 30: ...ble Attach the hose arm holder at a convenient location of the sample table using the knurled screw on the bottom Fix the hose arm in position by tightening the upper knurled screw Loosen this screw t...

Page 31: ...rled screw By tightening the screw the clamp and hose are locked in position on the holder Insert the hose into the lug at the upper end of the hose arm and guide it to the attachment point on the piv...

Page 32: ...ooting Should you encounter mechanical problems that you can t fix yourself or which require opening the device please contact CETONI GmbH to discuss further actions The device may only be opened by C...

Page 33: ...devices back to CETONI GmbH We will take care of proper disposal pursuant to the relevant laws and regulations IMPORTANT Before you send the device back to CETONI please decontaminate it if required a...

Reviews: