CHARTNAV 343
16
3.2 A Tutorial to Enter a Route
Here we assume that the Chartnav 343 is connected to both a
position finding device such as a GPS, and suitable autopilot.
1. Press the
POWER
key to turn the unit on. The screen will
show the test information, then the Cetrek globe logo,
then stop at the Caution screen.
2. Press the
SELECT
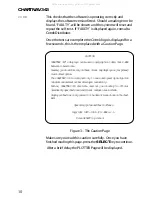
key to clear the Caution screen. The
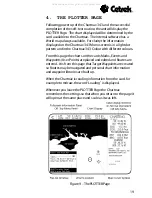
PLOTTER Page will be displayed.
3. Check that the indicated vessels position is correct. If you
cannot see the vessels position on the screen, press the
CHART/NAV
key. This sets the Chartnav 343 to navigator
mode and moves the chart to place the vessels position in
the centre of the screen. Press the
CHART/NAV
key again
to return to charting mode.
4. Zoom in or out to a comfortable level and move the cursor
to a position away from the vessel to the East.
5. Check that there is no Pop-up window showing, move the
cursor off any symbol if there is. Press the
MENU
key and
the selection bar appears across the top of the screen.
6. PLOTTER is already highlighted, so press the
SELECT
key
to activate it. The selection bar will change.
7. ROUTES is already highlighted so press the
SELECT
key
to activate it. The selection bar changes to give 6 route
options,
8. Use the
and
keys to highlight a route that is
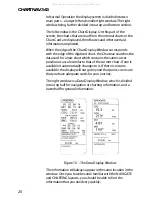
clear. The bottom right window of the screen is a side
menu and START NEW ROUTE is automatically
highlighted.
9. Check that the cursor is in the correct position and press
the
SELECT
key. This will place a waypoint symbol at the
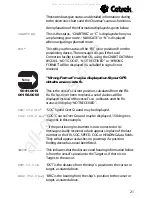
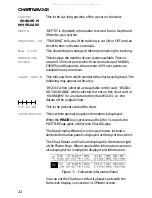
cursor position and a Pop-up window will show. You can
press the
MENU
key and edit the window by putting an
identifier name in, change the symbol and edit the lat/long.
This is done by using the arrow keys that are around the
PAGE
key and the
SELECT
key. Press the
MENU
key to
exit the window editing mode.
All manuals and user guides at all-guides.com
all-guides.com

