CFI EXTEL WEPA 401 LC 3 - 07/2016
GB2
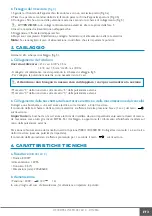
2. DESCRIPTION
(fig. 1)
1 •
Power supply
2 •
Handset
3 •
Outdoor station with Rain Shield
4 •
Fixing screws
Introduction
This interphone consists of an interior response unit and an outdoor station with which communications can be
established with the visitor who has rung.
For proper use, please read this notice thoroughly and keep the Instruction Manual.
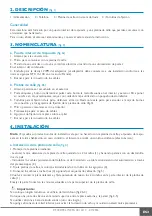
3.
COMPONENTS
(fig. 2)
a. Indoor station
(fig. 2-a)
1. Loudspeaker for speaking.
2. Microphone for communication with the street plate.
3. Control of a strike or electrical lock or gate mechanism command
Inside the handset
4. Outlet for the 12 V plug of the adapter (adapter to connect to an installation compliant with NCF 15-100
standards in force in France).
5. Terminal block to connect the wires
b. Outdoor station
(fig. 2-b)
1. Speaker: allows to be heard outside.
2. Name holder and call button: when pressing this button, the internal and external unit ring. To write the name
on the label holder, carefully release the front part of the name holder with small screwdrivers.
3. Fixing screw of the front face on its frame. Remove this face to have access to the connection terminal block
and to the mounting holes of the outdoor station (fig. 3)
4. The microphone allows you to communicate with the internal unit.
5. Compression gland to run the cables through
6. Holes for attaching the intercom panel to the pillar
7. Terminal block to connect the wires
4.
INSTALLING
N.B. : If you try your product before installation, do not do so with the street plate and the response unit in the
same room. Otherwise, the interphone will emit a piercing tone (the Larsen effect).
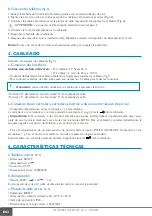
a. Installing of the outdoor station
(fig. 3)
1. Mounting the panel (surface mounting)
- Remove the front cover from the outside station by unscrewing the 2 screws (1) and using a flat-head screwdri-
ver as a lever to prise the cover off
- Through the cable gland (2), pass the cables coming from the handset, the strike or the automatic gate opener.
2. Fix the outdoor station on the column with 2 screws in the holes (3).
3. Connect the wires to the terminal board (4) as shown in the wiring diagram (fig. 5)
4. Replace the front plate and secure it by replacing the 2 screws at the bottom of the outdoor station (1).
Make sure to position the front panel in the notches located at the top of the outdoor station.
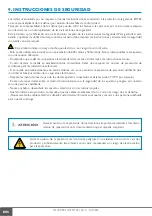
Important:
Do not put screws into the microphone hole (fig.2b-4)
Insert a silicon seal on the upper half between the intercom panel and the wall (fig.3-5)
Do not use acetic acid based silicone (vinegar smell).
Do not install a silicon seal on the lower part to avoid any condensation resulting in premature oxidation of the
electronics.

