5
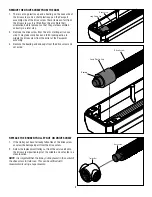
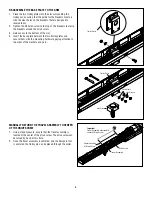
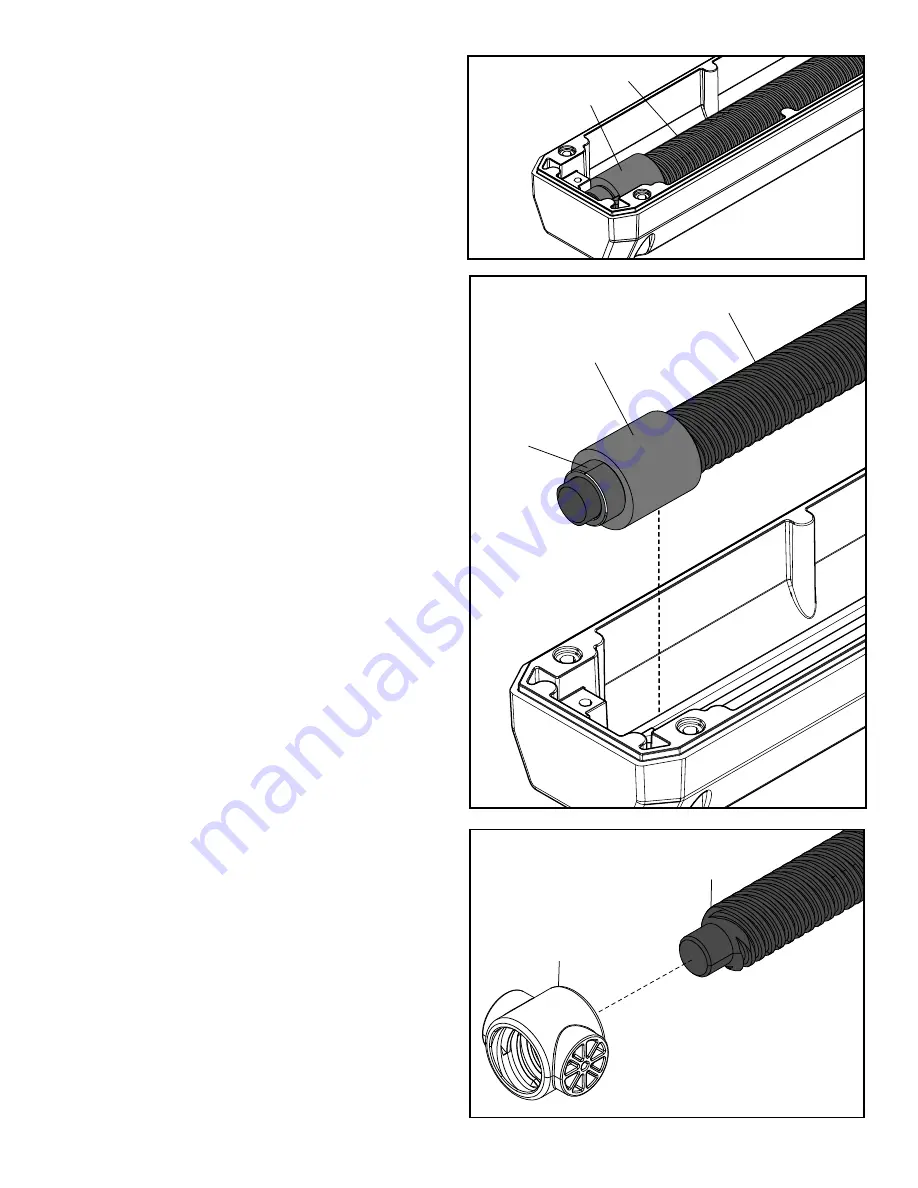
REMOVE THE DRIVE SCREW FROM THE ARM
1. There is a long plastic cap and a bearing on the nose side of
the drive screw, and a short plastic cap on the Passport
assembly side of the drive screw. These items can fall from
the drive screw as it is lifted from the arm. Note their
orientation before removal, so that they are reassembled
correctly in a later step.
2. Remove the drive screw from the arm, starting at its nose
side. It may take some back and forth rocking action to
wiggle the drive screw from the collar at the Passpoint
assembly.
3. Remove the bearing and end caps from the drive screw and
set aside.
Drive Screw
Long Plastic Cap
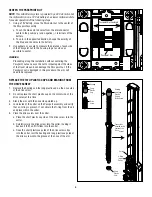
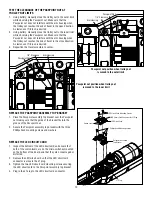
REPLACE THE BROKEN TROLLEY NUT ON DRIVE SCREW
1. If the trolley nut hasn’t already fallen free of the drive screw,
unscrew the damaged part from the drive screw.
2. Screw the replacement trolley nut from the service kit onto
the drive screw positioning it at the middle, and set aside in a
clean location.
NOTE:
It is important that the trolley nut be placed in the center of
the drive screw for later use. This can be verified with
measurements using a tape measure.
Trolley Nut
Drive Screw
Bearing
Long Plastic Cap
Drive Screw

