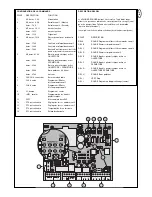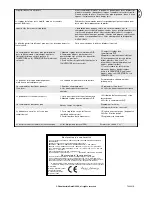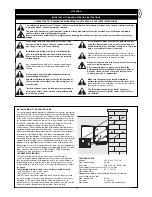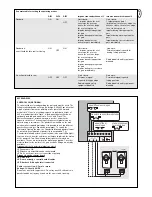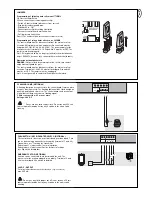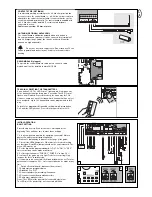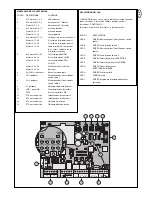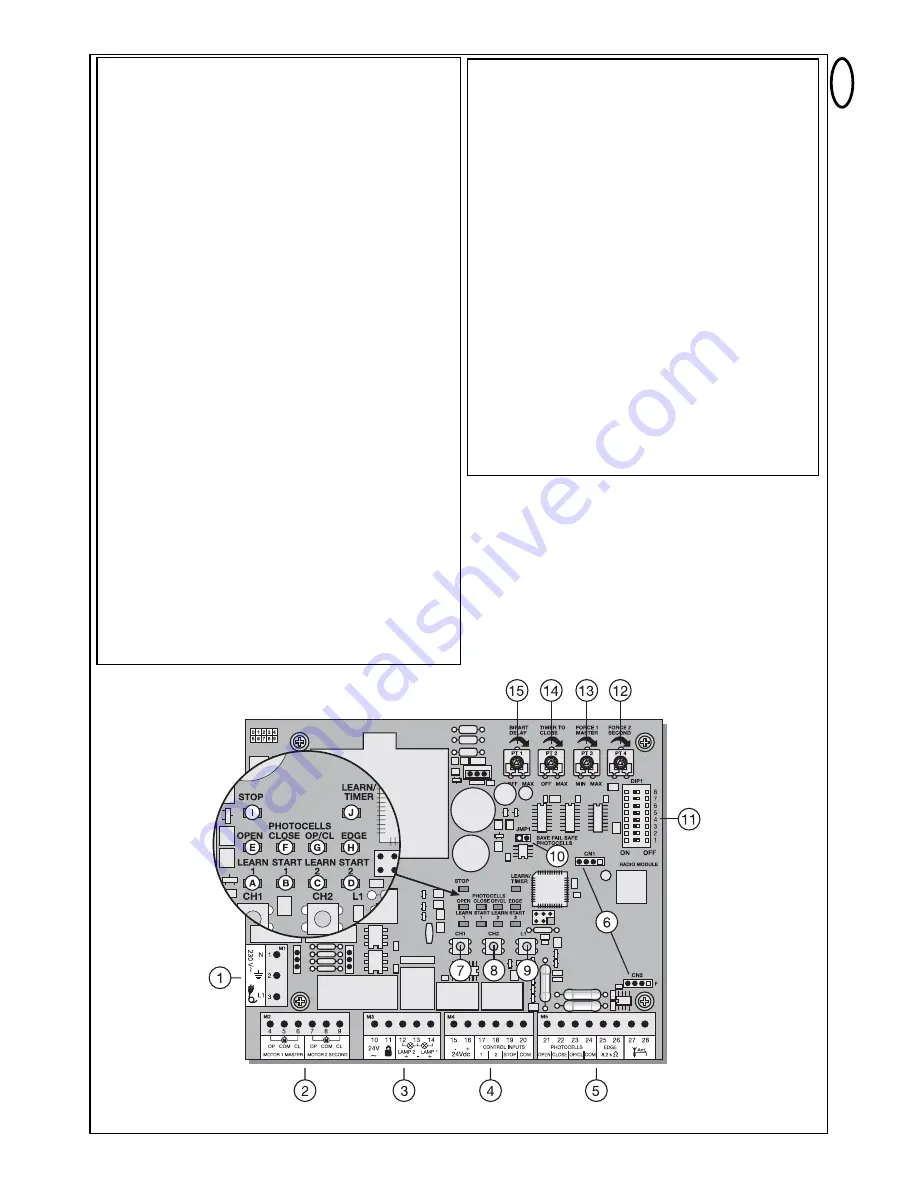
CONTROL BOX CONFIGURATION
POINT
DESCRIPTION
FUNCTION
1
M1, terminals:1,2,3
Feeder cable
2
M2, terminals:4,5,6
Drive 1 (master)
Terminals:7,8,9
Drive 2 (second)
3
M3, terminals:10,11
no function
Terminals:12,13
no function
Terminals:13,14
Flashing lamp
4
M4, terminals:15,16
Connection for accessories 24V
Terminals:17,20
Impulse transmitter channel 1
Terminals:18,20
Impulse transmitter channel 2
Terminals:19,20
Emergency-stop push-button /
must be bridged without switch
connected
5
M5,terminals:21,24
photocell active OPEN
Terminals:22,24
photocell active CLOSED
Terminals:23,24
photocell active OPEN +
CLOSED
Terminals:25,26
Contact strip 8.2 kilo ohms
Terminals:27,28
Antenna
6
CN1/CN2, connector
Radio module sockets
7
CH1, pushbutton
Learn/Delete radio channel 1
8
CH2, pushbutton
Learn/Delete radio channel 2
9
L1, pushbutton
Learning the distance covered
10
JMP1, jumper
Programming the photocell
11
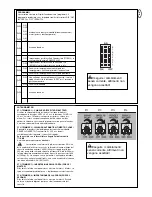
DIP1
Dip switch block
12
PT4, potentiometer
Force setting drive 2
13
PT3, potentiometer
Force setting drive 1
14
PT2, potentiometer
Automatic closing
15
PT1, potentiometer
Bipart delay
en-3
DESCRIPTION OF THE LEDs
RED LEDs should be switched off. Indication of faults to be
rectified; this does not apply to failsafe photocells not connected.
(see “JUMPER” description)
(Example: short circuit, photocells and/or contact strip)
POINT
DESCRIPTION
LED A
RED Learn/Delete radio channel 1
LED B
RED Start impulse channel 1
LED C
RED Learn/Delete radio channel 2
LED D
RED Start impulse channel 2
LED E
RED photocell active for OPEN
LED F
RED photocell active for CLOSE
LED G
RED photocell active for OPEN/CLOSE
LED H
RED contact strip
LED I
GREEN stop
LED J
RED learn program (distance covered)
Summary of Contents for MotorLift HC600
Page 17: ...115o 90o 90o 90o 115o 115o 115o 90o 1 2 3...
Page 18: ...A 38 5cm 8 5cm 30cm 7 8cm 90 max 10cm C B 60 70cm 4 5 A B 6 7 8...
Page 19: ...9 11 12 10...
Page 22: ......


