26
Adjustments
1 Program the Travel
Without a properly installed safety reversal system, persons (particularly small
children) could be SERIOUSLY INJURED or KILLED by a closing garage door.
l
Incorrect adjustment of garage door travel limits will interfere with proper
operation of safety reversal system.
l
After ANY adjustments are made, the safety reversal system MUST be tested.
Door MUST reverse on contact with 1-1/2" (3.8 cm) high object (or 2x4 laid
flat) on floor.
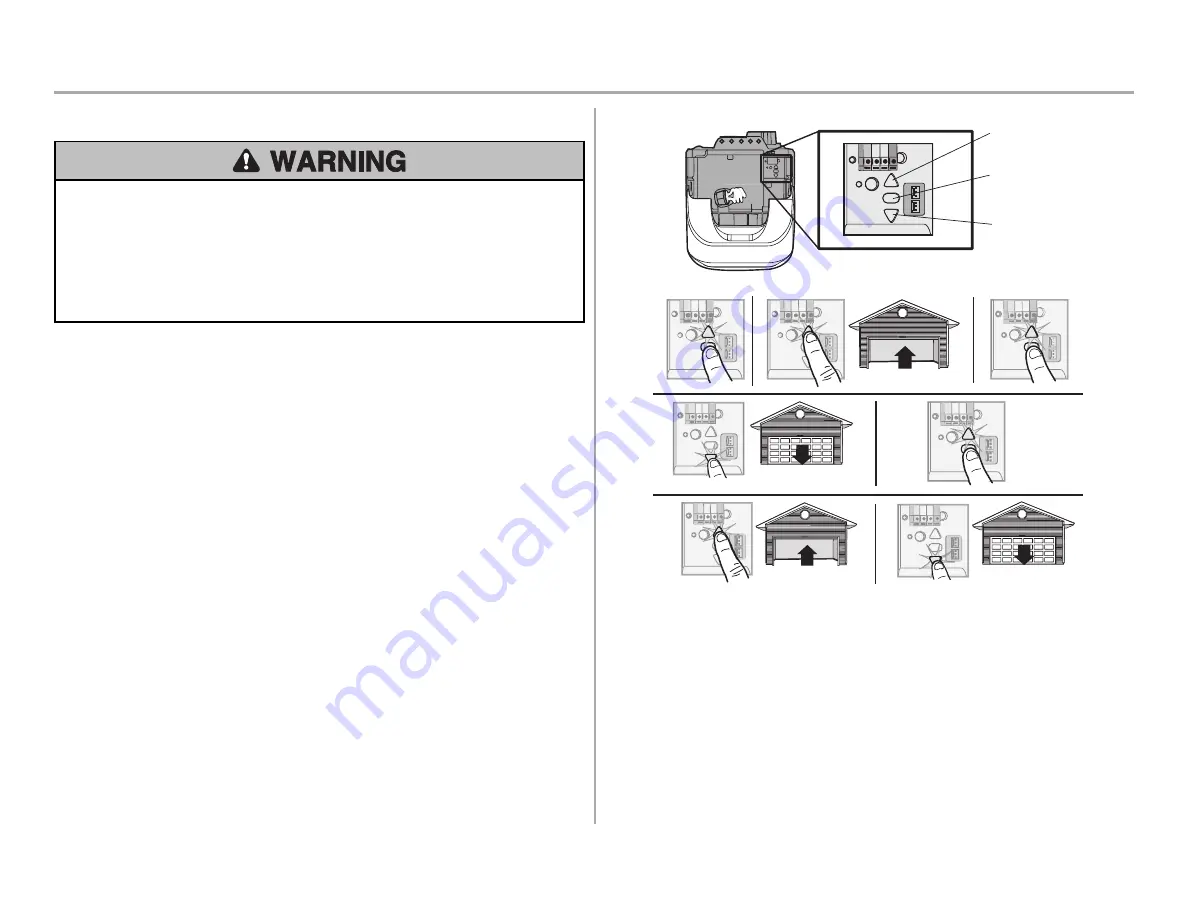
While programming, the UP and DOWN buttons can be used to move the door as
needed.
1. Press and hold the Adjustment Button until the UP Button begins to flash and/or
a beep is heard.
2. Press and hold the UP Button until the door is in the desired UP position.
3. Once the door is in the desired UP position press and release the Adjustment
Button. The garage door opener lights will flash twice and the DOWN Button will
begin to flash.
4. Press and hold the DOWN button until the door is in the desired DOWN position.
5. Once the door is in the desired DOWN position press and release the Adjustment
Button. The garage door opener lights will flash twice and the UP Button will
begin to flash.
6. Press and release the UP Button. When the door travels to the programmed UP
position, the DOWN Button will begin to flash.
7. Press and release the DOWN Button. The door will travel to the programmed
DOWN position. Programming is complete.
If the garage door opener lights are flashing 5 times during the steps for Program the
Travel, the programming has timed out. If the garage door opener lights are flashing 10
times during the steps for Program the Travel, the safety reversing sensors are
misaligned or obstructed (refer to page 24). When the sensors are aligned and
unobstructed, cycle the door through a complete up and down cycle using the remote
control or the UP and DOWN buttons. Programming is complete. If you are unable to
operate the door up and down, repeat the steps for Programming the Travel.
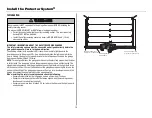
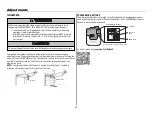
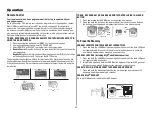
UP Button
Adjustment
Button
DOWN Button
Actual product may differ from image shown.
PROGRAMMING BUTTONS
1
2
3
4
5
6
7


