5
OPERATING FREEZER COMPARTMENT
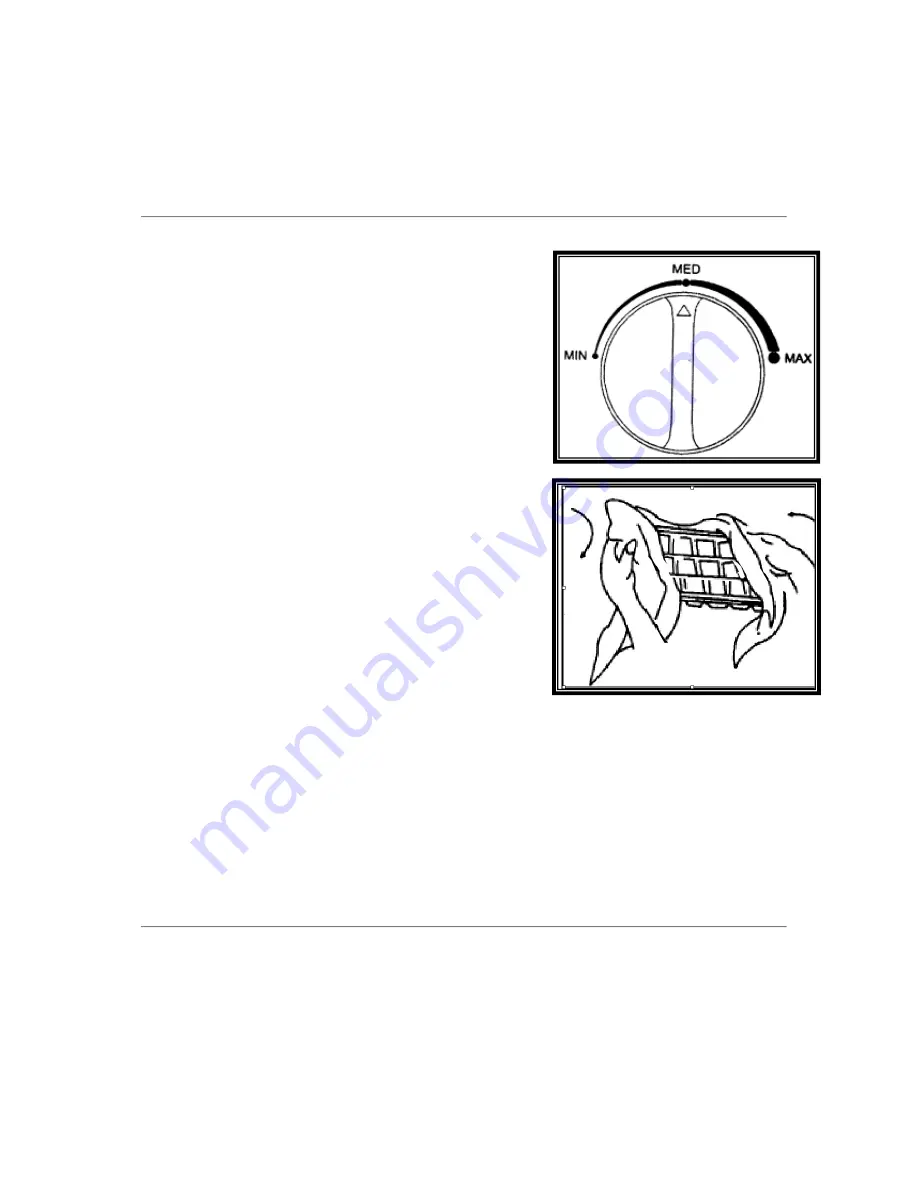
Temperature Control
Your refrigerator has one control for regulating the
temperature in the freezer compartment. The temperature
control is located on the center of the freezer compartment’s
interior back panel.
The first time you turn the unit on, adjust the temperature
control knob to “MAX” and run for at least 2 hours before
putting foods inside. This will ensure the cabinet is
thoroughly chilled before food is put in.
The range of the FREEZER temperature control is from
position "MIN" the warmest to "MAX" the coldest. Adjust the
temperature control to the setting that best suits your needs.
Ice Tray
It is for making ice, pour cool water into ice tray up to its 4/5
volume, place it in ice making chamber for two hours and the ice
can be made automatically. When you want to take ice cubes,
please twist the ice tray, and the ice cubes are separated from
the ice tray. But do not bend it, otherwise it will crack. If you want
to shorten the time of making ice, you can set the temperature
control knob at “MAX”.
Notes:
Do not store can foods or food stored in glass containers in the
freezer compartment.
The Freezer Compartment
This compartment is designed for the long-term storage of frozen food. Storage time period is up
to three months.
The storage life of frozen foods varies and the recommended storage time should not be
exceeded.
Place frozen food into the freezer as quickly as possible after purchase. If there are
instructions
on the packet, carefully follow these instructions regarding storage times.
CARE AND MAINTENANCE
Cleaning Your Refrigerator
Upon installation of your new appliance, it is recommended that it be cleaned thoroughly.
Turn off the refrigerator first and then unplug the unit from the wall outlet.
Remove all food content.
Wash the inside with a damp warm cloth soaked in lukewarm water and baking soda solution.
The solution should be about 2 tablespoons of baking soda to a quart of water.
Be sure to keep the door gasket (seal) clean to keep the unit running efficiently.
Summary of Contents for FTM240A01W
Page 10: ...9...


