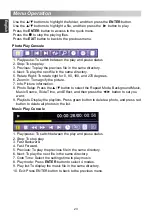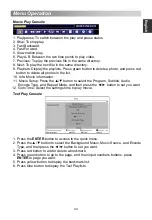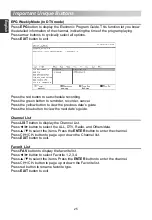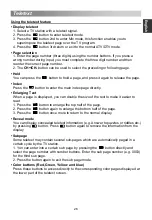
Menu Operation
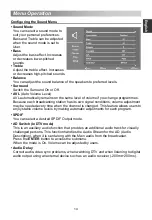
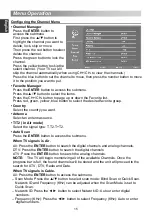
• PVR/TimeShift (In DTV mode)
Press the
ENTER
button to access the submenu. It will check the USB.
Press red button to format USB disk.
Press green button to set default partition.
NOTE:
•
Some models have two USB input and several disk can be used when two USB
devices are plugged in.
•
Before formatting, please back up all important files.
•
During the device formatting, do not disconnect the device or turn off the power. If
your USB device can't be formatted or fail to be checked by the system, it means
the device isn't compatible with the TV or is damaged. The larger USB device will
take longer time to format please be patient until the formatting finishes.
–
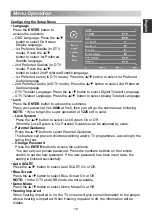
Auto Timeshift:
Press the
▲
/
▼
button to select Auto Timeshift: Off or Auto.
–
Timeshift Buffer:
Press the
▲
/
▼
button to select Auto Timeshift: Auto, 30 Mins,
1hr, or 2hr.
NOTE:
• In the DTV mode, when the
Subtitle Language
is not set “off” mode, Hearing
Impaired can be adjusted by users.
–
Partition Select:
Select a disk used for PVR.
viewing at any time without missing any of the live broadcast.
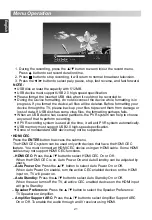
1. Auto Timeshift:
1). When Auto Timeshift is set to Auto, the TV starts timeshift function in 6
seconds later. At the same time, there is a reminder menu on screen, and the
indicator light winking.
2). During the recording, press the
▲
/
▼
button to zoom in/out the record menu.
3). Press the
◄
/
►
button to select paly, pause, stop, fast reverse, and fast
forward.
4). Press the
MENU
button, and press the
▲
/
▼
button to select Setup. Then
press the
►
button to select
i
tems, and press the
▲
/
▼
button to select
PVR/TimeShift. Press
ENTER
button to access the submenu, and press the
▲
/
▼
button to select Auto Timeshift, and press the
▲
/
▼
button to select Off
to stop recording.
This function allows the TV to automatically record live TV and make it available for
viewing at any time. With the Time shift turned on, you may rewind normal TV
19
E
ngli
sh

