Page 8
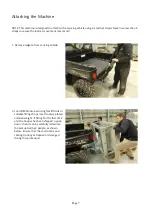
3.
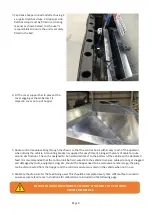
Centralise hopper in bed and attach using 4
x supplied ratchet straps, 2 straps per side.
Ratchet straps must be fitted in a crossing
manner as shown below! It is the user’s
responsibility to ensure the unit is securely
fitted in the bed.
4.
Fit the cover support bar to prevent the
cover sagging as shown below. Fit
tarpaulin cover on top of hopper.
5.
Route control module cabling through the chassis so that the control box is within easy reach of the operator
when driving the vehicle. A mounting bracket is supplied for easy fitment, along with plenty of cable to route
around obstructions. The unit is designed to be hard-wired direct to the battery of the vehicle with a dedicated
feed. It is recommended that the control unit be hard-wired into the vehicle to ensure cables do not get snagged
and damaged by tools, equipment, dogs etc; should the hopper need to be removed at a later stage, the plug
can be disconnected from the hopper and the control module can remain in the vehicle when not in use.
6.
Calibrate the drop size for the feed being used. This should be completed every time different feed is used to
ensure accurate feed rates. Instructions for calibration are included on the following page.
ENSURE CONTROL EQUIPMENT IS SECURELY ATTACHED TO THE TOWING
VEHICLE BEFORE USE


