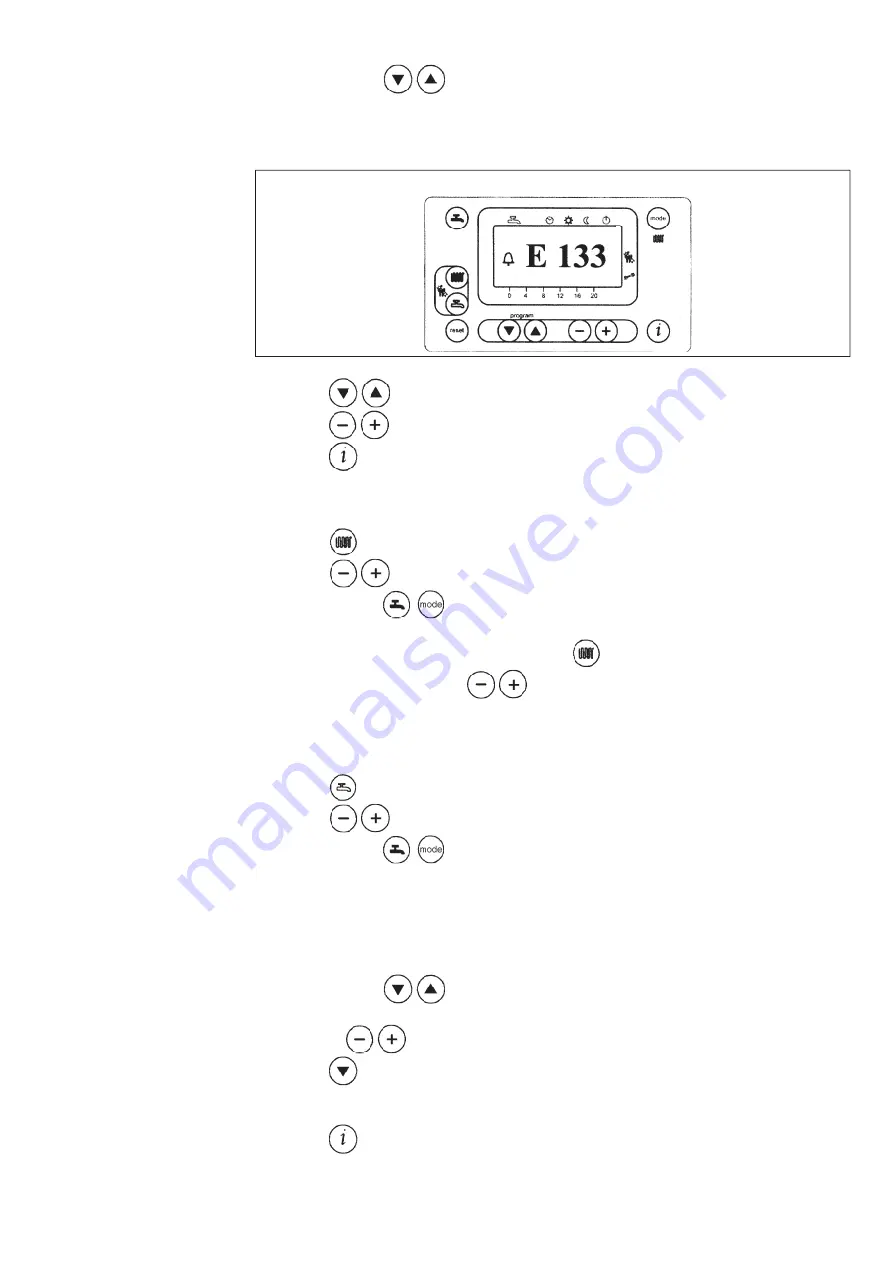
6
a)
Press either of the
keys to access the programming function;
the display will show the letter
P
followed by a number (program line);
020503_0700
Figure 3
b)
press the
keys until the display shows P1, referring to the time to be set;
c)
press the
keys to set the time; on the display, the letter P will start to flash;
d)
press the
key to save and exit the programming function;
- Press the
key (2-figure 1) to set the central heating water temperature;
- Press the
keys to set the temperature required;
- press either of the
keys (1 or 10 - figure 1) to save and return to the main menu.
N.b
– With the outdoor sensor probe connected, the
key (2 - figure 1) can be used to shift the
central heating curve. Press the
keys to decrease or increase the room temperature in
the premises to be heated.
- Press the
key (3-figure 1) to set the maximum domestic hot water temperature;
- Press the
keys to set the temperature required;
- press either of the
keys (1 or 10 - figure 1) to save and return to the main menu.
- Press either of the
keys to access the programming function;
a)
press these keys until the display shows
P11
, referring to the program start time;
b)
press the
keys to set the time;
-
press the
key; the display will show
P12
, referring to the program end time;
- repeat the operations described in points a and b until the third and last cycle is reached (program
line
P16
);
- press the
key to save and exit from the programming function.
3.2 Setting the time
3.3 Setting the maximum cen-
tral heating temperature
3.4 Setting the maximum
domestic hot water tempe-
rature
3.5 Setting the daily program for
operation in central heating
and domestic hot water
modes
3.5.1 Setting the daily times
for central heating mode
operation


