

12
13
11
Page 13
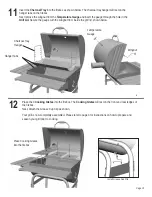
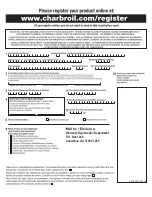
Insert the
Charcoal Tray
into the firebox as shown below. The charcoal tray hanger will rest on the
hanger tabs on the firebox.
Next remove the wingnut from the
Temperature Gauge
and insert the gauge through the hole in the
Grill Lid.
Secure the gauge with the wingnut from inside the grill lid, shown below.
Charcoal Tray
Hanger
Hanger Tabs
Temperature
Guage
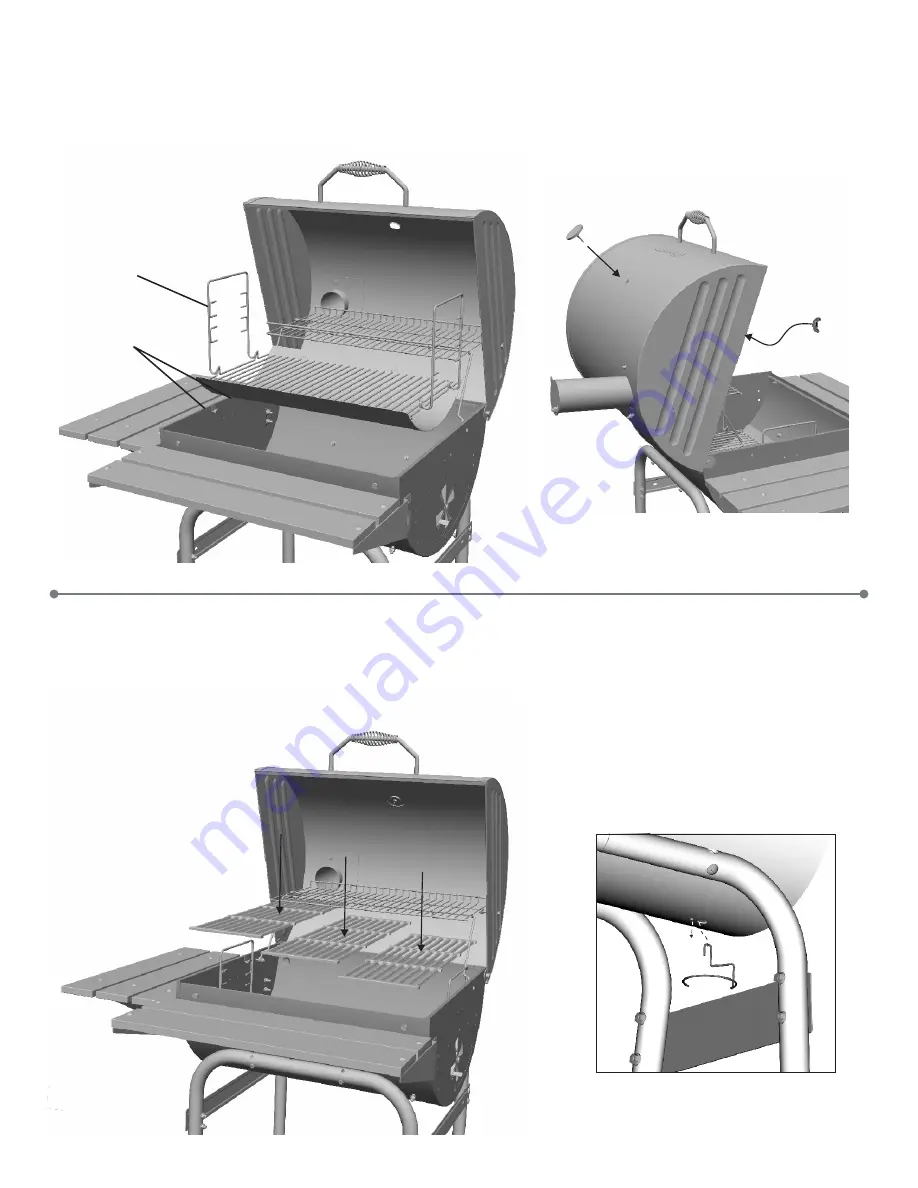
Place Cooking Grates
into the firebox.
Place the 3
Cooking Grates
into the firebox. The
Cooking Grates
will rest on the front and rear ledges of
the firebox.
Next, Attach the Grease Cup Clip as shown.
Your grill is now completely assembled. Please refer to page 3 for instructions on how to prepare and
season your grill prior to cooking.
Install Grease Cup Clip
Wingnut


