


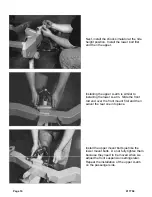

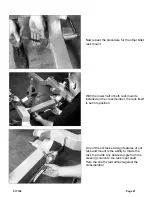
The balljoint is then screwed into the balljoint
housing as far as possible by hand. Make
absolutely sure that the thread starts
straight. This is a little tricky. The threads
on the balljoint are easy to cross thread.
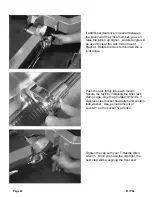
Use the balljoint wrench included with your
kit to tighten the balljoint. Tighten it until it is
fully seated against the balljoint housing.
The force required can be over 150 lb-ft of
torque. Be careful not to scratch the A-arm.
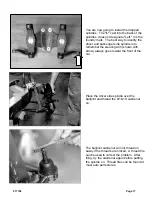
Repeat this for the passenger side lower A-
arm.
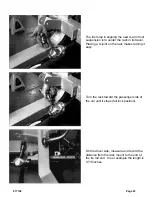
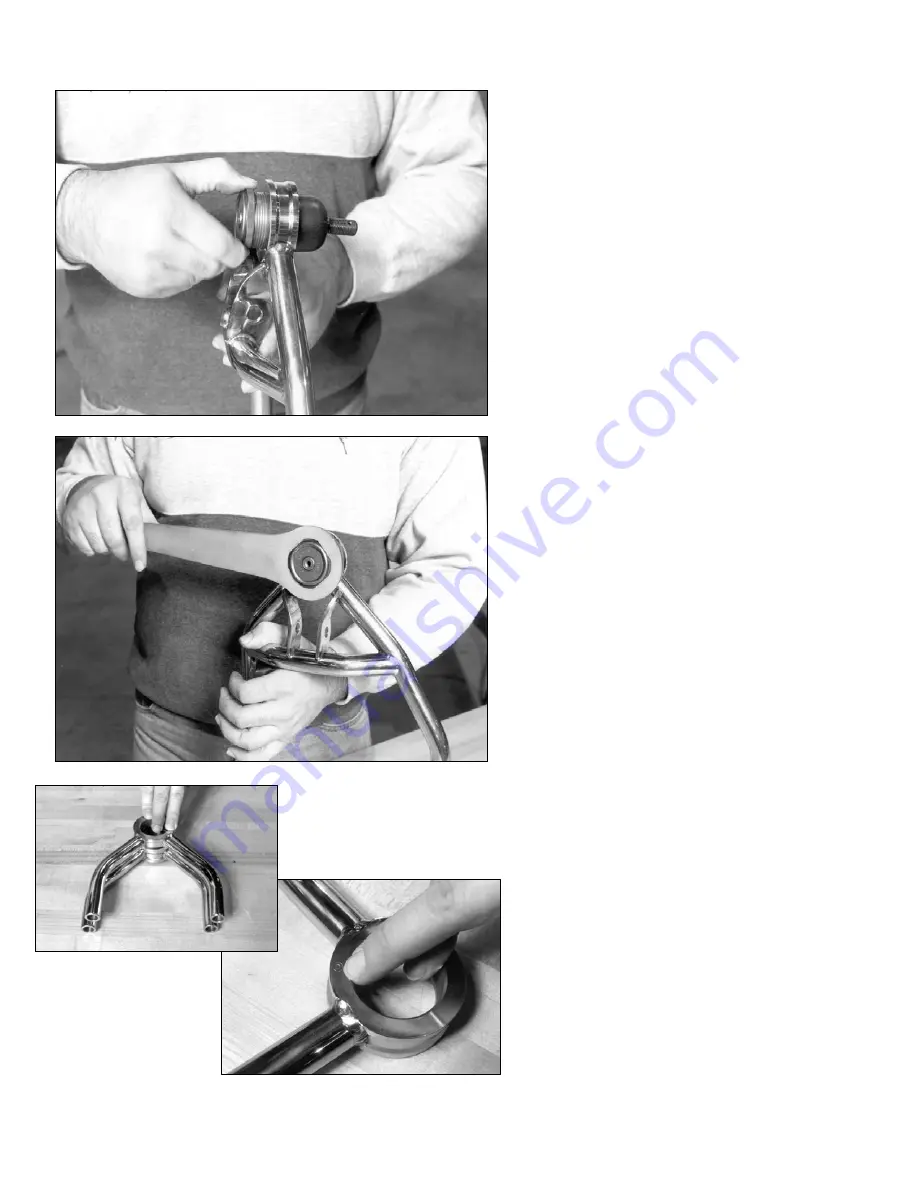
One convenient method for holding the A-
arm while installing the balljoint is to
temporarily install the A-arm on the frame.
The upper A-arms will be assembled next.
Although they are very similar, they are not
identical. The letter “D” or “P” on the
balljoint housing identifies which side of the
car the A-arm installs in.
Page 8
917704
Summary of Contents for 7704
Page 105: ...Page 104 917704 ...


