EN
VIP™ Media Server Pro QRG
5
Setting Up Your VIP™ Media Server Pro
To set up your media server, follow the safety instructions provided in this guide and complete the
following steps:
1.
Connect the keyboard and mouse using the PS/2 Keyboard/Mouse or USB port.
2.
Connect the wireless module to the ASUS Wireless connector.
3.
Connect the monitor to the DVI-D port. Align and gently insert the monitor cable to avoid
bending the connector pins. Tighten the thumbscrews on the cable connectors.
4.
Connect the media snake to the Breakout Media Snake port.
5.
Connect the power cables to the media server, monitor, and devices and insert the other
ends of the power cables to electrical outlets.
Before you install any devices or software that did not ship with your media server, read the
documentation that came with the software or device, or contact the vendor to verify that the
software or device is compatible with your media server and operating system.
Powering Up the VIP™ Media Server Pro
The VIP™ Media Server Pro has an 850W Corsair™ power supply that is NVidia SLI certified, an IEC
power connection, and a power supply that can work with an input voltage range of 100~240 VAC,
50/60 Hz.
1.
From the back panel, make sure the Main Power switch is in the On position.
2.
Pull the right panel door handle to open and press the Power button up to turn on the
media server.
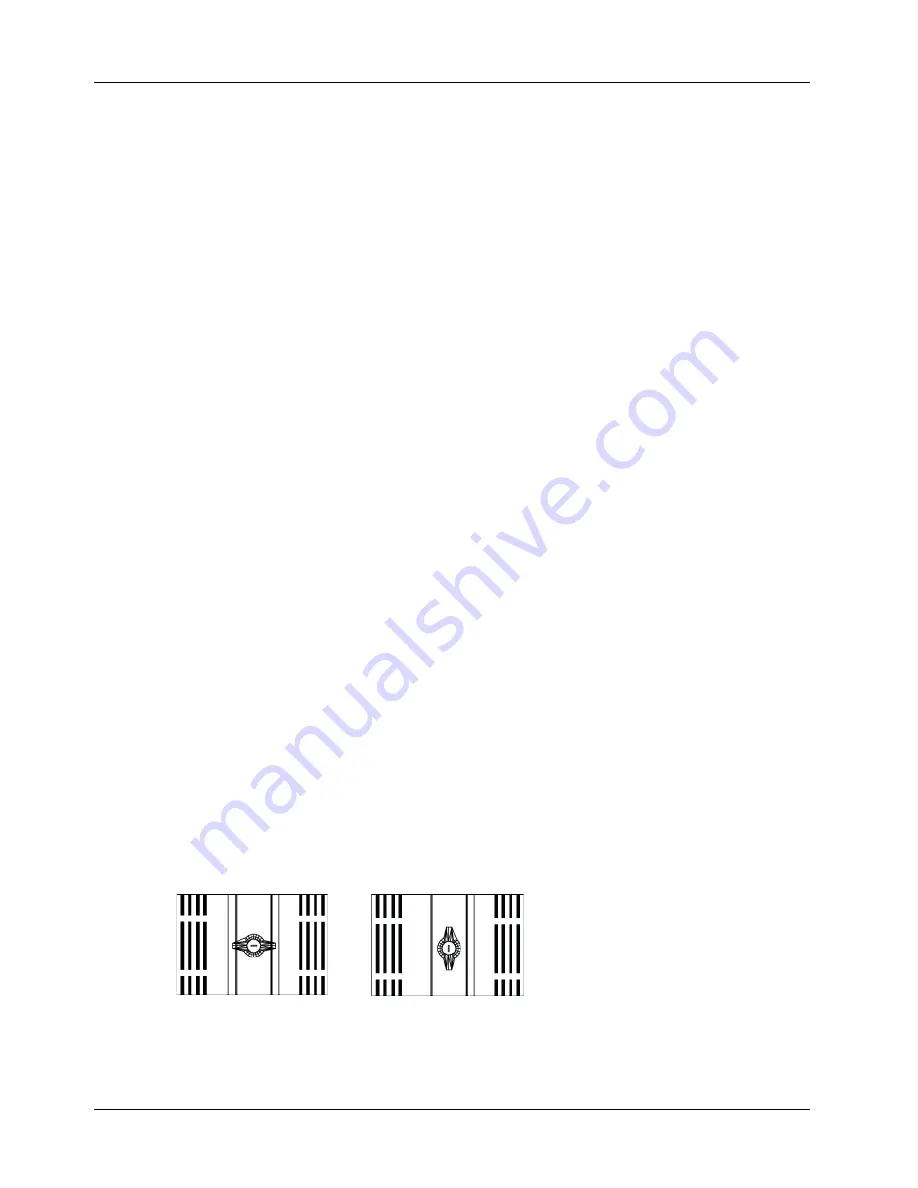
Locking/Unlocking the Panel Door Handles
To secure the panel doors, position the lock handle to the locked position. In addition, you can secure
the panel doors from opening by using the key to lock the panel doors in place.
To open the panel doors, position the lock handle in the unlocked position.
Locked position:
Unlocked position:


