

Thermal Imaging Camera C.A 1879
English
Page 11 sur 22
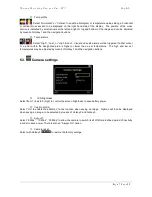
Temp units :
♦
Choose between
°
C and
°
F.
Integration :
♦
Chose an integration period from 1 (fast) to 9 (slow).
♦
This determines the trade off between display speed and noise.
Interpolation :
♦
Choose Off or On.
♦
This shows or hides the thermal image pixelation.
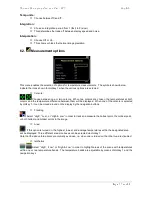
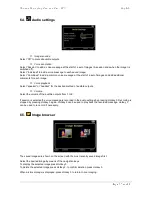
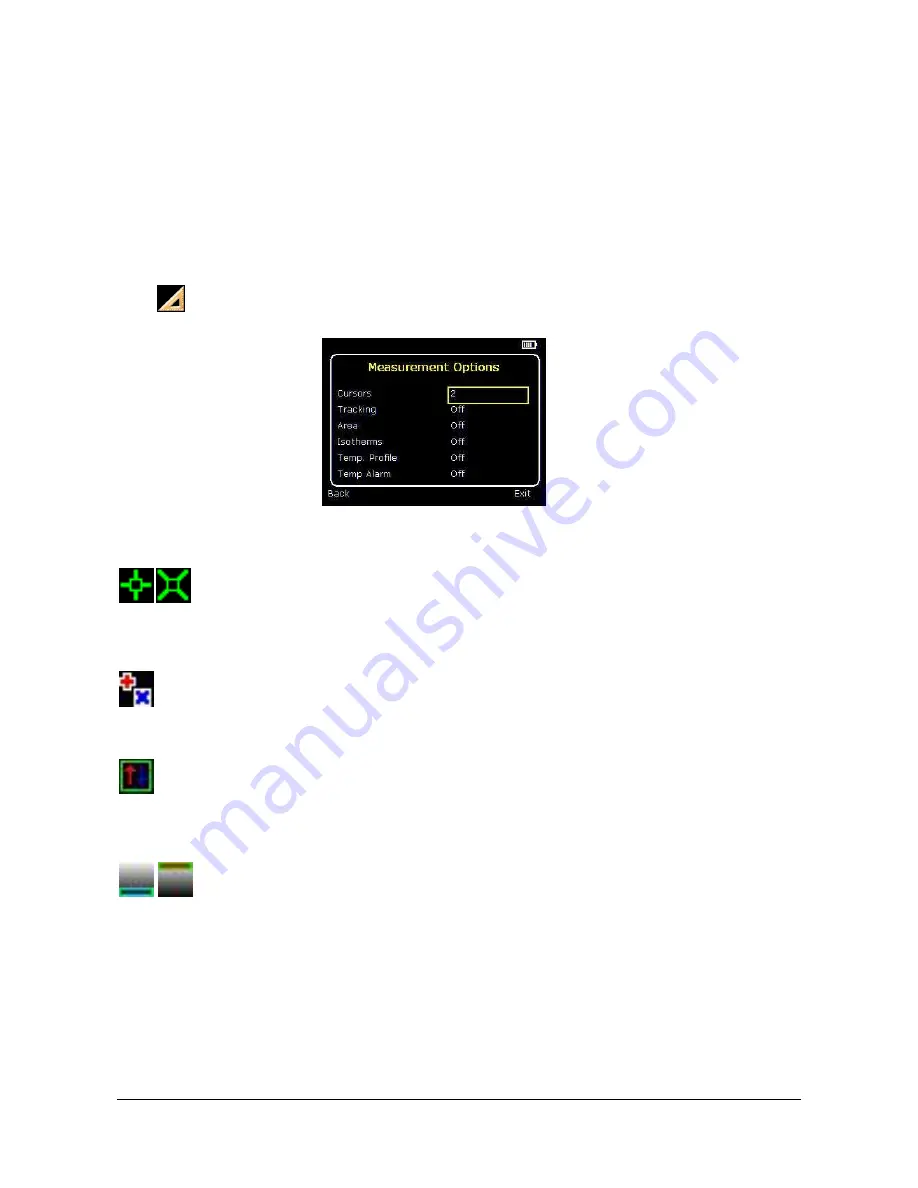
6.2.
Measurement options
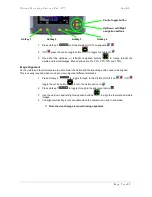
This menu enables the selection of options for temperature measurements. The symbols shown below
indicate the icons shown for Hotkey 1 when the various options are selected.
♦
Cursors :
.
Choose between one or two cursors. When two cursors are chosen, the temperatures at both
cursors and the temperature difference between them will be displayed. When one of the cursors is selected
by Hotkey 1, it can be moved around on the display by the navigation buttons.
♦
Tracking :
. Select “High”, “Low”, or “High & Low” in order to track and measure the hottest point, the coldest point,
or both hottest and coldest points in the image.
♦
Area :
. If this option is turned on, the highest, lowest, and average temperatures within the designated area
will be displayed. Three different area size boxes can be selected via Hotkey 1.
Note that the above three items are mutually exclusive, i.e. when one is turned on the other two are disabled.
♦
Isotherms :
.Select “High”, “Low”, or “High & Low” in order to highlight areas of the scene with temperatures
within one or two temperature bands. The temperature bands are adjustable by means of Hotkey 1 and the
navigation keys.