background image

QLS250, QLS450, QLS650, and QLS800

Rack Mounting for Check Point Appliances   |   13

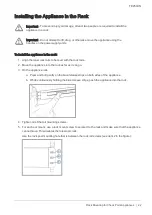
Removing the Appliance

Important - To prevent injury or damage, at least two people are required to install the
appliance in a rack.

Important - Do not attempt to lift, drag, or otherwise move the appliance using the
handles on the power supply units.

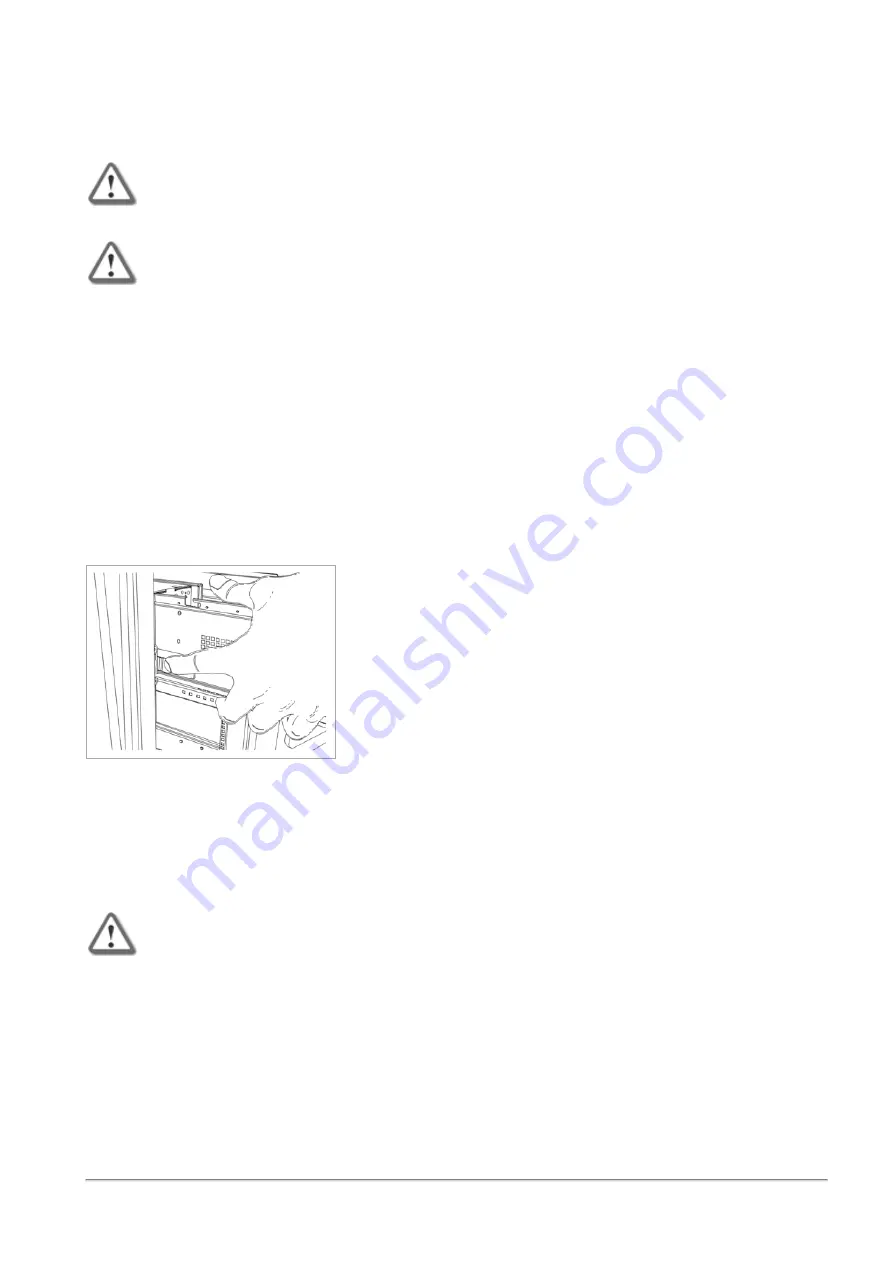
To remove the appliance from the rack:

1. Remove the rack mounting screws from the rack post mounting holes that attach the ear mounts to

the rack.

2. Pull the appliance away from the rack as far as possible.

The release strip on the telescopic rails stops the appliance from sliding too far.

3. On the appliance rails:

n

Press and hold the release strips to unlock the telescopic rails.

n

Pull out the appliance from the rack.

Appliance Air Vents

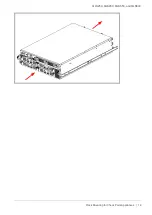
Make sure that the appliance air vents have sufficient airflow from front to rear when the appliance is
mounted in a rack.

Important - If the appliance vents are blocked, the appliance can become too hot and it
can be damaged.

The appliance and rack rails have been tested in extreme conditions and do not block air flow to the
appliance. These appliances are specifically designed to install with these rails. The QLS800 appliance is
shown below. The air flow is the same in the other appliances.

Summary of Contents for Quantum LightSpeed Appliance QLS250

Page 1: ...Classification Protected 24 August 2022 RACK MOUNTING FOR CHECK POINT APPLIANCES...

Page 2: ...y precaution has been taken in the preparation of this book Check Point assumes no responsibility for errors or omissions This publication and features described herein are subject to change without n...

Page 3: ...pendent certification of Check Point products see the Check Point Certifications page Latest Version of this Document in English Open the latest version of this document in a Web browser Download the...

Page 4: ...ar Mounts 9 Attaching the Outer Rack Rails 10 Installing the Appliance in the Rack 12 Removing the Appliance 13 Appliance Air Vents 13 TE250XN 15 General Requirements for Racks 15 Telescopic Rails Har...

Page 5: ...o these Check Point Appliances Appliance U In This Document Quantum LightSpeed Appliance QLS250 2U QLS250 Quantum LightSpeed Appliance QLS450 3U QLS450 Quantum LightSpeed Appliance QLS650 3U QLS650 Qu...

Page 6: ...iances that are mounted on telescopic rails Rack Side Clearance Requirement Front 36 in 91 4 cm plus additional clearance if necessary for the mechanical lift used to move the appliance and rails equi...

Page 7: ...of the appliance 5 Appliance rail screws 12 Attaches the appliance rails to the appliance 6 Ear mount bracket screws 6 Attaches the ear mounts to the appliance 7 Round hole pins 8 Attaches to the out...

Page 8: ...tem Description 1 Inner rack rail 2 Release latch 3 Outer appliance rail Legend To install the inner appliance rails to the appliance 1 Place the appliance rail on the side of the appliance and make s...

Page 9: ...ts to the left and right side of the front of the appliance to allow n Easy pulling in and pulling out of the appliance while it is in the rack using the extraction handles n Locking the appliance int...

Page 10: ...unt on the side of the appliance near the front panel 2 Attach the ear mount to the appliance with three ear bracket screws n QLS250 n QLS450 QLS650 and QLS800 3 Do steps 1 2 again for the other side...

Page 11: ...h the hole number n The front securing clip is marked with the letter A n Make sure that the securing clip faces the inner part of the rack 3 Press the securing clip and connect the outer rail to the...

Page 12: ...ce using the handles on the power supply units 1 Align the appliance rails to be level with the rack rails 2 Move the appliance into the rack as far as it can go 3 Slide the appliance in and out of th...

Page 13: ...The release strip on the telescopic rails stops the appliance from sliding too far 3 On the appliance rails n Press and hold the release strips to unlock the telescopic rails n Pull out the appliance...

Page 14: ...QLS250 QLS450 QLS650 and QLS800 Rack Mounting for Check Point Appliances 14...

Page 15: ...ake sure that the racks have sufficient clearance to service the Check Point appliances that are mounted on telescopic rails The telescopic rails can be used with racks that have round holes or square...

Page 16: ...ed to the outer rack rails to be used with square holed racks No label 2 Round hole rack screws 8 For use with round hole racks only Replace the original square hole rack screws with the round hole ra...

Page 17: ...n Attaching the inner rails to the appliance n Attaching the ear mounts to the appliance n Attaching round hole rack screws if you are using round hole racks n Attaching the outer rack rails to the ra...

Page 18: ...row on the release latch points to the front of the appliance n The appliance rail extends past the back panel of the appliance 2 Install the appliance rails to the side of the appliance with the prov...

Page 19: ...ttaching the Ear Mount Brackets Attach the ear mounts to the left and right side of the front of the appliance to lock the appliance into the rack Item Hardware Description Use 1 Rack post mounting ho...

Page 20: ...s you must replace the eight square hole rack screws that come attached to the outer rack rails with the eight supplied round hole rack screws Do this procedure before you attach the outer rack rails...

Page 21: ...ont end of the outer rail with the hole number Make sure that the securing clip faces the inner part of the rack 3 Gently pull forward and connect the outer rail to the rack by inserting the rack rail...

Page 22: ...ails to be level with the rack rails 2 Move the appliance into the rack as far as it can go 3 On the appliance rails a Press and pull gently on the blue release strips on both sides of the appliance b...

Page 23: ...e telescopic rails 2 Move the appliance away from the rack as far as possible 3 On the inner rack rail press and pull on the white release levers on both sides of the appliance 4 While holding the app...

Page 24: ...TE250XN Rack Mounting for Check Point Appliances 24 The air flow in TE250XN appliances...

Reviews: