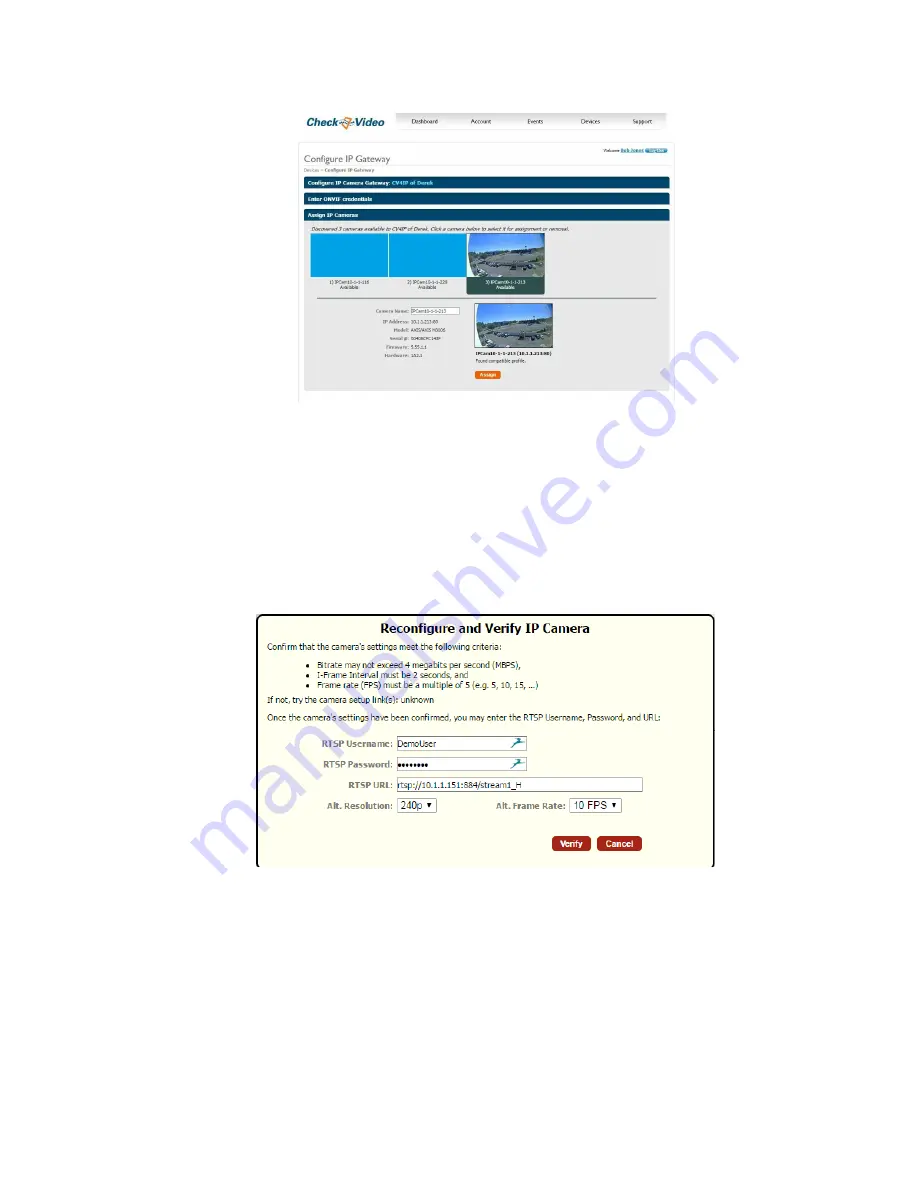
Assign IP Cameras image carousel. The default camera name is created using the local/internal IP address of
that camera.
•
If a background image could be obtained via the ONVIF credentials, the camera view will appear. If not, a blue
box will appear. This does not mean that there is anything necessarily wrong. It is possible that the background
image did not complete in time or that the camera does not support background image.
•
Click a thumbnail within the image carousel to begin camera assignment. The camera details will appear below.
It is at this point that you can rename the camera. If you have not updated your camera settings, you will
receive a reminder to do this before you continue. Click the Assign button. The CheckVideo portal will let you
know if you are successful.
•
Should the camera assignment fail because the Gateway cannot configure the RTSP connection, a warning
message will appear:
First, confirm that your
camera’s Video Settings
have been adjusted to meet the Gateway requirements.
Next enter the requested RTSP information for your camera:
o
RTSP Username (if required by camera)
o
RTSP Password (if required by camera)
o
RTSP URL
If the RTSP URL does not populate, look for it within ONVIF Device Manager. If you are unable to find it, please
refer to your camera manufacturer’s documentation. Once the RTSP details are populated, click Verify to
complete assignment of camera to the Gateway.


