4.0 CONFIGURATION MENU
4-52
Cheetah Xi Programming Manual
Rev 1, 09/2013
P/N: 06-651
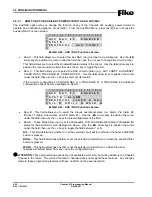
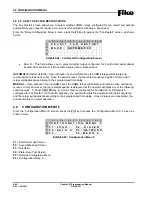
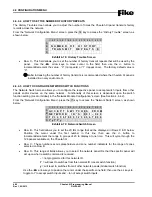
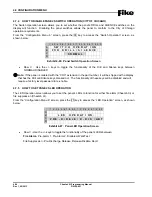
The Clear IP Address screen allows you to clear the IP addresses of those panels that have sent history
messages to the “Monitor” panel, temporarily disabling the history resend request. Press the F1 key to
access the “Clear IP Addresses” screen, as shown below; then press the ENTER key to clear all of the
“Monitor” panels stored IP addresses.
1 2 3 4 5 6 7 8 9 0 1 2 3 4 5 6 7 8 9 0
A
P R E S S
E N T E R
T O
C L E A R
B
H I S T O R Y
R E C E I V E D
C
I P
A D D R E S S E S
D
Exhibit 4-82: Clear IP Address Screen
4.7.2 HOW TO CONFIGURE PANEL FOR NETWORK SUPERVISION
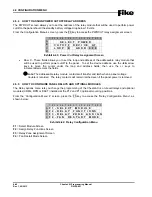
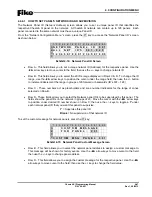
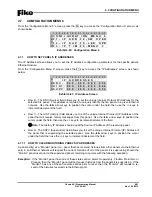
The IP Supervision screen allows you to configure the respective fire panel to supervise other fire panels on
the same Ethernet Network.
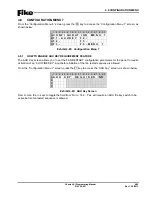
From the “Configuration Menu 6” screen, press the F2 key to access the “IP Supervision” screen, as shown
below:
1 2 3 4 5 6 7 8 9 0 1 2 3 4 5 6 7 8 9 0
A
S U P E R V I S E
N E T W O R K
I D
B
0 0 1
C
A T
I P
A D D R E S S
D
0 0 0 . 0 0 0 . 0 0 0 . 0 0 0
Exhibit 4-83: Network Supervision Screen
•
Row B - This field allows you to select the Panel ID to supervise. Use the
◄►
arrow keys to
position the cursor under the field; then use the +/- keys to increment/decrement the field to select
panel from 001 - 128.
•
Row D - This field allows you to enter the Source IP Address for the panel ID selected in Row B.
Use the
◄►
arrow keys to position the cursor under the field; then use the +/- keys to
increment/decrement the field.
L
Note:
Any fire panel added to the list of supervised panels must have its Supervision IP Address
set to match that of the supervising fire panel’s Source IP Address.
L
Note:
To remove a panel from the list, simply select it and change the panel address to all zeros.
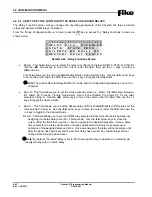
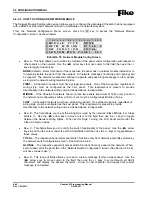
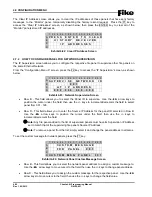
To set the custom message for network panels, press the F1 key:
1 2 3 4 5 6 7 8 9 0 1 2 3 4 5 6 7 8 9 0
A
C U S T O M
M E S S A G E
B
F O R
P A N E L :
0 0 1
C
D
C U S T O M
M S G
P A N E L
0 0 1
Exhibit 4-84: Network Panel Custom Message Screen
•
Row B - This field allows you to select the network panel address to assign a custom message to.
Use the
◄►
arrow keys to move cursor to the field; then use the +/- keys to change panel address.
•
Row D - This field allows you to assign the custom message for the respective panel. Use the
◄►
arrow keys to move cursor to the field; then use the +/- keys to change the field value.
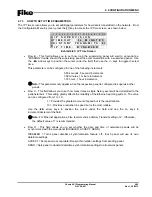
Summary of Contents for 10-068
Page 111: ......

