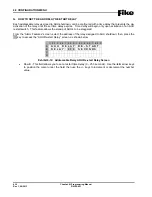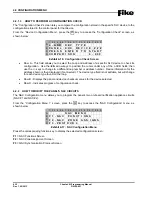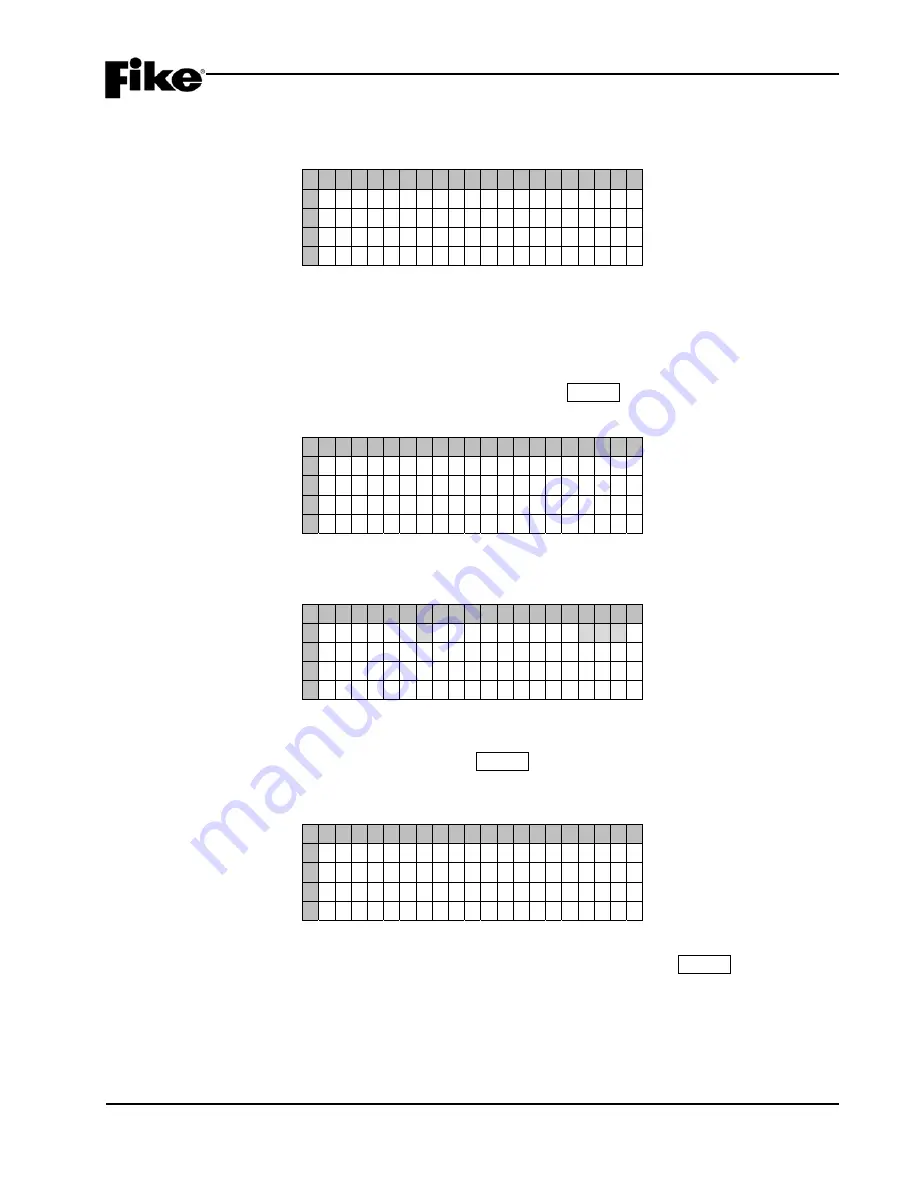
3.0 GETTING STARTED
Cheetah Xi Programming Manual
3-11
P/N: 06-651
Rev 1, 09/2013
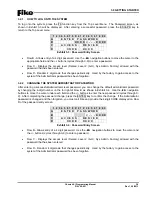
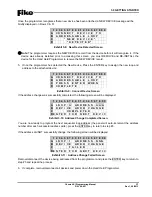
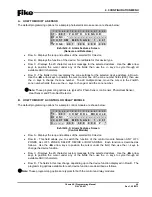
Once the programmer recognizes that a new device has been attached, a NEW DEVICE message will be
briefly displayed on Rows C & D:
1 2 3 4 5 6 7 8 9 0 1 2 3 4 5 6 7 8 9 0
A C O N N E C T
D E V I C E
T O
B A D D R E S S A B L E
L O O P
C
* N E W
D E V I C E *
D
* D E T E C T E D *
Exhibit 3-17: New Device Detected Screen
L
Note:
The programmer requires the NEW DEVICE record from the device before it will recognize it. If the
device was already installed prior to accessing this screen, you must REMOVE and RE-INSTALL the
device for the Hand Held Programmer to receive the NEW DEVICE record.
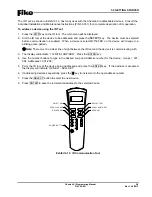
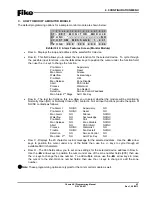
5. Once the programmer has detected the New Device, Press the ENTER key to assign the new loop and
address to the attached device:
1 2 3 4 5 6 7 8 9 0 1 2 3 4 5 6 7 8 9 0
A C O N N E C T
D E V I C E
T O
B A D D R E S S A B L E
L O O P
C P R E S S
E N T E R
W H E N
D C O M P L E T E
Exhibit 3-18: Connect Device Screen
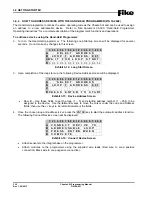
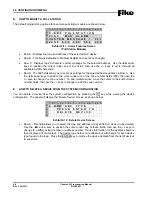
If the address change was successfully completed, the following screen will be displayed:
1 2 3 4 5 6 7 8 9 0 1 2 3 4 5 6 7 8 9 0
A L O O P : n
A D D R E S S : n n n
B D E V I C E
A D D R
C H A N G E
C
C O M P L E T E D
D E N T E R
F O R
N E X T
D E V I C
Exhibit 3-19: Address Change Completed Screen
You are now ready to program the next sequential loop-address (the panel will auto-increment the address
number after each successful address write), press the ENTER key to return to step #2.
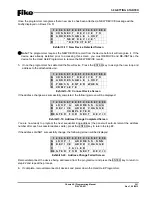
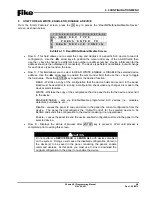
If the address did NOT successfully change, the following screen will be displayed:
1 2 3 4 5 6 7 8 9 0 1 2 3 4 5 6 7 8 9 0
A L O O P : 1
A D D R E S S : N N N
B D E V I C E
A D D R
C H A N G E
C
F A I L E D
D E N T E R
F O R
N E X T
D E V I C
Exhibit 3-20: Address Change Failed Screen
Remove/disconnect the device being addressed from the programmer and press the ENTER key to return to
step #2 and repeat the process.
6. If complete, remove/disconnect all devices and power down the Hand Held Programmer.
Summary of Contents for 10-068
Page 111: ......

