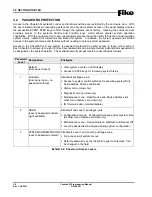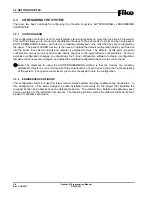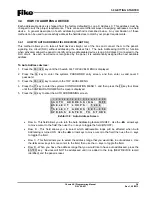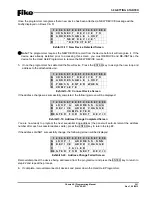
4.0 CONFIGURATION MENU
4-2
Cheetah Xi Programming Manual
Rev 1, 09/2013
P/N: 06-651
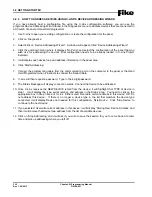
4.2.1.1
HOW TO CHANGE A DEVICES ALARM FEATURES
After all SLC devices have been connected into the system, you can use the Alarm Features screen to make
basic configuration changes to each device.
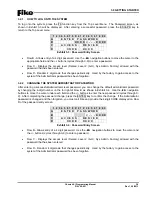
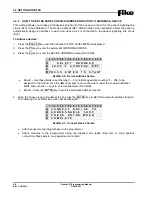
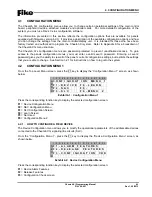
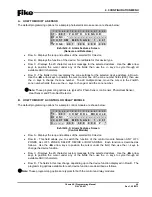
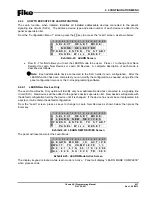
From the “Device Configuration Menu” screen, press the F1 key to display the “Alarm Features” screen, as
shown below:
1 2 3 4 5 6 7 8 9 0 1 2 3 4 5 6 7 8 9 0
A
L - A D R : D E V I C E
T Y P E
B
F U N C : * F U N C T I O N - - - - N O
C
C U S T O M
M E S S A G E
D
Z O N E : 0 0 0
0 0 0
0 0 0
0 0 0
Exhibit 4-3: Alarm Features Screen
•
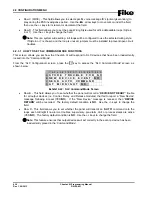
Row A (L-ADR) - Allows you to select the loop and address of a specific SLC device in order to
display its configuration parameters. Use the
◄►
arrow keys to position the cursor under any of
the fields; then use the +/- keys to change to a different loop or address number.
When you select a device, the control panel displays information about the device. The screen does
not show all configuration options that are available for each device. In order to be able to view and
change all operating parameters for each device, you must use the C-Linx panel configuration
software. Refer to Fike document 06-448 “C-Linx User’s Guide” for additional configuration options.
•
Row A (Device Type) - Changes to display the type of device found at the selected loop-address:
Photo Sensor, Ion Sensor, Photo/Heat Sensor, Heat Sensor, Photo Duct Det, Control Module, Relay
Module, Monitor Module, Mini Module and Pull Station.
•
Row B (FUNC) - Allows you to change the function of the selected device address (if applicable).
Use the
◄►
arrow keys to position the cursor under the field; then use the +/- keys to change the
device function. The ability to change the function field is available only on certain device types.
•
Row C - This range of fields allows you to enter a 20 character custom message for the selected
address. These fields can be edited using the
◄►
arrow keys to position the cursor under any of
the fields; then use the +/- keys to cycle through all available ASCII characters.
•
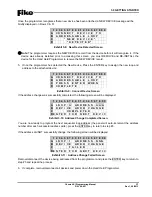
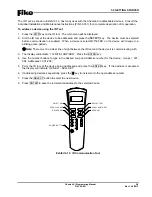
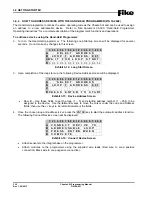
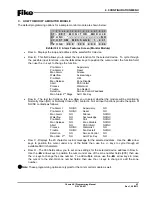
Row D - The functionality of the fields in this row changes depending upon the device type displayed
in Row A. The programming options available for each device type are described as follows.
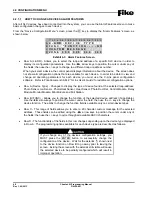
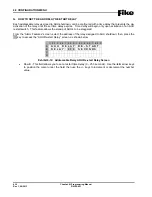
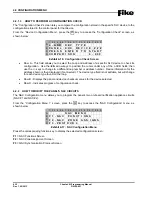
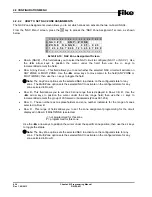
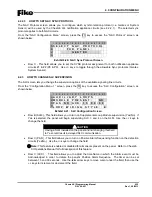
I
CAUTION
If you change any of the devices configuration settings, you
MUST press the ENTER button to successfully change the
configuration at the device. Wait for the asterisk (*) shown next
to the device function on Row B to go away prior to leaving the
screen. Exiting the screen with the asterisk still visible will cause
the selected device to be partially configured which will result in
improper operation.
Summary of Contents for 10-068
Page 111: ......

