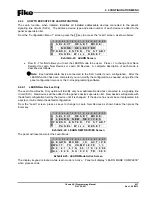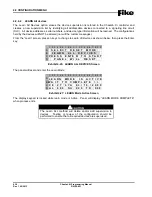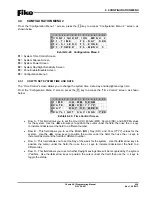
4.0 CONFIGURATION MENU
Cheetah Xi Programming Manual
4-7
P/N: 06-651
Rev 1, 09/2013
C. HOW TO MODIFY A MONITOR MODULE
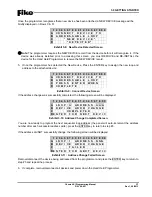
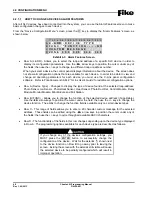
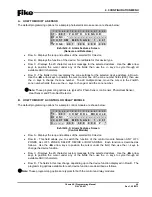
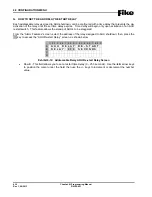
The default programming options for a sample monitor module are shown below:
1 2 3 4 5 6 7 8 9 0 1 2 3 4 5 6 7 8 9 0
A
1 - 0 0 1 : M O N I T O R
M O D U L E
B
F U N C : * - - - - - - - - - - - - N O
C
C U S T O M
M E S S A G E
1 - 0 0 1
D
Z O N E : 0 0 0
0 0 0
0 0 0
0 0 0
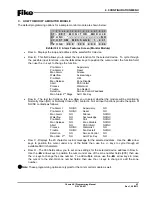
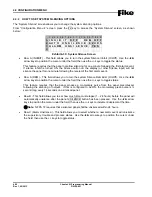
Exhibit 4-10: Alarm Features Screen (Monitor Module)
•
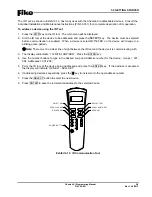
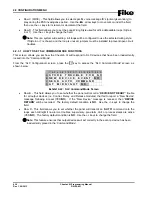
Row A - Displays the loop and address of the selected SLC device.
•
Row B - This field allows you to select the input function for the selected device. To cycle through
the possible input functions, use the
◄►
arrow keys to position the cursor under the function field;
then use the +/- keys to change the function:
Pre-Alarm
I
Supervisory
Pre-Alarm
2
Reset
Man
Alarm Silence
Waterflow Acknowledge
Pre-Disch
Drill
Man Release
Zone Disable
Abort
PAS Inhibit
Process
Watermist
Trouble
Fan
Restart
Detection
Smoke
Control
Feedback
Man. Alarm 2
nd
Stage
AHU Fire Key
•
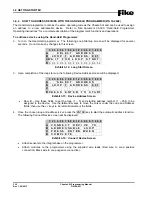
Row B - The last two fields on this row allow you to select whether the module will be monitoring
Normally Open (NO) or Normally Closed (NC) contacts. Not all input functions provide the option of
NO/NC contacts as follows:
Pre-Alarm I
NO/NC
Supervisory
NO
Pre-Alarm 2
NO/NC
Reset
NO
Man Alarm
NO
Silence
NO/NC
Waterflow NO Acknowledge
NO/NC
Pre-Disch
NO Drill
NO/NC
Man Release
NO Zone
Disable
NO/NC
Abort
NO PAS
Inhibit
NO/NC
Process NO/NC
Watermist NO
Trouble NO/NC
Fan
Restart
NO/NC
Detection NO Smoke
Control
NO
Man Alrm. 2
nd
NO
AHU
Fire
Key NO
•
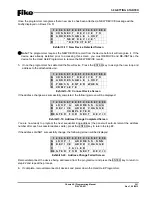
Row C - Displays the 20 character custom message for the selected address. Use the
◄►
arrow
keys to position the cursor under any of the fields; then use the +/- keys to cycle through all
available ASCII characters.
•
Row D - The 000 fields allow you to set zone settings for the selected device address in Row A.
Use the
◄►
arrow keys to position the cursor under one of the zone number fields (000); then use
the +/- keys to change the zone number. To add multiple zones, use the
◄►
arrow keys to move
the cursor to the 2nd-3rd zone number fields; then use the +/- keys to change or add the zone
number.
L
Note:
These programming options are typical for the mini monitor module as well.
Summary of Contents for 10-068
Page 111: ......

