background image

UK

3

Installation

Remove all packaging and dispose of it safely.  
Wipe all surfaces with a clean, damp cloth before use.
Position the Merchandiser on a level and stable surface, insert the shelves on to the shelf supports, add 
water to the Water Tray if 

humidification

 is required, taking care not to over

fil

l.

There should be at least 100mm clearance on all sides, do not place objects on top of the Merchandiser at 
any time.

Operation

Add water to the Water Tray if 

humidification

 is required, then place the Tray in position inside the 

Merchandiser.
Connect the Merchandiser to electricity by inserting the plug in to a socket, turn on supply at socket.
Turn switch at the rear of the Merchandiser to the on position, this will start the heating element.
Rotate the knob at the rear of the Merchandiser to set the temperature.  The temperature in the 
Merchandiser can be read from the display on the lower front panel of the Merchandiser.
The Merchandiser is now ready for food to be displayed and kept warm.
Your Merchandiser has a lamp to illuminate the contents, this can be lit by using the switch next to the 
on/off switch at the rear of the Merchandiser.

Cleaning, Care & Maintenance

Remove any food debris that is present in the Merchandiser after use.
Ensure the merchandiser is switched off before cleaning  internal surfaces with a cloth that is damp 
with soapy water, or with a food safe cleaning agent, dry thoroughly after cleaning making sure that no 
moisture is left in the Merchandiser.

Trouble Shooting

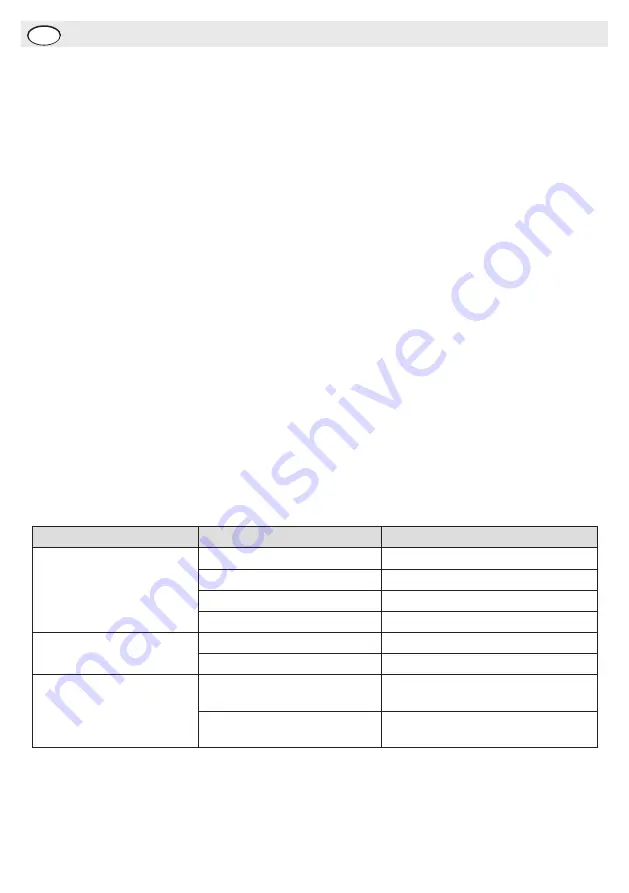
Fault

Probable Cause

Action Required

Indicator Light does not 
come on & Merchandiser 
does not heat up

Power is not switched at socket

Turn power on at socket

Plug fuse has failed

Change fuse

Power cable is damaged

Call  dealer for repair service

Thermostat  has failed

Call  dealer for repair service

Indicator Light comes on but 
Warmer does not heat up

Heating element has failed

Call  dealer for repair service

Thermostat has failed

Call  dealer for repair service

Lamp does not light when 
switched on.

Power is not switched on at 
socket.

Turn power on at socket and rear of 
Merchandiser

Lamp has failed.

Replace lamp, call  dealer for 
replacement.

Summary of Contents for CHVB120R

Page 1: ...elo Malli VPH100 VPH120 VPH160 Verwarmde toonbankdisplay Handleiding Vitrine chauffante Mode d emploi Warmhaltevitrinen Bedienungsanleitung Espositore riscaldato Manuale di istruzioni Unidad de vendin...

Page 2: ...e the appliance in a vertical position and move by holding the base of the appliance Always switch off and disconnect the power supply to the unit before cleaning Keep all packaging away from children...

Page 3: ...displayed and kept warm Your Merchandiser has a lamp to illuminate the contents this can be lit by using the switch next to the on off switch at the rear of the Merchandiser Cleaning Care Maintenance...

Page 4: ...coloured blue to terminal marked N Earth wire coloured green yellow to terminal marked E This appliance must be earthed using a dedicated earthing circuit If in doubt consult a quali ed electrician E...

Page 5: ...pbergen en gebruiken Het product verplaatsen door de basis van het apparaat vast te houden Alvorens dit apparaat te reinigen dient men altijd de stroomvoorziening uit te schakelen Laat verpakkingsmate...

Page 6: ...en lamp om de inhoud te verlichten Men kan de verlichting inschakelen met behulp van de schakelaar naast de aan uitschakelaar aan de achterzijde van de toonbankdisplay Reiniging zorg onderhoud Verwijd...

Page 7: ...eerd met N Aardekabel groen geel naar de aansluitklem gemarkeerd met E Dit apparaat moet worden geaard met behulp van een adequaat aardingscircuit Bij twijfels raadpleeg een vakkundige elektricien De...

Page 8: ...E PAS entreposer de produits sur le dessus de l appareil Toujours transporter entreposer et manipuler l appareil en position verticale et le d placer en le tenant par la base Toujours teindre et d bra...

Page 9: ...ontenu qui s allume en activant l interrupteur situ c t du bouton marche arr t situ l arri re de la vitrine Nettoyage entretien et maintenance Retirez tout r sidu d aliment pr sent dans la vitrine apr...

Page 10: ...marqu e L Fil neutre bleu la borne marqu e N Fil de terre vert jaune la borne marqu e E Cet appareil doit tre raccord la terre par le biais d un circuit de mise la terre d di En cas de doute consulte...

Page 11: ...t stets aufrecht tragen lagern und transportieren Zum Transport das Ger t an der Unterseite anfassen Vor Reinigungsarbeiten stets zun chst das Ger t abschalten und den Netzstecker ziehen Verpackungsm...

Page 12: ...mpe ausgestattet die den Inhalt beleuchtet Die Lampe wird am Schalter neben dem Ein Ausschalter auf der R ckseite der Vitrine ein bzw ausgeschaltet Reinigung P ege undWartung Speisereste nach dem Gebr...

Page 13: ...mme L Neutralleiter blau an Klemme N Erdleiter gr n gelb an Klemme E Das Ger t muss ber eine spezielle Erdleitung geerdet werden Bei Fragen wenden Sie sich bitte an einen quali zierten Elektriker Elek...

Page 14: ...n conservare prodotti collocandoli sopra l apparecchio Trasportare immagazzinare e movimentare l apparecchio sempre in posizione verticale e spostarlo mantenendone la base Spegnere e disconnettere l a...

Page 15: ...i caldi L espositore dotato di una lampada per illuminare i contenuti accendere la lampada utilizzando l interruttore On Off sul retro dell espositore Pulizia e manutenzione Dopo l utilizzo rimuovere...

Page 16: ...olore verde giallo a terminale E L apparecchio deve avere un circuito dedicato di messa a terra In caso di dubbi consultare un elettricista quali cato I punti di isolamento elettrico devono essere lib...

Page 17: ...nga ning n producto sobre el aparato Mueva guarde y maneje siempre el aparato en posici n vertical y agarr ndolo por la base Apague y desenchufe siempre el aparato antes de limpiarlo Mantenga todo el...

Page 18: ...nte Su unidad de vending tiene una l mpara para iluminar los contenidos que se puede encender con el interruptor situado junto al interruptor de encendido apagado de la parte trasera de la unidad Limp...

Page 19: ...est conectado de la forma siguiente Cable cargado de color marr n al terminal marcado como L Cable neutro de color azul al terminal marcado como N Cable de tierra de color verde amarillo al terminal...

Page 20: ...parelho na posi o vertical e desloque o segurando a base do aparelho Desligue sempre o aparelho e retire a tomada da fonte de alimenta o antes de proceder limpeza do aparelho Mantenha todos os element...

Page 21: ...pronto para expor os alimentos assim como para os manter quentes O expositor possui uma l mpada para iluminar os conte dos esta l mpada pode ser acesa utilizando o interruptor junto ao interruptor par...

Page 22: ...ho O esquema de electricidade deste aparelho o seguinte Cabo el ctrico castanho para o terminal marcado L Cabo neutro azul para o terminal marcado N Cabo terra verde amarelo para o terminal marcado co...

Page 23: ......

Page 24: ...1 151 174...

Reviews: