5 Operation of the NucleoCounter
24
Setup? haploid
1:Up
2:Down
store
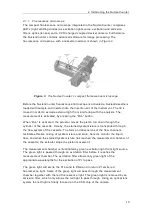
Figure 18 Zero Count Check, step 1
To select the appropriate settings use the keys "1" and "2" to scroll in the list of
options. The options are: Haploid, Diploid and Small. The labels refer to "typical"
settings for the measurement of
Saccharomyces cervesae
. The label of the settings
are only to be considered as guidelines since other factors might influence the
intensity of the observed signals.
The appropriate settings for any type and conditions of yeast cells are best found
using the NucleoView software. The software illustrates Object Intensity Histogram
for the measured sample. In order to determine the settings prepare a sample
containing approximately 1,000 lysed cells per µl (1x10
6
cells/ml) and measure it on
the NucleoCounter instrument using different sensitivity settings.
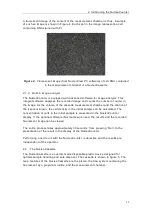
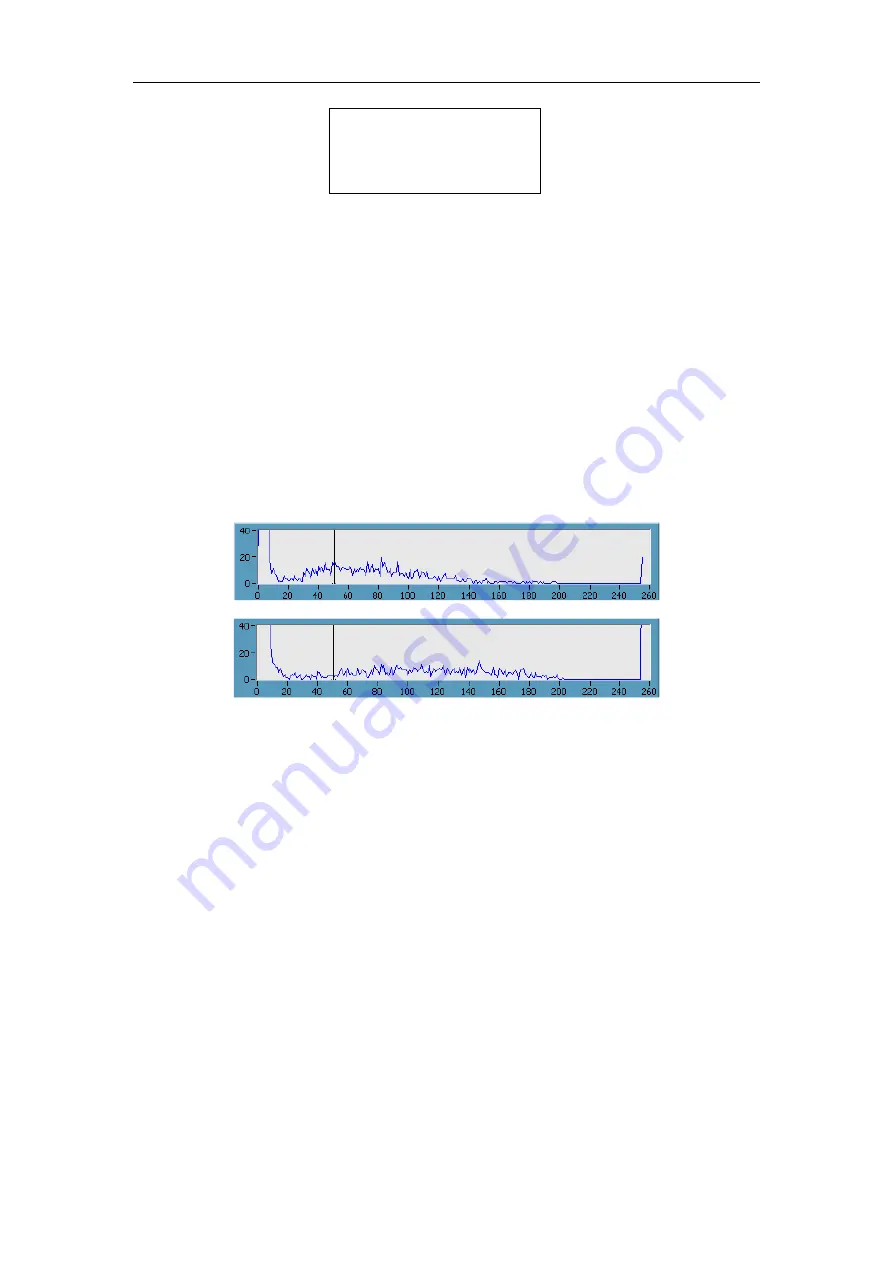
Figure 19 Object Intensity Histogram using different sensitivity
settings.
The figure above illustrate firstly (on top) a sample measured with too low
sensitivity, seen by the relatively high number of cells found below the sensitivity
discriminator at 50. The Object Intensity Histogram at the bottom illustrates the
same sample measured with higher sensitivity, where the main intensity population
is observed above the sensitivity discrimi nator.
The effect of inappropriate sensitivity setting is an over or underestimation of the
cell concentration. It is difficult to give accurate estimates of the magnitude of the
error, but it can be on the order of between 5 and 30%, so due attention shou ld be
given to choosing the appropriate sensitivity setting.
5.6
Zero Count Check (F50)
The instrument can perform a so called Zero Count Check (only firmware v 3.04 or
higher). This check is carried out
without
cassette in the insertion slit of the
Summary of Contents for 900-0300
Page 1: ...NucleoCounter YC 100 User s Guide Revision 1 3 Technology that counts...
Page 2: ...i This page was intentionally left blank...
Page 4: ...iii This page was intentionally left blank...
Page 6: ...v This page was intentionally left blank...
Page 8: ...vii This page was intentionally left blank...
Page 10: ...ix This page was intentionally left blank...
Page 12: ...Introduction and intended use xi This page was intentionally left blank...
Page 20: ...1 Inspection and Unpacking of Equipment 8 This page was intentionally left blank...
Page 26: ...Fejl Henvisningskilde ikke fundet 14 This page was intentionally left blank...
Page 44: ...7 Maintenance of NucleoCounter 32 This page was intentionally left blank...
Page 48: ...8 Troubleshooting Error messages 36 This page was intentionally left blank...
Page 55: ...43 2 1 3 Metal E nclosure Figure 36 Printer Output connector seen from the cable entry side...

