background image

RB14604 


34 


4.


Maintenance and Service


DOA

 (Dead on Arrival)


If the products are found Defect On Arrival, please contact Chenbro’s

 regional sales or CQE and indicate the defective status via email 

along with product photos and description.   You may need to return the defective item by request.    


The customer should ensure that the products are Defect On Arrival for up to three months from Chenbro

s shipping date and the 

damage  is  not  caused  by  shipping  or  failures  resulting  from  accident,  misuse,  abuse,  neglect,  mishandling,  misapplication, 

modification, improper operation, improper repair or rework. CHENBRO is not responsible for the cost of replacement including the 

delivery cost. 


CHENBRO also reserves the right to examine the DOA products. If the damage of DOA products is caused by improper action as 

described above, the customer will be liable for paying the related charge having occurred or paying the fee of the replacements if 

the DOA products are totally scrapped. 


TECHNICAL


SUPPORT 

Please provide following information when you apply our technical support: 


Product model name and/or part number 


Product serial number and bar code 


Buzzer beeping pattern and/or failure LED flashing pattern 


Detailed and specific questions 


You may also contact Chenbro’s regional technical supports as below:


  www.chenbro.com 


CENBRO MICOM CO., LTD. 

Email: fae@chenbro.com 


Tel: +886-2-82265500   
Fax: +886-2-82265392   

CHENBRO MICOM (USA) INC. 

Email: usfae@chenbro.com 


Tel: +1-909-947-3200 
Fax: +1-909-947-4300 

CHENBRO GmbH 

Email: defae@chenbro.com 
Tel: + 49-2154-8142730   
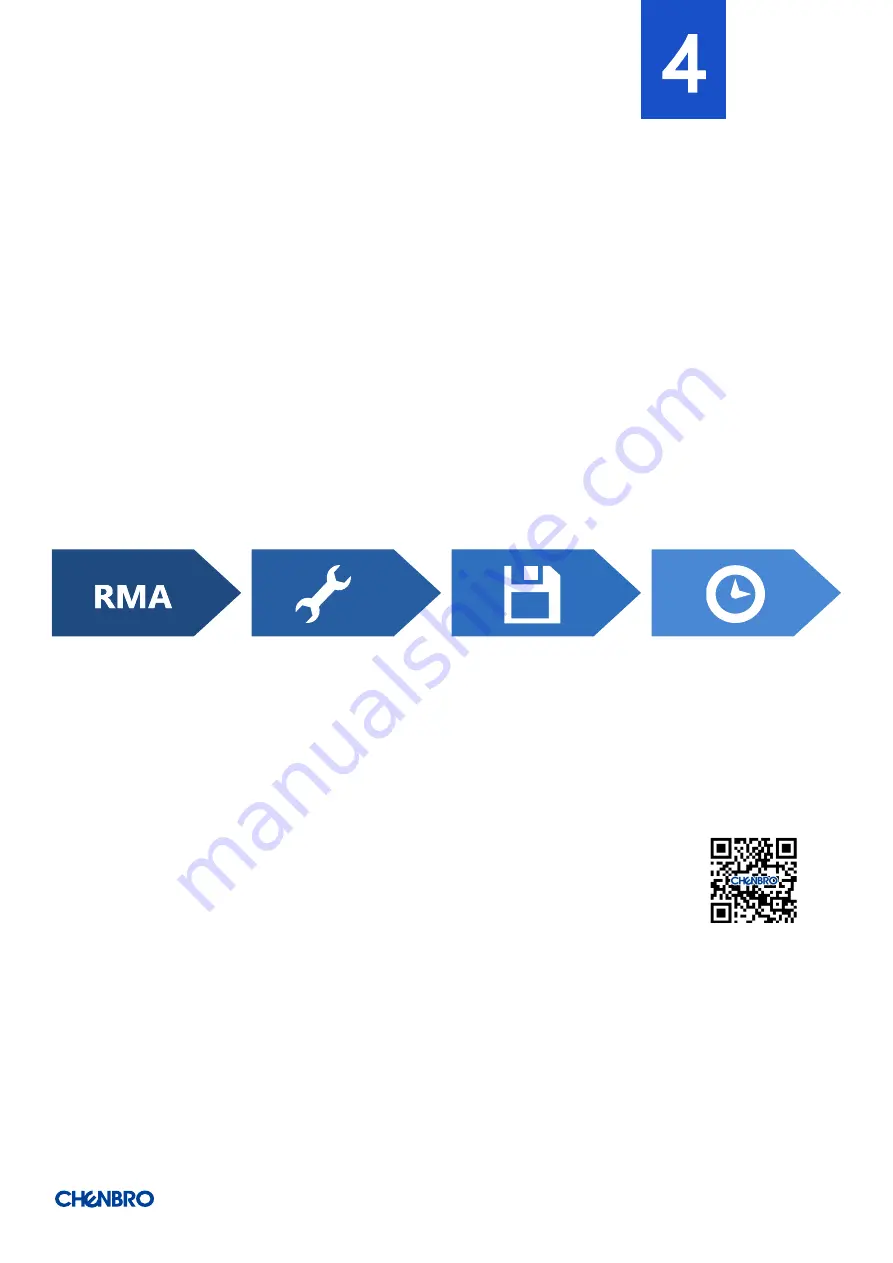
Apply a RMA 
number


Return the product for 
repair


Receive service 

charge notice


Receive the repaired 

product


Summary of Contents for RB14604

Page 1: ...RB14604 Rackmount Chassis User Manual July 2020 Version 1 3 A document provides an overview of product features functions architecture and support specifications...

Page 2: ...ance course of dealing or usage in trade This document contains information on products services and or processes in development All information provided here is subject to change without notice The p...

Page 3: ...If one is not available provide some ESD protection by wearing an antistatic wrist strap attached to chassis ground any unpainted metal surface on your server when handling parts ESD and handling boa...

Page 4: ...Removal and Installation 16 2 1 Top Cover Installation 17 2 2 Hot swap HDD Assembly Removal and Installation 18 2 3 Internal 2 5 HDD Installation 21 2 4 Internal Slim ODD Installation 22 2 5 System Ma...

Page 5: ...3 5 tray screw type 20 Figure 15 Internal 2 5 HDD installation 21 Figure 16 Slim ODD installation 22 Figure 17 Installation of whole system into the rack screw type 23 Figure 18 Fan module assembly 4...

Page 6: ...Table 3 Slide rail options 13 Table 4 System environmental specifications summary 14 Table 5 System packing information 15 Table 6 Product weight information 15 Table 7 Drive power LED activity LED b...

Page 7: ...ctor Micro ATX 9 6 x 9 6 Dimension D x W x H 547 6 x 438 5 x 43 5 mm 21 56 x 17 26 x 1 71 Drive Bay 4 x 3 5 Hot swap 2 x 2 5 Internal 1 x Slim ODD 9 5 mm PSU Form Factor 1U Single Indicator 1 x Power...

Page 8: ...Overview Figure 1 Overview Figure 2 Major components overview A Front Top Cover D Rear Top Cover Latch G Fan Assembly B Rear Top Cover E Optical Drive Bay H Server Board C Label Embossing F Internal 2...

Page 9: ...RB14604 9 1 2 Front Panel Figure 3 Front panel A Rack Handles B Storage Drive Bay C Optical Drive Bay D Info Tag E Front Control Panel F Storage Sticker...

Page 10: ...RB14604 10 1 3 Back Panel Figure 4 Back panel with 1U single PSU A 1U Single Power Supply Unit B I O Gasket C Full Height Expansion Slot...

Page 11: ...re 5 Front control panel Table 2 RB14604 front control panel Label ICON Indicator button or connector A PowerButton LED B HDDActivityLED C SystemAlarmLED D LAN1 LAN2ActivityLED E ResetButton F UIDButt...

Page 12: ...RB14604 12 1 5 Chassis Dimensions Figure 6 Chassis dimensions Figure 7 Label embossing dimensions...

Page 13: ...Exceeding the specified maximum weight limit of a given rail kit or misalignment of the server in the rack may result in failure of the rack rails causing damage to the system or personal injury More...

Page 14: ...ng HDD Class Class 1 Highest performance reliability and data integrity Class 2 A second tier of performance reliability and data integrity HDD I O throughput degradation SPEC Pass Fail Criteria No fu...

Page 15: ...shipment Table 5 System packing information Part Number Single Bulk Form Factor Support Level 87H314604 302 Single 670 x 556 x 140 L6 NOTE The design of the inner packaging components does not prevent...

Page 16: ...4 supports for the following storages Up to 4 x 3 5 hot swap SAS SATA HDD 2 x 2 5 internal HDD or SSD up to 9 5 mm thickness Support for different storage and peripheral options will vary depending on...

Page 17: ...uide pins for both sides NOTE Ensure that arrows on the cover indicating the back of chassis 2 Secure it with two screws as shown Figure 9 Rear top cover installation 1 Align the guide pins of this co...

Page 18: ...nstallation 1 With the open lever insert the HDD assembly into the drive bay until the end of HDD cage 2 Push in the lever when it is secured with a click Figure 11 3 5 hot swap HDD assembly removal 1...

Page 19: ...ype 1 Slide in the HDD until align the anchor point of HDD tray 2 Push down the HDD when it is secured with a click Figure 13 3 5 HDD installation screw type 1 Align front HDD with the anchor point on...

Page 20: ...y screw type 1 Align the front of the HDD SSD with the anchor point on the tray 2 Secure the 2 5 HDD SSD into the tray by three screws from the bottom as shown NOTE Dedicated screw type is required fo...

Page 21: ...Attach the plastic bracket with HDD SSD by engaging four pins with the dimples on one side of HDD SSD 2 Align the two dimples of the other side of HDD SSD with two hooks on the HDD SSD cage as shown 3...

Page 22: ...04 22 2 4 Internal Slim ODD Installation Figure 16 Slim ODD installation 1 Align two dimples on the ODD with two hooks on the cage and slide the ODD in 2 Push the ODD down until it is secured with a c...

Page 23: ...intenance Figure 17 Installation of whole system into the rack screw type 1 Firmly grab the rack handles on both sides and push the system all the way into the cabinet 2 Secure the system with two thu...

Page 24: ...Fan module assembly 4028 1 Attach the fan guard with fan 2 Insert four rivets with the fan module as shown 3 install the fan module in the chassis base Figure 19 Air baffle installation 1 Insert the a...

Page 25: ...lation 1 Secure the riser card with PCIe bracket by two screws 2 Align two screw holes of PCIe slot bracket with the PCIe card and secure them with two screws 3 Insert the PCIe card into the slot on t...

Page 26: ...re 22 1U single PSU installation 2 1 Attach the PSU front bracket to the PSU with two screws 2 Place the PSU assembly to the chassis base 3 Secure the PSU assembly with one screw from the bottom of ch...

Page 27: ...ail installation 1 84H314610 003 1 Attach the inner rail to the chassis base while aligning T pins on the side of the system with the slots on the inner rail Figure 24 Slide rail installation 2 84H314...

Page 28: ...gure 25 Slide rail Installation 3 84H314610 003 3 Lift the latch as shown 4 Secure the inner rail with one screw Figure 26 Slide rail Installation 4 84H314610 003 5 Install the system into the rack wi...

Page 29: ...able 7 Drive power LED activity LED behavior LED ICON LED Color Behavior Condition A Power LED Blue Stay off Fault Solid on Present B Activity LED Green Blink Access Status LED Red Solid on Failure 1H...

Page 30: ...es include the following common features 12Gbps SAS 6Gbps SAS SATA SFF 8680 12Gbps rated drive interface connectors providing both power and I O signals to attached devices Hot swap supports for SAS S...

Page 31: ...device status Power LED Off Fault Blue on Present Activity LED Green on Access Red on Failure Red 1Hz blink Rebuild Red 4Hz blink Locate Environment Monitor Temperature sensor TMP75 detection Connect...

Page 32: ...plane Power is routed to the backplane via a power cable harness from the power supply B SATA 7 pin The backplane includes four SATA 7 pin connectors providing data signals for four SAS SATA drives on...

Page 33: ...d Connector Identification Figure 30 Intel server board M10JNP2SB connector identification System Fan Front Panel Board Front Panel USB3 0 PSU ATX 24 Pin PSU PMBus Storage Backplane SATA Conn Internal...

Page 34: ...he DOA products If the damage of DOA products is caused by improper action as described above the customer will be liable for paying the related charge having occurred or paying the fee of the replace...

Reviews: