RM312 User Guide
14
19" Rackmount Chassis
Installing the General Rack Rail Kit (optional part)
The optional rack rail kit consists of three main parts: a pair of inner fixed chassis
rails, a pair of outer fixed rack rails, and a pair of sliding rail guides. Each pair is
identical, so no special attention is necessary to make the parts match either the left
or the right side. No parts must be removed from the chassis in order to install the
rack rail kit.
1. As they are partially assembled when packaged, you must first disassemble the
rails before installing them.
Remove the inner fixed chassis rail: Pull out until a "click" is heard, then depress
the locking tab and pull the inner rail completely out. Do this for both the left and
right side rail assemblies.
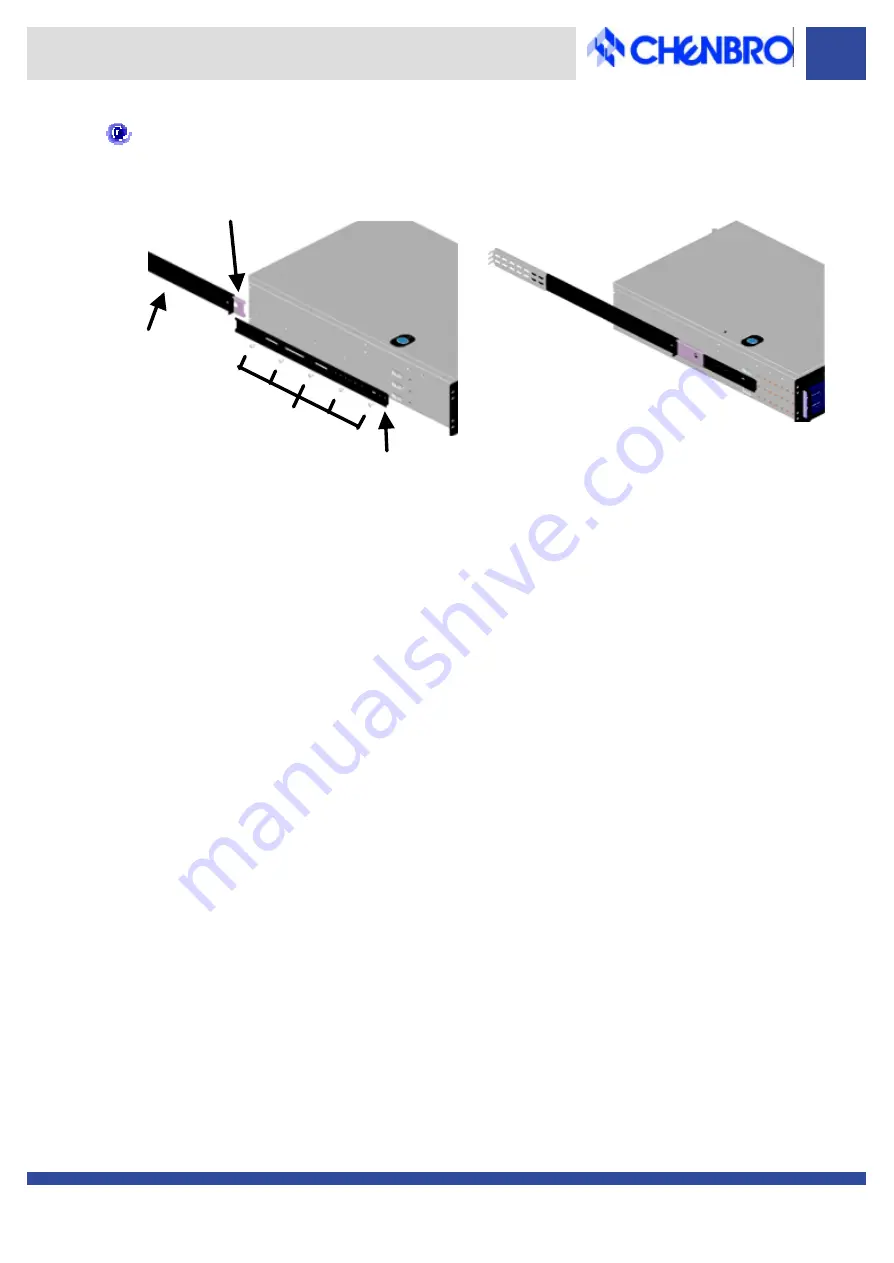
2. Now position the same inner fixed chassis rail along the side of the RM312
chassis. Making sure the holes line up, screw the rail securely to the side of the
chassis. Repeat this procedure for the other rail on the other side.
3. Next position the outer fixed rack rail/sliding rail guide assembly at the desired
location in the cabinet rack, making sure to keep the sliding rail guide facing the
interior of the rack. Screw the assembly securely to the rack using the included
brackets. Repeat the procedure for the other side's assembly, making sure to
match the exact same height and position of the rail guides facing inward.
4. Line up the rear of the inner fixed chassis rails with the front of the outer fixed
rack rails, and slide the chassis towards the rear, keeping even pressure on both
sides.
5. When the RM312 has been eased completely into the rack, you should hear the
locking tabs "click" to finish the installation.
Sliding Rail Guide
(inside facing chassis)
Screws
Inner Fixed Chassis Rail
Outer Fixed Rack Rail


