Chery QQ Service Manual 465 Engine Mechanical System
- 28 –
Chery Automobile Co., Ltd
Chapter 13 Replacement of Crankshaft
I procedures of disassemble
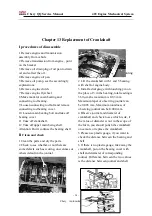
1 Remove engine and transmission
assembly from vehicle
2 Remove transmission from engine , put it
on the bracket.
3 Remove oil drain plug of oil pan to drain
oil and collect the oil.
4 Remove engine oil pan.
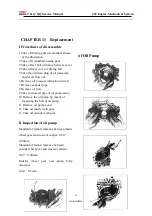
5 Remove oil pump, see the accordingly
explanations.
6 Remove engine clutch.
7 Remove engine flywheel.
8 Make mark for main bearing and
connecting rod bearing.
9 Loosen connecting rod bolt and remove
connecting rod bearing cover.
10 Loosen main bearing bolt and take off
bearing cover.
11 Take off crankshaft.
12 Take off upper main being shell.
Attention: Don’t confuse the bearing shell.
II
Clean and check
1 Clean the parts and dry the parts.
2 Check to see whether or not there are
some defects such as scoring, unevenness or
others default in the journal.
III Measurement
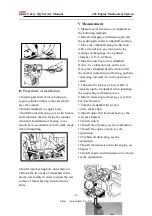
1 Check the flatness of crankshaft according
to the following methods.
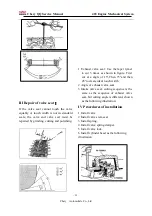
2 Lift the crankshaft with 1 and 5 bearing
with shell of engine body.
3 Install a dial gauge with touching pin on
the place of 3 in the bearing, total reading is
360 µm ,the maximum is 0.03 mm
Maximum taper of observing journal can
be:0.005 mm, Maximum roundness of
observing journal can be:0.004 mm
4 Observe journal and diameter of
crankshaft and check to see which is ok, if
the value of diameter is not in the scope of
the form, you should polish the crankshaft
once more or replace the crankshaft.
5 Please use plastic gauge, if you want to
check the distance between the bearing and
shell.
6 If there is no plastic gauge, take away the
crankshaft, put on the bearing cover with
shell and diameter of corresponding
journal .Difference between the two values
is the distance between journal and shell.

