STEERING 9-23
2. P Models
a. Place the steering gear in position, guiding the
stub shaft into the universal joint assembly and
lining up the marks made at removal.
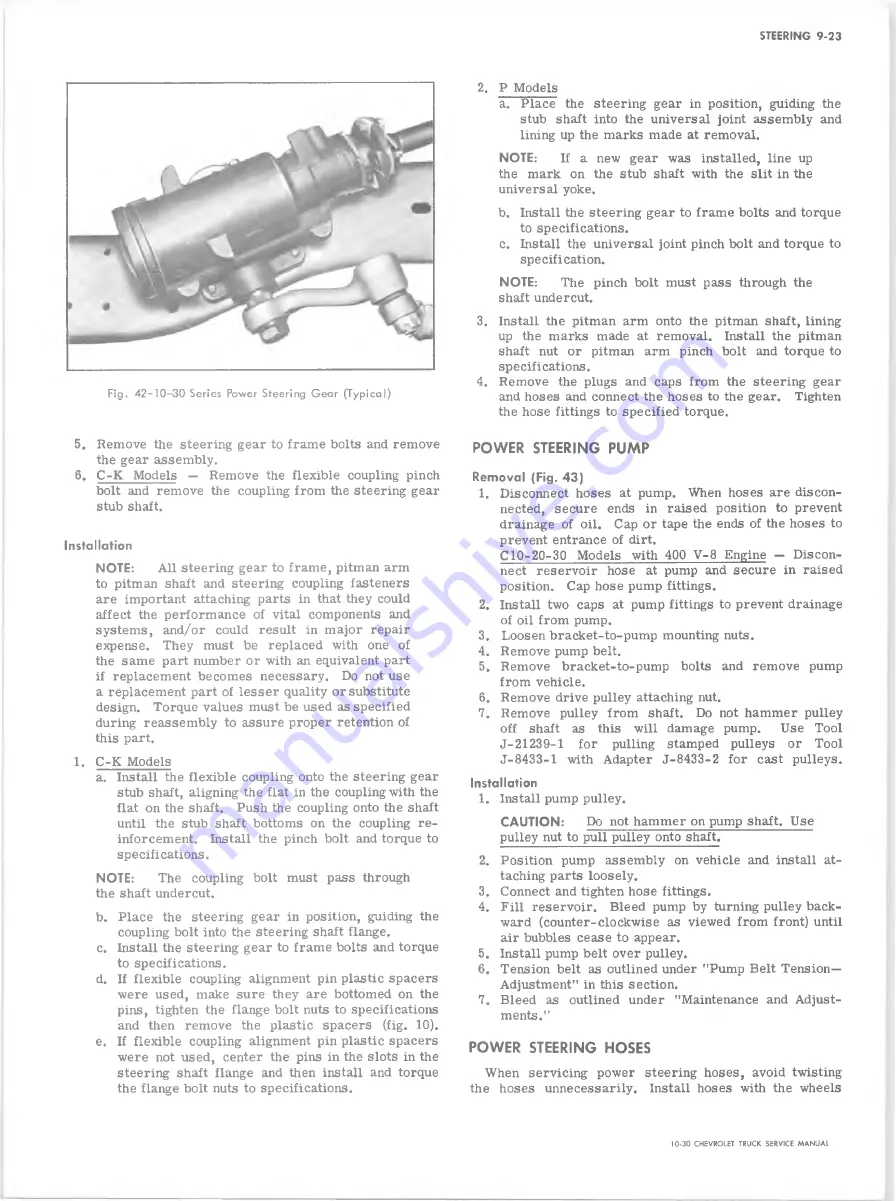
Fig. 4 2 -1 0 —30 Series Power Steering G e a r (T ypical)
5. Remove the steering gear to frame bolts and remove
the gear assembly.
6. C-K Models — Remove the flexible coupling pinch
bolt and remove the coupling from the steering gear
stub shaft.
Installation
NOTE:
All steering gear to frame, pitman arm
to pitman shaft and steering coupling fasteners
are important attaching parts in that they could
affect the performance of vital components and
systems, and/or could result in major repair
expense. They must be replaced with one of
the same part number or with an equivalent part
if replacement becomes necessary. Do not use
a replacement part of lesser quality or substitute
design. Torque values must be used as specified
during reassembly to assure proper retention of
this part.
1. C-K Models
a. Install the flexible coupling onto the steering gear
stub shaft, aligning the flat in the coupling with the
flat on the shaft. Push the coupling onto the shaft
until the stub shaft bottoms on the coupling re
inforcement. Install the pinch bolt and torque to
specifications.
NOTE:
The coupling bolt must pass through
the shaft undercut.
b. Place the steering gear in position, guiding the
coupling bolt into the steering shaft flange.
c. Install the steering gear to frame bolts and torque
to specifications.
d. If flexible coupling alignment pin plastic spacers
were used, make sure they are bottomed on the
pins, tighten the flange bolt nuts to specifications
and then remove the plastic spacers (fig. 10).
e. If flexible coupling alignment pin plastic spacers
were not used, center the pins in the slots in the
steering shaft flange and then install and torque
the flange bolt nuts to specifications.
NOTE:
If a new gear was installed, line up
the mark on the stub shaft with the slit in the
universal yoke.
b. Install the steering gear to frame bolts and torque
to specifications.
c. Install the universal joint pinch bolt and torque to
specification.
NOTE:
The pinch bolt must pass through the
shaft undercut.
3. Install the pitman arm onto the pitman shaft, lining
up the marks made at removal. Install the pitman
shaft nut or pitman arm pinch bolt and torque to
specifications.
4. Remove the plugs and caps from the steering gear
and hoses and connect the hoses to the gear. Tighten
the hose fittings to specified torque.
POWER STEERING PUMP
Removal (Fig. 43)
1. Disconnect hoses at pump. When hoses are discon
nected, secure ends in raised position to prevent
drainage of oil. Cap or tape the ends of the hoses to
prevent entrance of dirt.
CIO-20-30 Models with 400 V-8 Engine — Discon
nect reservoir hose at pump and secure in raised
position. Cap hose pump fittings.
2. Install two caps at pump fittings to prevent drainage
of oil from pump.
3. Loosen bracket-to-pump mounting nuts.
4. Remove pump belt.
5. Remove bracket-to-pump bolts and remove pump
from vehicle.
6. Remove drive pulley attaching nut.
7. Remove pulley from shaft. Do not hammer pulley
off shaft as this will damage pump.
Use Tool
J-2123 9-1 for pulling stamped pulleys or Tool
J-8433-1 with Adapter J-8433-2 for cast pulleys.
Installation
1. Install pump pulley.
CAUTION:
Do not hammer on pump shaft. Use
pulley nut to pull pulley onto shaft.
2. Position pump assembly on vehicle and install at
taching parts loosely.
3. Connect and tighten hose fittings.
4. Fill reservoir. Bleed pump by turning pulley back
ward (counter-clockwise as viewed from front) until
air bubbles cease to appear.
5. Install pump belt over pulley.
6. Tension belt as outlined under "Pump Belt Tension—
Adjustment" in this section.
7. Bleed as outlined under "Maintenance and Adjust
ments."
POWER STEERING HOSES
When servicing power steering hoses, avoid twisting
the hoses unnecessarily. Install hoses with the wheels
10-30 CHEVROLET TRUCK SERVICE MANUAL
Summary of Contents for 10 1971 Series
Page 1: ......
Page 96: ......
Page 100: ...10 30 CHEVROLET TRUCK SERVICE MANUAL Fig 4 10 30 Series Truck Frame FRAME 2 4 ...
Page 120: ......
Page 203: ...ENGINE 6 25 Fig 22L Engine Mounts 10 30 CHEVROLET TRUCK SERVICE MANUAL ...
Page 215: ...ENGINE 6 37 REAR M O U NT Fig 21V Engine Mounts 10 30 CHEVROLET TRUCK SERVICE MANUAL ...
Page 218: ......
Page 249: ......
Page 324: ......
Page 340: ......
Page 365: ...10 30 CHEVROLET TRUCK SERVICE MANUAL Fig 43 Power Steering Pump M ounting STEERING 9 25 ...
Page 368: ......
Page 386: ......
Page 390: ...ELECTRICAL BODY AND CHASSIS 12 4 10 30 CHEVROLET TRUCK SERVICE MANUAL ...
Page 391: ......
Page 428: ......
Page 432: ......
Page 449: ...SPECIFICATIONS 9 10 30 CHEVROLET TRUCK SERVICE MANUAL ...
Page 463: ......
Page 464: ......
Page 465: ......
Page 466: ......


