4-40 REAR AXLE DIFFERENTIAL CARRIER
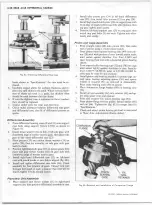
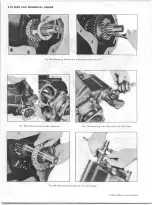
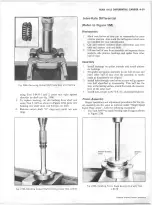
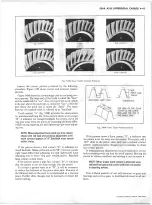
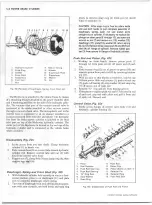
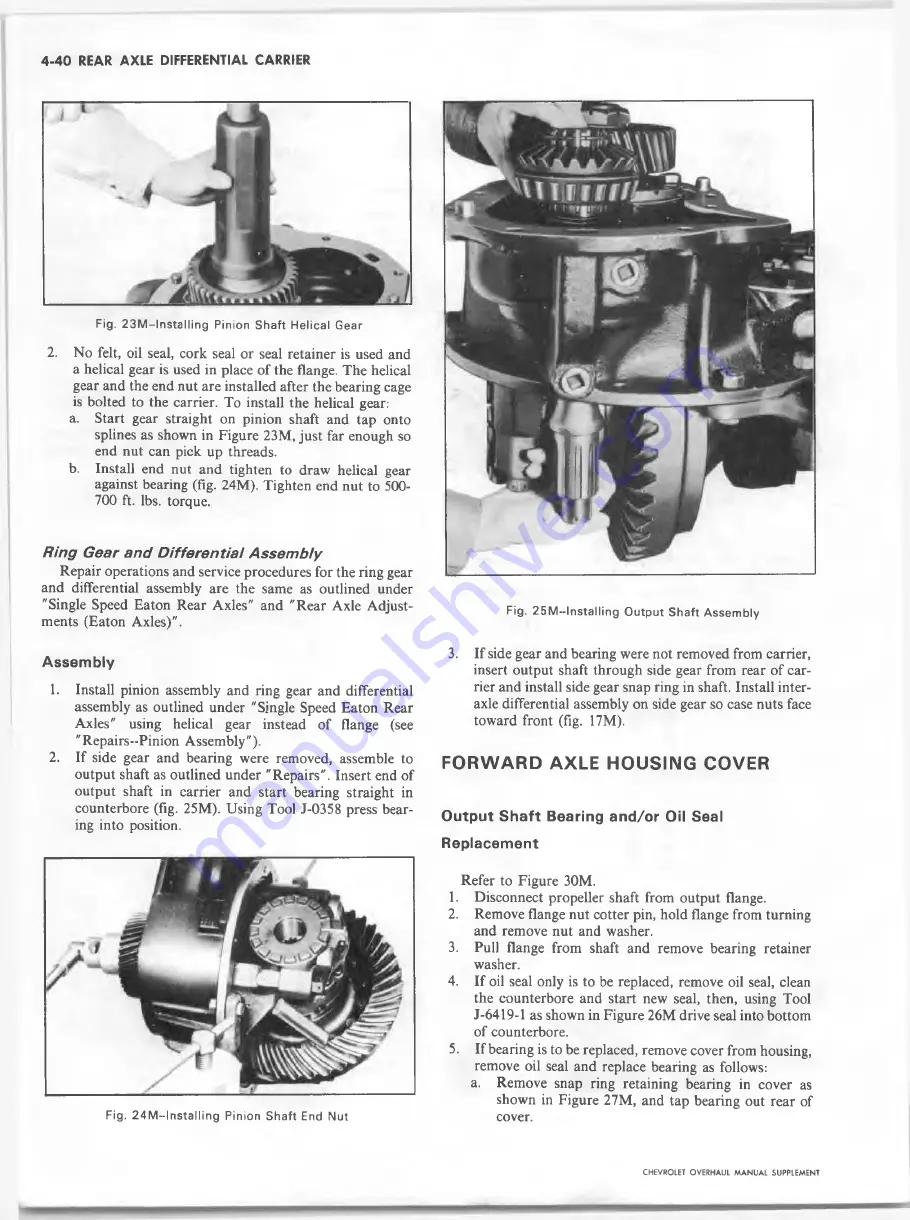
Fig. 2 3 M ~ ln sta llin g Pinion S haft Helical Gear
2.
No felt, oil seal, cork seal or seal retainer is used and
a helical gear is used in place of the flange. The helical
gear and the end nut are installed after the bearing cage
is bolted to the carrier. To install the helical gear:
a. Start gear straight on pinion shaft and tap onto
splines as shown in Figure 23M, just far enough so
end nut can pick up threads.
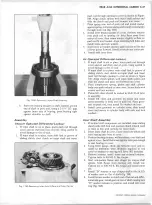
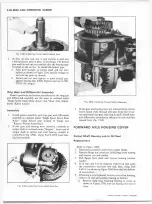
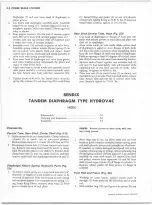
b. Install end nut and tighten to draw helical gear
against bearing (fig. 24M). Tighten end nut to 500-
700 ft. lbs. torque.
R in g Gear and Differential A sse m b ly
Repair operations and service procedures for the ring gear
and differential assembly are the same as outlined under
"Single Speed Eaton Rear Axles" and "Rear Axle Adjust
ments (Eaton Axles)".
A s s e m b ly
1.
Install pinion assembly and ring gear and differential
assembly as outlined under "Single Speed Eaton Rear
Axles" using helical gear instead of flange (see
"Repairs-Pinion Assembly").
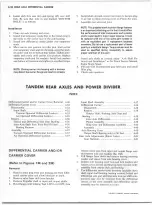
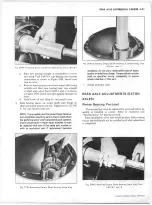
2. If side gear and bearing were removed, assemble to
output shaft as outlined under "Repairs". Insert end of
output shaft in carrier and start bearing straight in
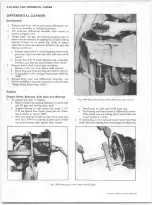
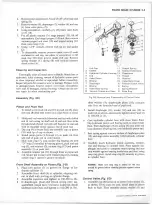
counterbore (fig. 25M). Using Tool J-0358 press bear
ing into position.
Fig. 2 5 M ~ ln s ta llin g O utput S haft Assem bly
3.
If side gear and bearing were not removed from carrier,
insert output shaft through side gear from rear of car
rier and install side gear snap ring in shaft. Install inter
axle differential assembly on side gear so case nuts face
toward front (fig. 17M).
F O R W A R D A XLE H O U S IN G CO VER
O u tp u t S h a f t B e arin g a n d /o r Oil Se al
R ep lace m e n t
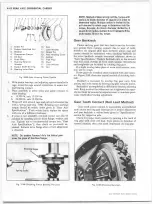
Refer to Figure 30M.
1. Disconnect propeller shaft from output flange.
2. Remove flange nut cotter pin, hold flange from turning
and remove nut and washer.
3. Pull flange from shaft and remove bearing retainer
washer.
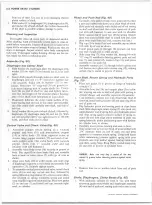
4. If oil seal only is to be replaced, remove oil seal, clean
the counterbore and start new seal, then, using Tool
J-6419-1 as shown in Figure 26M drive seal into bottom
of counterbore.
5. If bearing is to be replaced, remove cover from housing,
remove oil seal and replace bearing as follows:
a.
Remove snap ring retaining bearing in cover as
shown in Figure 27M, and tap bearing out rear of
cover.
Fig. 2 4 M ~ ln s ta llin g Pinion S haft End Nut
CHEVROLET OVERHAUL M A N U A L SUPPLEMENT
Summary of Contents for 40 60 Series
Page 1: ...40 60 SERIES TRUCK SUPPLEMENT ST 334 72...
Page 86: ......
Page 96: ...n 47 k u m i i i iin I ll II I...
Page 222: ......


