BODY
1B-25
SEATS
Care and Cleaning
of Interior Soft Trim
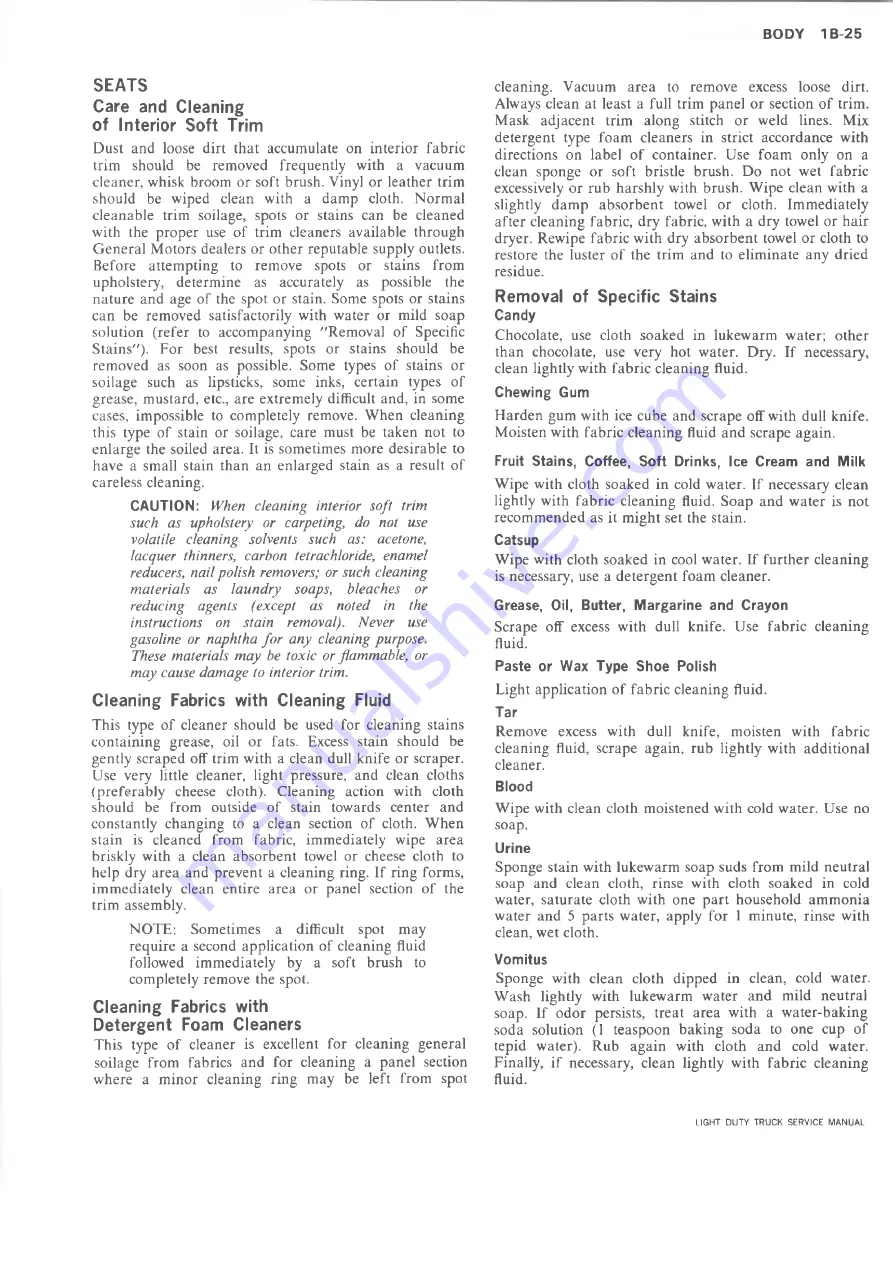
Dust and loose dirt that accumulate on interior fabric
trim should be removed frequently with a vacuum
cleaner, whisk broom or soft brush. Vinyl or leather trim
should be wiped clean with a damp cloth. Normal
cleanable trim soilage, spots or stains can be cleaned
with the proper use of trim cleaners available through
General Motors dealers or other reputable supply outlets.
Before attempting to remove spots or stains from
upholstery, determine as accurately as possible the
nature and age of the spot or stain. Some spots or stains
can be removed satisfactorily with water or mild soap
solution (refer to accompanying "Removal of Specific
Stains"). For best results, spots or stains should be
removed as soon as possible. Some types of stains or
soilage such as lipsticks, some inks, certain types of
grease, mustard, etc., are extremely difficult and, in some
cases, impossible to completely remove. When cleaning
this type of stain or soilage, care must be taken not to
enlarge the soiled area. It is sometimes more desirable to
have a small stain than an enlarged stain as a result of
careless cleaning.
CAUTION:
When cleaning interior soft trim
such as upholstery or carpeting, do not use
volatile cleaning solvents such as: acetone,
lacquer thinners, carbon tetrachloride, enamel
reducers, nail polish removers; or such cleaning
materials as laundry soaps, bleaches or
reducing agents (except as noted in the
instructions on stain removal). Never use
gasoline or naphtha for any cleaning purpose.
These materials may be toxic or flammable, or
may cause damage to interior trim.
Cleaning Fabrics with Cleaning Fluid
This type of cleaner should be used for cleaning stains
containing grease, oil or fats. Excess stain should be
gently scraped off trim with a clean dull knife or scraper.
Use very little cleaner, light pressure, and clean cloths
(preferably cheese cloth). Cleaning action with cloth
should be from outside of stain towards center and
constantly changing to a clean section of cloth. When
stain is cleaned from fabric, immediately wipe area
briskly with a clean absorbent towel or cheese cloth to
help dry area and prevent a cleaning ring. If ring forms,
immediately clean entire area or panel section of the
trim assembly.
NOTE: Sometimes a difficult spot may
require a second application of cleaning fluid
followed immediately by a soft brush to
completely remove the spot.
Cleaning Fabrics with
Detergent Foam Cleaners
This type of cleaner is excellent for cleaning general
soilage from fabrics and for cleaning a panel section
where a minor cleaning ring may be left from spot
cleaning. Vacuum area to remove excess loose dirt.
Always clean at least a full trim panel or section of trim.
Mask adjacent trim along stitch or weld lines. Mix
detergent type foam cleaners in strict accordance with
directions on label of container. Use foam only on a
clean sponge or soft bristle brush. Do not wet fabric
excessively or rub harshly with brush. Wipe clean with a
slightly damp absorbent towel or cloth. Immediately
after cleaning fabric, dry fabric, with a dry towel or hair
dryer. Rewipe fabric with dry absorbent towel or cloth to
restore the luster of the trim and to eliminate any dried
residue.
Removal of Specific Stains
Candy
Chocolate, use cloth soaked in lukewarm water; other
than chocolate, use very hot water. Dry. If necessary,
clean lightly with fabric cleaning fluid.
Chewing Gum
Harden gum with ice cube and scrape off with dull knife.
Moisten with fabric cleaning fluid and scrape again.
Fruit Stains, Coffee, Soft Drinks, Ice Cream and Milk
Wipe with cloth soaked in cold water. If necessary clean
lightly with fabric cleaning fluid. Soap and water is not
recommended as it might set the stain.
Catsup
Wipe with cloth soaked in cool water. If further cleaning
is necessary, use a detergent foam cleaner.
Grease, Oil, Butter, Margarine and Crayon
Scrape off excess with dull knife. Use fabric cleaning
fluid.
Paste or Wax Type Shoe Polish
Light application of fabric cleaning fluid.
Tar
Remove excess with dull knife, moisten with fabric
cleaning fluid, scrape again, rub lightly with additional
cleaner.
Blood
Wipe with clean cloth moistened with cold water. Use no
soap.
Urine
Sponge stain with lukewarm soap suds from mild neutral
soap and clean cloth, rinse with cloth soaked in cold
water, saturate cloth with one part household ammonia
water and 5 parts water, apply for 1 minute, rinse with
clean, wet cloth.
Vomitus
Sponge with clean cloth dipped in clean, cold water.
Wash lightly with lukewarm water and mild neutral
soap. If odor persists, treat area with a water-baking
soda solution (1 teaspoon baking soda to one cup of
tepid water). Rub again with cloth and cold water.
Finally, if necessary, clean lightly with fabric cleaning
fluid.
LIGHT DUTY TRUCK SERVICE MANUAL
Summary of Contents for Light Duty Truck 1973
Page 1: ......
Page 4: ......
Page 6: ......
Page 53: ...HEATER AND AIR CONDITIONING 1A 27 LIGHT DUTY TRUCK SERVICE MANUAL...
Page 115: ...LIGHT DUTY TRUCK SERVICE M A N U A L HEATER AND AIR CONDITIONING 1A 89...
Page 123: ...BODY 1B 3 Fig 6 Typical 06 Van LIGHT DUTY TRUCK SERVICE MANUAL...
Page 149: ...BODY 1B 29 Fig 84 Body Mounting 06 Fig 85 Body Mounting 14 LIGHT DUTY TRUCK SERVICE MANUAL...
Page 171: ...LIGHT DUTY TRUCK SERVICE M A N U A L Fig 2 Frame Horizontal Checking Typical FRAME 2 3...
Page 173: ...LIGHT DUTY TRUCK SERVICE M A N U A L Fig 4 10 30 Series Truck Frame FRAME 2 5...
Page 174: ...2 6 FRAME LIGHT DUTY TRUCK SERVICE MANUAL Fig 5 Underbody Reference Points G Van...
Page 185: ...FRONT SUSPENSION 3 11 Fig 16 Toe out on Turns LIGHT DUTY TRUCK SERVICE MANUAL...
Page 224: ......
Page 266: ......
Page 351: ...ENGINE 6 15 Fig ID Sectional View of Eight Cylinder Engine LIGHT DUTY TRUCK SERVICE MANUAL...
Page 375: ...EN G IN E 6 39 LIGHT DUTY TRUCK SERVICE MANUAL...
Page 376: ...6 4 0 ENGINE LIGHT DUTY TRUCK SERVICE MANUAL...
Page 377: ...ENG IN E 6 41 LIGHT DUTY TRUCK SERVICE MANUAL...
Page 378: ...LIGHT DUTY TRUCK SERVICE MANUAL Fig 37L K Series Engine Front Mount 6 42 ENG INE...
Page 400: ...6 6 4 ENG INE LIGHT DUTY TRUCK SERVICE MANUAL...
Page 401: ...ENG IN E 6 65 LIGHT DUTY TRUCK SERVICE MANUAL...
Page 402: ...6 6 6 ENGINE LIGHT DUTY TRUCK SERVICE MANUAL...
Page 403: ...E NG IN E 6 67 Fig 36V C Series Engine Mounts LIGHT DUTY TRUCK SERVICE MANUAL...
Page 410: ......
Page 423: ...EN G IN E C OOLING 6K 13 Fig 16 Overheating Chart LIGHT DUTY TRUCK SERVICE MANUAL...
Page 424: ...6 K 1 4 ENG INE COOLING Fig 17 Coolant Loss Chart LIGHT DUTY TRUCK SERVICE MANUAL...
Page 456: ...6M 32 ENGINE FUEL Fig K15 Accelerator Controls G Van L 6 LIGHT DUTY TRUCK SERVICE MANUAL...
Page 492: ......
Page 512: ...Fig 18e Vacuum Advance Diagram V8 Engine...
Page 516: ...6 T 2 4 E M IS S IO N CONTROL SYSTEMS LIGHT DUTY TRUCK SERVICE MANUAL...
Page 528: ......
Page 590: ......
Page 593: ...CLUTCHES MANUAL TRANSMISSIONS 7M 3 LIGHT DUTY TRUCK SERVICE MANUAL...
Page 598: ...7M 8 CLUTCHES MANUAL TRANSMISSIONS LIGHT DUTY TRUCK SERVICE MANUAL...
Page 642: ......
Page 654: ......
Page 743: ...FUEL TANKS AND EXHAUST 8 13 LIGHT DUTY TRUCK SERVICE MANUAL...
Page 744: ...8 14 FUEL TANKS AND EXHAUST LIGHT DUTY TRUCK SERVICE MANUAL...
Page 760: ...8 30 FUEL TANKS AND EXHAUST Fig 40 Exhaust Pipe P Models LIGHT DUTY TRUCK SERVICE MANUAL...
Page 761: ...FUEL TANKS AND EXHAUST 8 31 LIGHT DUTY TRUCK SERVICE MANUAL...
Page 763: ...FUEL TANKS AND EXHAUST 8 33 LIGHT DUTY TRUCK SERVICE MANUAL...
Page 766: ......
Page 832: ...LIGHT DUTY TRUCK SERVICE MANUAL Fig 106 Power Steering Pump Mounting Typical 9 66 STEERING...
Page 833: ...PUMP ASSEMBLY STEERING GEAR TYPICAL SMALL V8 TYPICAL LARGE V8 STEERING 9 67...
Page 861: ...STEERING 9 95 Fig 134 Power Steering Pump Leakage LIGHT DUTY TRUCK SERVICE MANUAL...
Page 864: ......
Page 876: ......
Page 886: ...11 10 CHASSIS SHEET METAL LIGHT DUTY TRUCK SERVICE MANUAL...
Page 891: ...ELECTRICAL BODY AND CHASSIS 12 5 LIGHT DUTY TRUCK SERVICE MANUAL...
Page 934: ......
Page 942: ......
Page 970: ......
Page 972: ......
Page 974: ......
Page 976: ...V...
Page 978: ......
Page 979: ......


