background image

SKU 67256 

For technical questions, please call 1-800-444-3353. 

Page 7

The smaller the gauge number of the 

3. 

wire, the greater the capacity of the 

cord.  For example, a 14 gauge cord 

can carry a higher current than a 16 

gauge cord.  

(See Table a.)

When using more than one extension 

4. 

cord to make up the total length, 

make sure each cord contains at 

least the minimum wire size required.  

(See Table a.)

If you are using one extension cord 

5. 

for more than one tool, add the 

nameplate


amperes and use the sum 

to determine the required minimum 

cord size.  

(See Table a.)

If you are using an extension cord 

6. 

outdoors, make sure it is marked with 

the suffix “W-A” (“W” in Canada) to 

indicate it is acceptable for outdoor 

use.
Make sure the extension cord is 

7. 

properly wired and in good electrical 

condition.  Always replace a damaged 

extension cord or have it repaired by 

a qualified electrician before using it.

Protect the extension cords from 

8. 

sharp objects, excessive heat, and 

damp or wet areas.

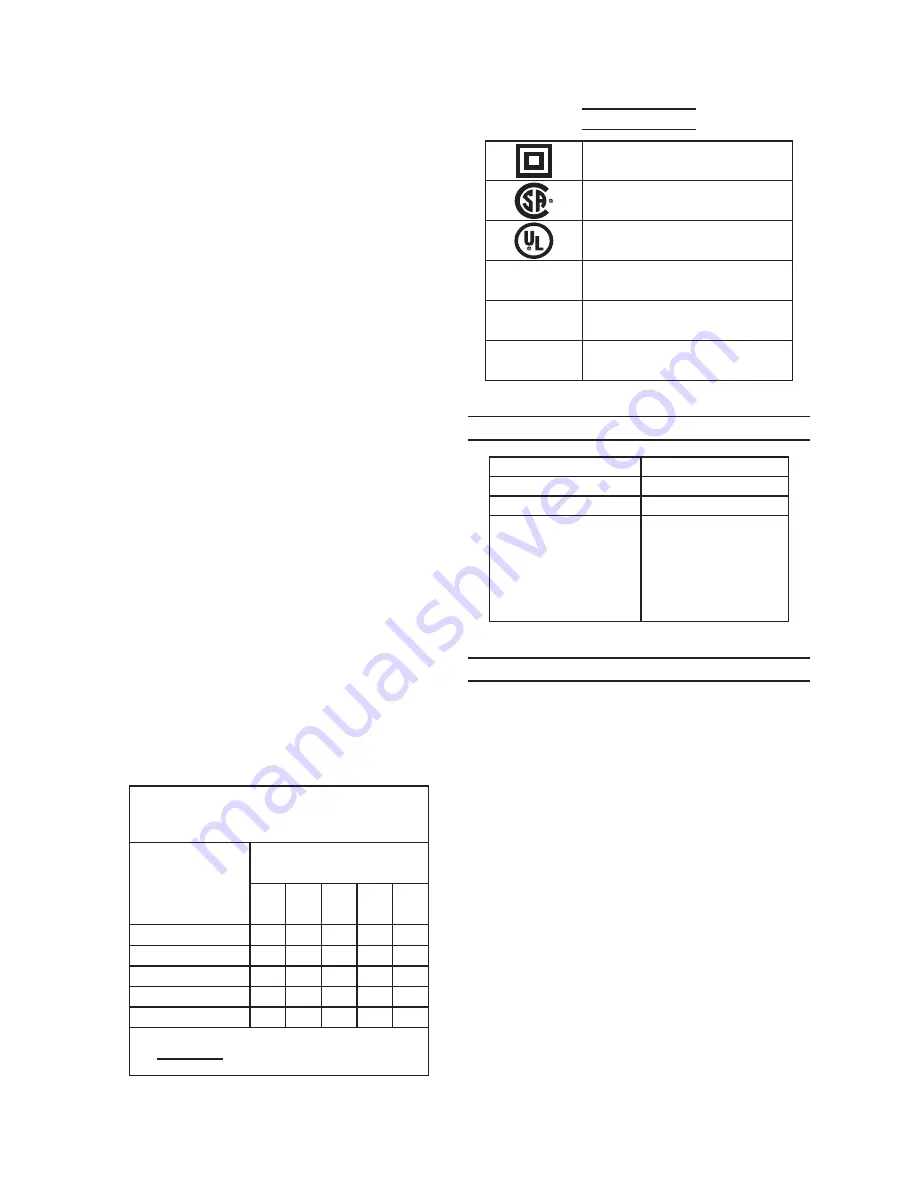
RECOMMENdEd MINIMUM WIRE 

gaUgE FOR EXTENSION CORdS* 

(120/240 VOLT)

NaMEPLaTE

aMPERES

(at full load)

EXTENSION CORd 

LENgTh

25’

50’

75’

100’

150’

0 – 2.0

18

18

18

18

16

2.1 – 3.4

18

18

18

16

14

3.5 – 5.0

18

18

16

14

12

5.1 – 7.0

18

16

14

12

12

7.1 – 12.0

18

14

12

10

-

TabLE a

* based on limiting the line 

voltage drop to five volts at 

150% of the rated amperes.

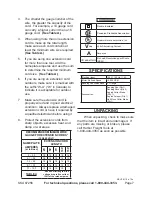
Symbology

Double Insulated

Canadian Standards Association

Underwriters Laboratories, Inc.

V~

Volts Alternating Current

a

Amperes

n0 xxxx/min.

No Load Revolutions per Minute 

(RPM)

SPECIFICaTIONS

Electrical Input

120 V~ / 60 Hz / 1.6 A

Motor No Load Speed

19,000 OPM

Sanding Pad Dimensions

3” Triangle

Accessories

Sanding Pad (Qty 1)

Sanding Sheet (Qty 2)

Angled Cutter Blade 

(Qty  1)

Angled Scraper (Qty 1)

Half Moon Cutter Blade 

(Qty 1)

UNPaCKINg

When unpacking, check to make sure 

that the item is intact and undamaged.  If 

any parts are missing or broken, please 

call Harbor Freight Tools at  

1-800-444-3353 as soon as possible.

REV 09f, 10b, 10e

Summary of Contents for 67256

Page 1: ...served No portion of this manual or any artwork contained herein may be reproduced in any shape or form without the express written consent of Harbor Freight Tools Diagrams within this manual may not...

Page 2: ...ich if not avoided could result in death or serious injury CAUTION used with the safety alert symbol indicates a hazardous situation which if not avoided could result in minor or moderate injury NOTIC...

Page 3: ...ing a power tool Do not use a power tool while you are tired or under the influence of drugs alcohol or medication A moment of inattention while operating power tools may result in serious personal in...

Page 4: ...ns different from those intended could result in a hazardous situation Service 5 Have your power tool serviced by a a qualified repair person using only identical replacement parts This will ensure th...

Page 5: ...alifornia Health Safety Code 25249 5 et seq The warnings precautions 11 and instructions discussed in this instruction manual cannot cover all possible conditions and situations that may occur It must...

Page 6: ...se If the Plug will not fit the outlet have a proper outlet installed by a qualified electrician Double Insulated Tools Tools with Two Prong Plugs Tools marked Double Insulated 1 do not require ground...

Page 7: ...an before using it Protect the extension cords from 8 sharp objects excessive heat and damp or wet areas RECOMMENDED MINIMUM WIRE GAUGE FOR EXTENSION CORDS 120 240 VOLT NAMEPLATE AMPERES at full load...

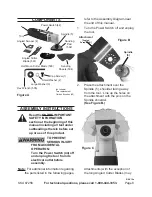
Page 8: ...therein before set up or use of this product To prevent serious injury from accidental operation Turn the Power Switch 44 off and unplug the tool from its electrical outlet before assembly Note For a...

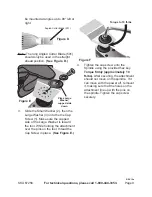
Page 9: ...o the the Cap Screw 1 Make sure the cupped side of the Large Washer is toward the tool While holding the attachment over the pins on the tool thread the Cap Screw in place See Figure E Torque to 10 ft...

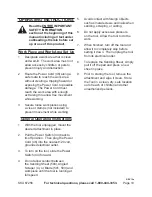
Page 10: ...ating Instructions With the tool unplugged mount the 1 desired attachment in place Pull the Power Switch 44 back to 2 its off position Then plug the Power Cord 46 into the nearest 120 volt grounded el...

Page 11: ...ting Blades 501 503 should be clean and sharp After Use 2 clean external surfaces of the tool with clean cloth If you notice decreased performance 3 have the unit serviced and Carbon Brushes 40 replac...

Page 12: ...rd too long or wire size too small Eliminate use of extension cord If an extension cord is needed use shorter heavier gauge cord See Extension Cords in GROUNDING section Performance decreases over tim...

Page 13: ...Block 1 21 Armature 1 22 Bearing 6017 1 23 Rubber Bushing 1 24 Wind Guide Circle 1 25 Screw ST4 0 x 50 2 26 Plain Washer 4 2 Part Description Qty 27 Stator 1 29 Plastic Housing 1 31 Link Pole 1 32 Co...

Page 14: ...or consequential damages arising from the use of our product Some states do not allow the exclusion or limitation of incidental or consequential damages so the above limitation of exclusion may not a...

Reviews: