Page 6
For technical questions, please call 1-800-444-3353.
SKU 90599
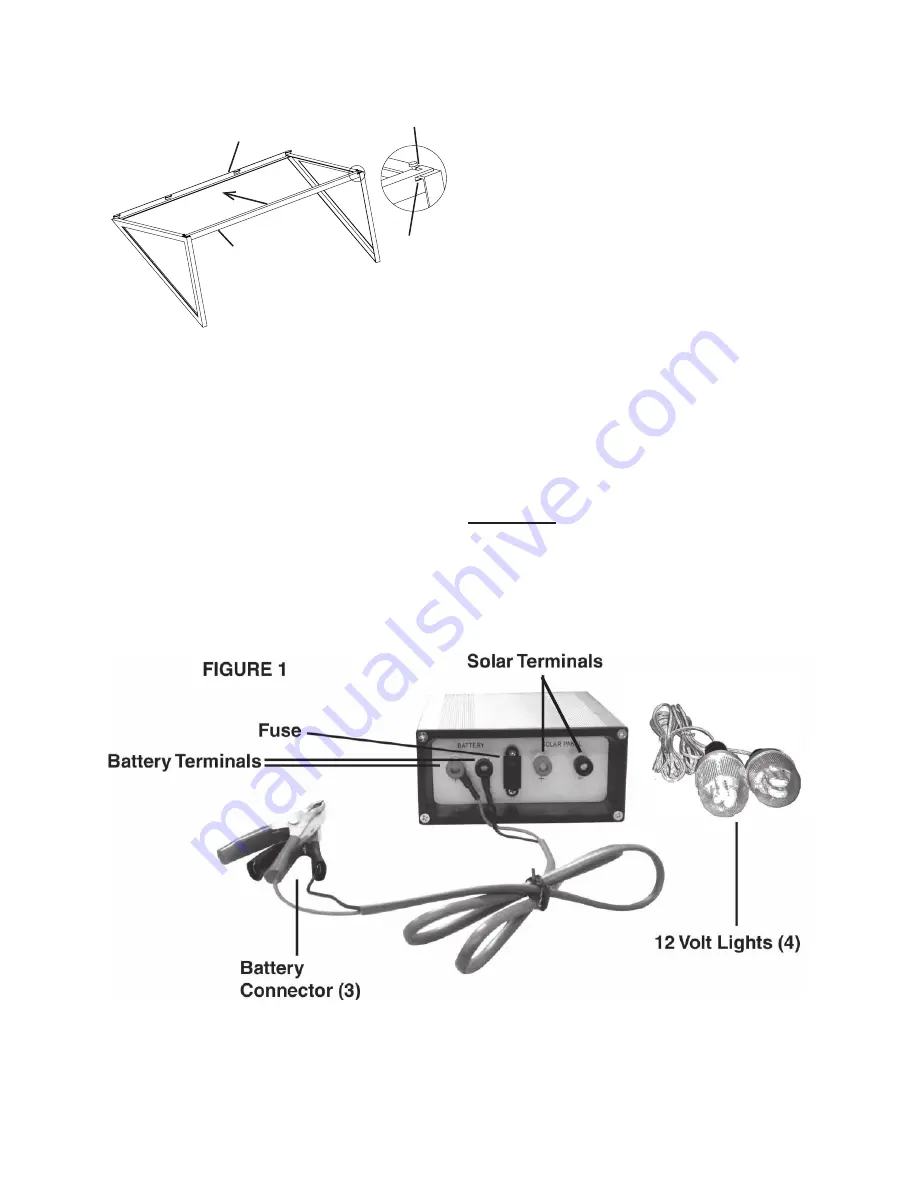
2.
6c
6d
Slot 2
Slot 1
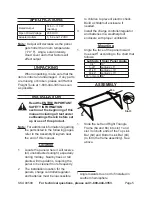
Push the Top Link Bar (6d) down to
slot 2 (to lock the frame assembly).
See above.
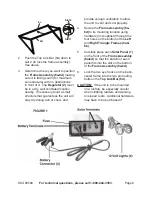
3. Determine where you want to position
the
Frame Assembly (6a-6d)
making
sure it is facing south (for maximum
sun exposure) with no obstructions
in front of it. The
Regulator (2)
must
be in a dry, well ventilated location
nearby. If necessary, build a small
structure that guarantees the unit will
stay dry during rain or snow, and,
provide enough ventilation to allow
the unit to vent and cool properly.
4. Secure the
Frame Assembly (6a-
6d)
to its mounting location using
hardware (not supplied) through the
four holes on the bottom of the
Left
and
Right Triangle Frames (6a &
6b)
.
5. Carefully place each
Solar panel (1)
on the front of the
Frame Assembly
(6a-6d)
so that the bottom of each
panel fits into the slot on the bottom
of the
Frame Assembly (6a-6d)
.
6. Lock the two eye hooks on the back-
center frame into the two protruding
bolts on the
Top Link Bar (6d)
.
cAuTIOn:
If the unit is to be mounted
on a rooftop, be especially careful
when climbing ladders and walking
on sloped roofs. Additional hardware
may have to be purchased if

