Installation Instructions
Model PNR™
9
CABLE MANAGEMENT
WARNING:
Make sure your cables do not run through
a pinch point.
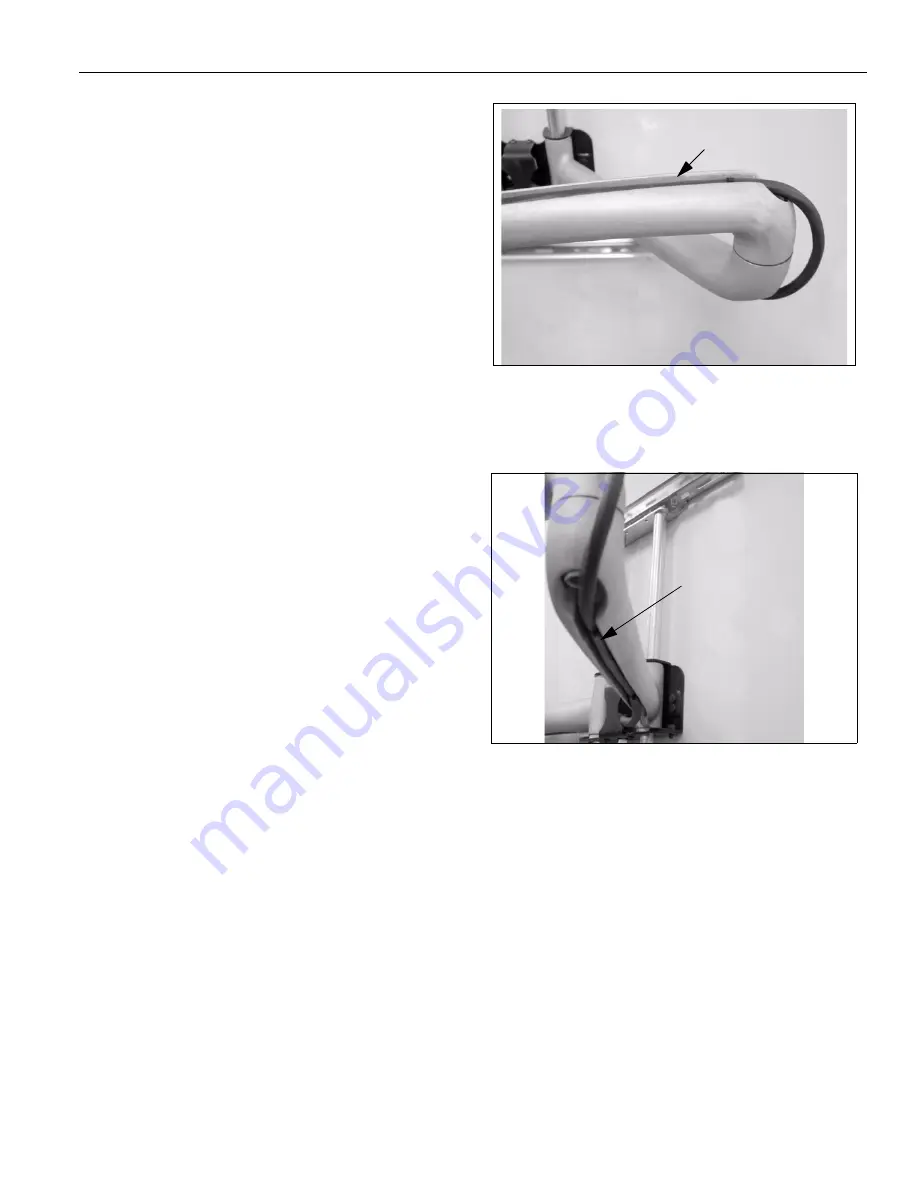
1. Route power/audio/video cables through the cable
channel in top arm (see Figure 7), allowing sufficient
slack in cables for extension and avoiding pinch
points, and secure cables using two clips and two
tiewraps (50, not shown).
2. Route power/audio/video cables along bottom arm
(see Figure 8), using tiewraps (50, not shown) to
secure cables to each arm, and through cable
channel.
CAUTION:
To prevent equipment damage, do not
route cables through holes in the display mounting
plate.
3. Route power/audio/video cables to an open area
behind the mounting plate (not shown). Leave a
sufficient amount of slack in cables to allow for
connection and extension where needed.
Figure 7: Cable Management Channel (Top)
Figure 8: Cable Management Channel (Bottom)
Management Channel
Bottom Cable
Management Channel


