Chapter 5
Maintenance and Checkup
48
Chapter 5
Maintenance and Checkup
CAUTION
•
Before starting maintenance and checkup, be sure to break the electrical
circuit by turning off the power supply and disconnecting the plug from the
power outlet.
5.1
Replacing Filters
If clogging occurs, a “WARN2” warning appears. Replace the primary filter.
5.1.1
Replacing the Primary Filter
IMPORTANT
•
The primary filter should be replaced in an area large enough to open the suction-
side filter case.
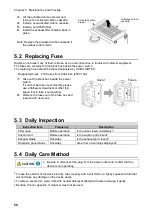
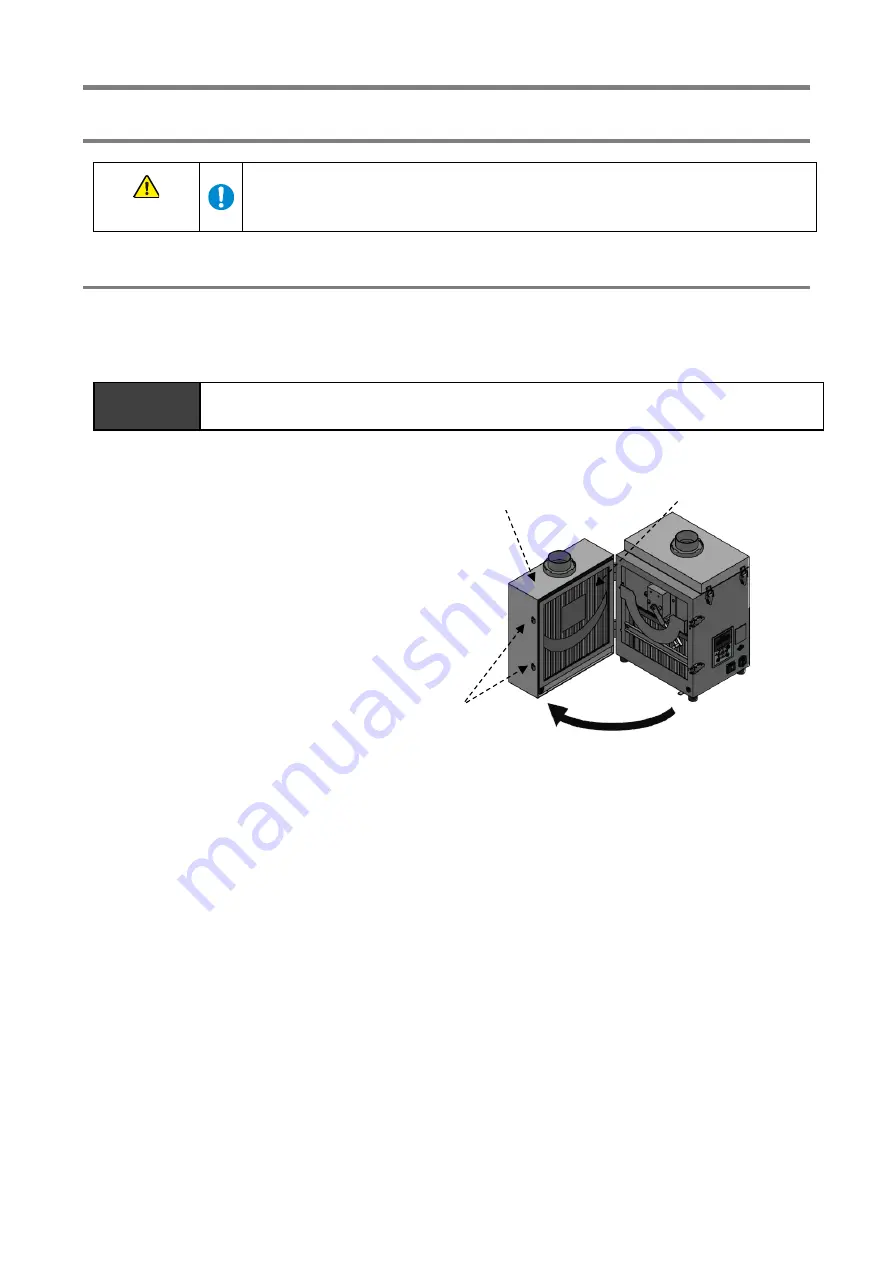
1.
Release the two snap locks for suction-
side filter case.
2.
Open the suction-side filter case and
remove the primary filter.
3.
Install a new primary filter.
4.
Close the suction-side filter case and secure it with the two snap locks.
Snap locks
primary filter
Suction-side filter case
Summary of Contents for CBA-750AT3-HC-DSA-V1
Page 6: ...1 4 1 4 2 OFF 1 5...
Page 7: ...1 CMN034 002 Translation of the original instructions 5 1 6...
Page 12: ...2 10 2 4 3 OP kPa SP kPa DP kPa EP kPa Blower Runtime h 17 Total h Moter...
Page 13: ...3 CMN034 002 Translation of the original instructions 11 3 3 1 3 1 1 0 40 80 RH REMOVE 1 1 1...
Page 14: ...3 12 3 1 2 10 1 2 3 2 1 ON RS485 ID 2 AT3 ON 3 4 1 7 3 ON OFF 30 3 ON OFF 1 1 Ver ID...
Page 20: ...5 18 5 5 1 WARN2 1 5 1 1 1 1 1 2 2 1 3 1 4 2 1...
Page 22: ...5 20 3 4 5 HEPA 6 5 2 1 Littell fuse 218 250V 10A 1 2 5 3 1 1 1 1 5 4...
Page 26: ...6 24 6 6 1 6 1 1...
Page 27: ...6 CMN034 002 Translation of the original instructions 25 1 5V 0 2V DC 1 2...
Page 31: ...7 CMN034 002 Translation of the original instructions 29 7 3 7 3 1 CBA 750AT3 HC DSA V1...
Page 32: ...30 12 7 2 7 2 28...
Page 63: ...MEMO...


