Chiltern Invadex LiteTrack Portable Gantry
12
17.
Important safety
note:
1. Completely
remove one leg
BEFORE releasing
the second leg.
2. Ensure there is
sufficient space to
lower the gantry.
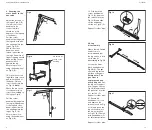
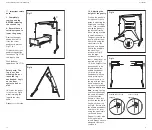
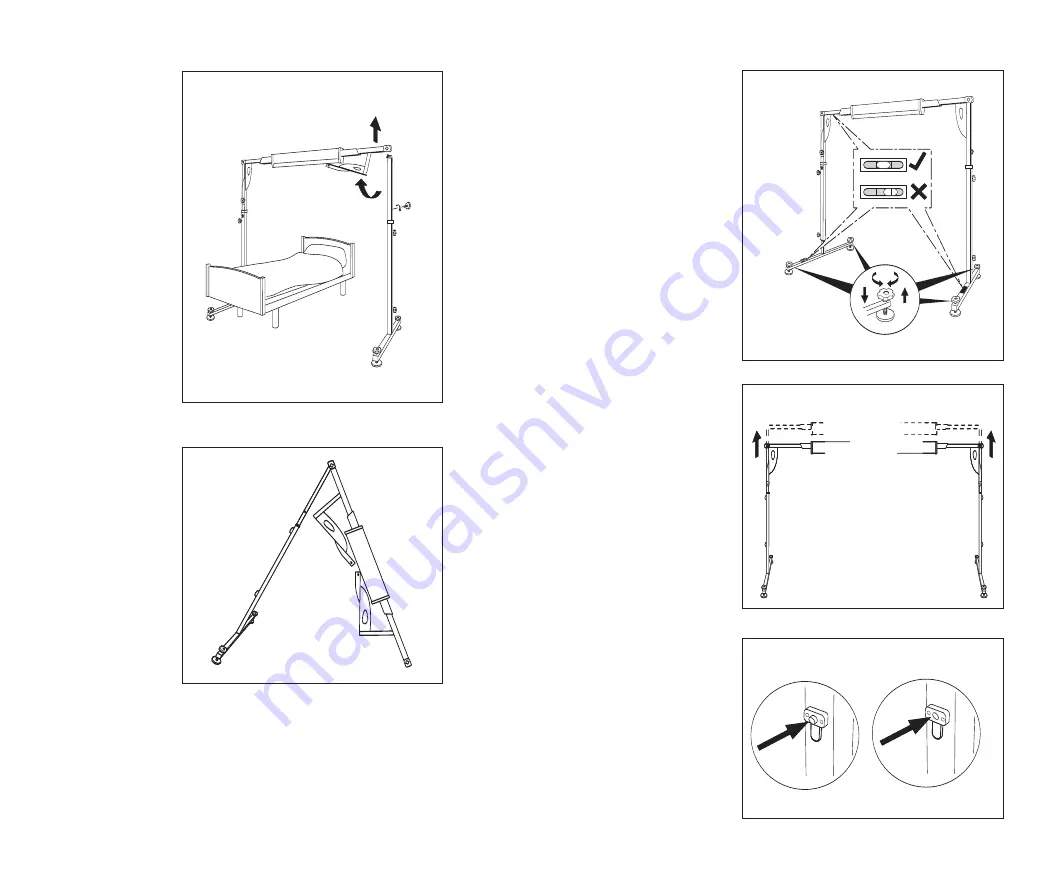
Remove the upper
handwheel which
locks the corner
quadrant in place as
Fig 17 (A)
Fold back the corner
quadrant against the
cassette as Fig 17 (B)
one leg at a time.
Push the beam
upwards as Fig 17 (C).
Fig 17
C
B
A
Fig 18
Safety note: The
leg is not free
standing. Do not
leave the leg
unattended. Lay it
on the floor,
against a bed or
wall.
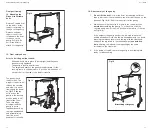
18. Lower the beam
to the floor as Fig 18
whilst retaining the
leg with the other
hand.
Repeat for other side.
User Guide
9
Lever
NOT
correctly
engaged
Lever correctly
engaged
B
A
12. Adjusting the
height of the gantry
Position the gantry in
its required location
prior
to adjusting the
height and checking
level. Take care when
moving the gantry to
the desired location.
Move one leg at a time
in small increments.
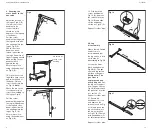
The gantry should be
level in all directions.
Check this using the
spirit levels on the
feet and end beams.
Centre the bubble in
the spirit level
window as Fig 12.
Use the large
handwheels on the
feet to adjust level, as
required as Fig 12.
Fig 12
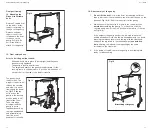
13. If the height of the
gantry needs to be
raised release the
middle handwheel.
Hold onto the top
handwheel with one
hand, pressing the
release levers in on
the leg with the other
hand, and push the
leg up to the required
height
one hole at a
time
, raising one leg
and then repeating by
the same increment
on the other side.
Ensure it ‘clicks’ into
position and the pin is
flush with the block
as Fig B. Secure with
the middle handwheel
and check for level
using the spirit levels
on the end beam.
Repeat for other side.
If the leg height is
raised always ensure
adequate clearance
overhead.
Fig 13


